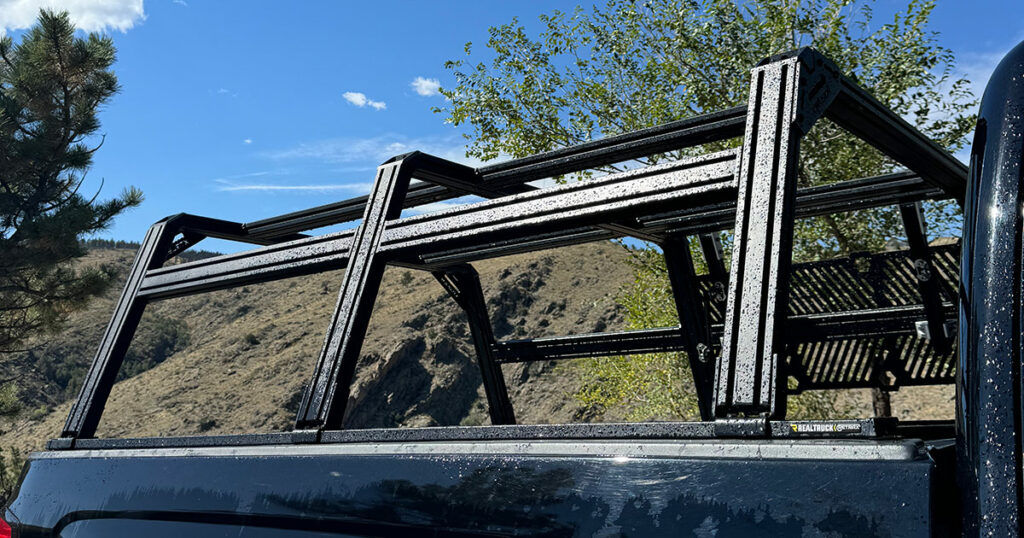
The Xtrusion XTR3 Bed Rack System offers unparalleled versatility for overlanders and those preparing for emergencies. Its modular T-slot design allows for easy customization, carrying everything from rooftop tents to heavy gear.
use code BUCKHORN for a discount

Yes, I’m installing this on a Chevy. However, it’s completely modular and will work on just about any truck bed (maybe even every truck bed), it’s incredible, let’s dig in.
NOTE: this install is with the Retrax Tonneau cover HOWEVER – this system has brackets for all major truck brands too.

With its lightweight yet durable powder coated aluminum construction, the rack is corrosion-resistant and easily adjustable, maximizing both load capacity and bed space. Whether you’re venturing off-road, setting up a basecamp, or hauling supplies, the XTR3 ensures your truck is equipped to handle any situation while maintaining efficiency and reliability.
The Switch
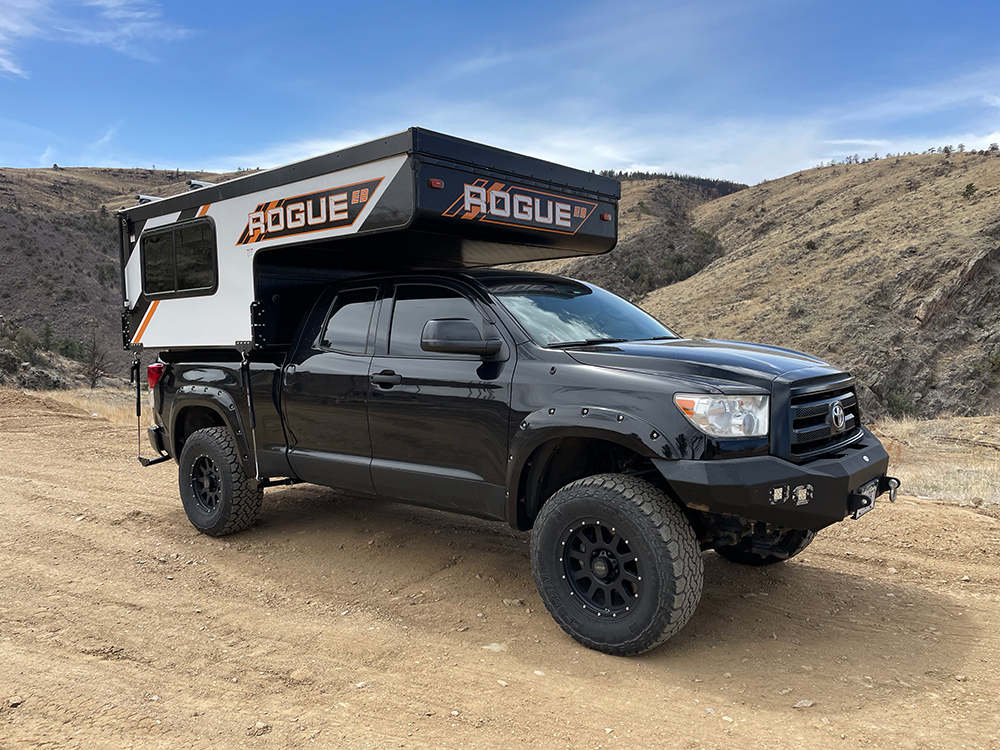
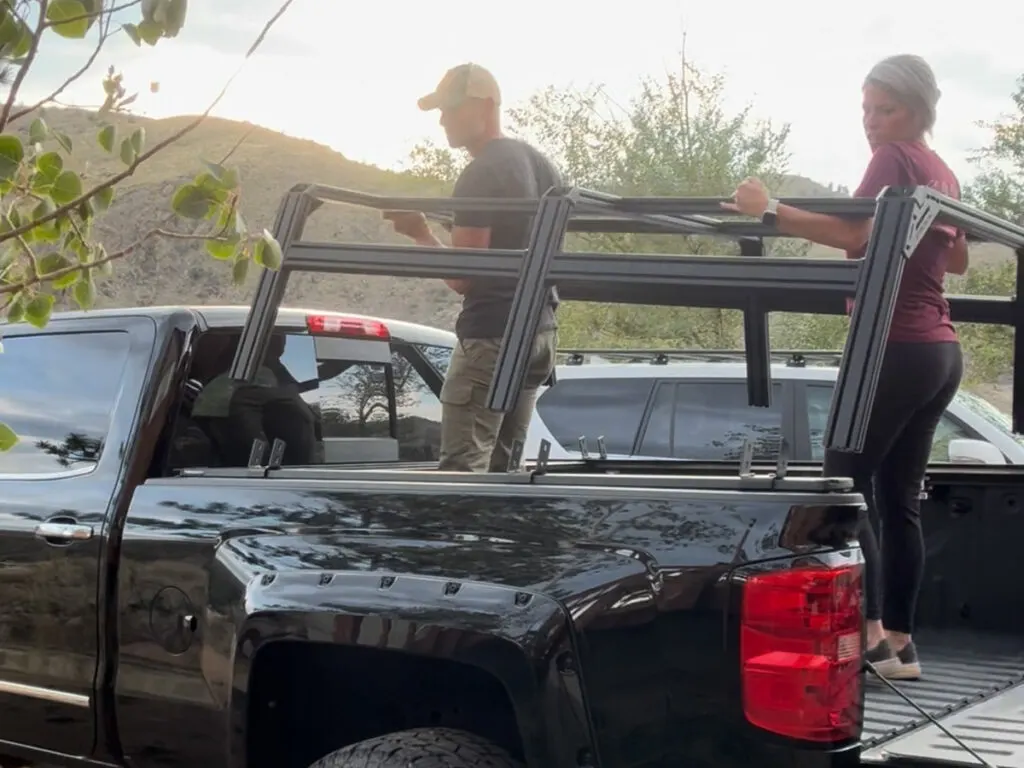
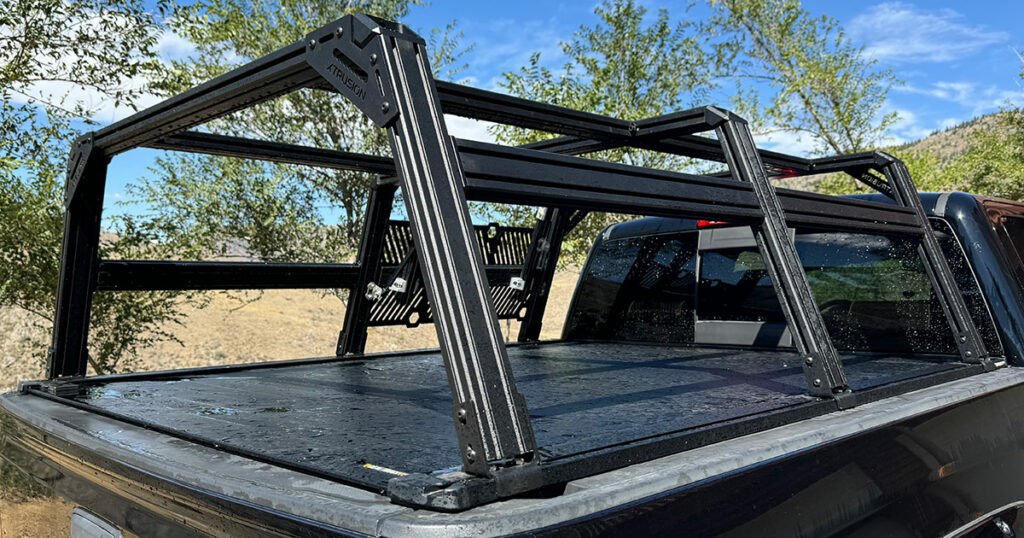
I went from this:

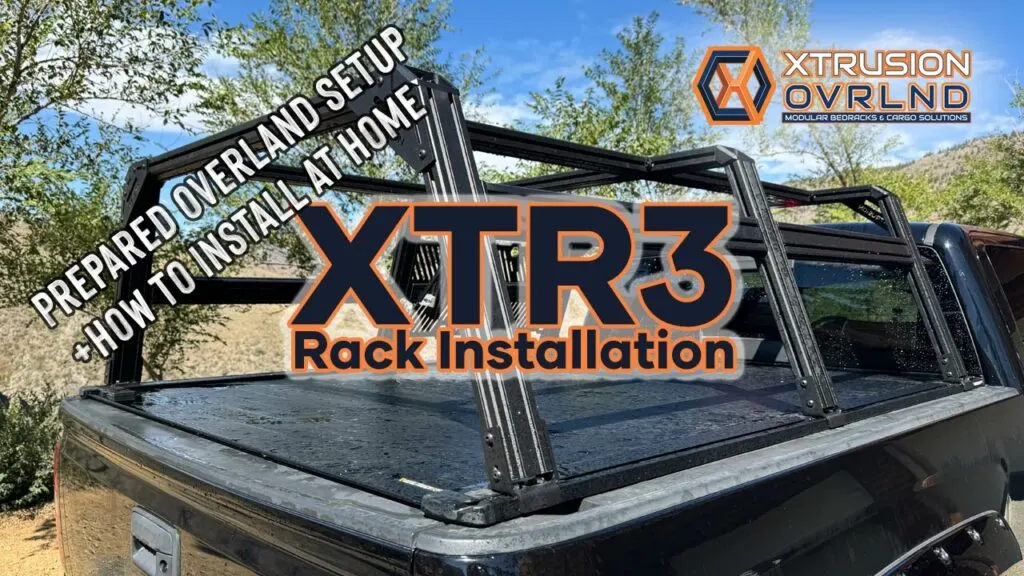
to this:
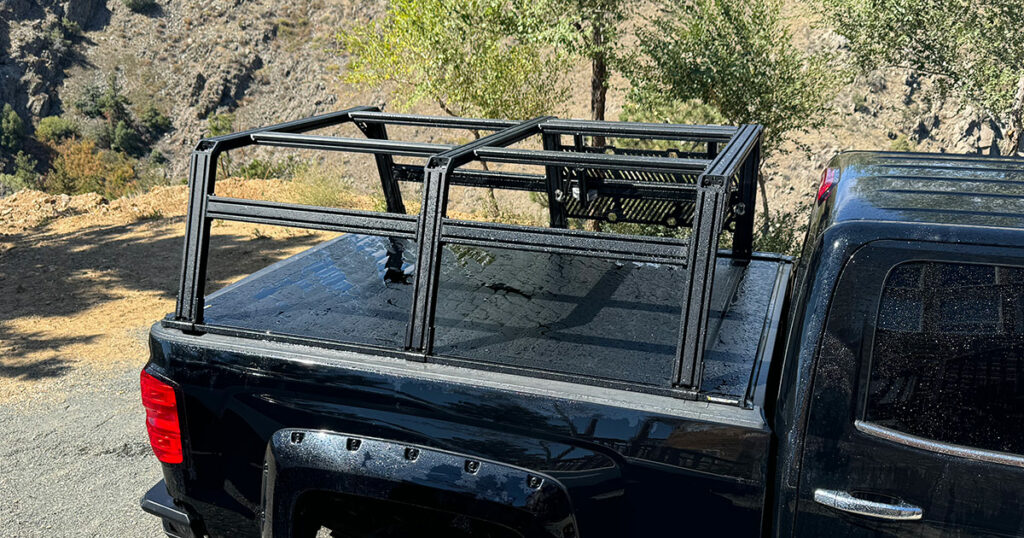
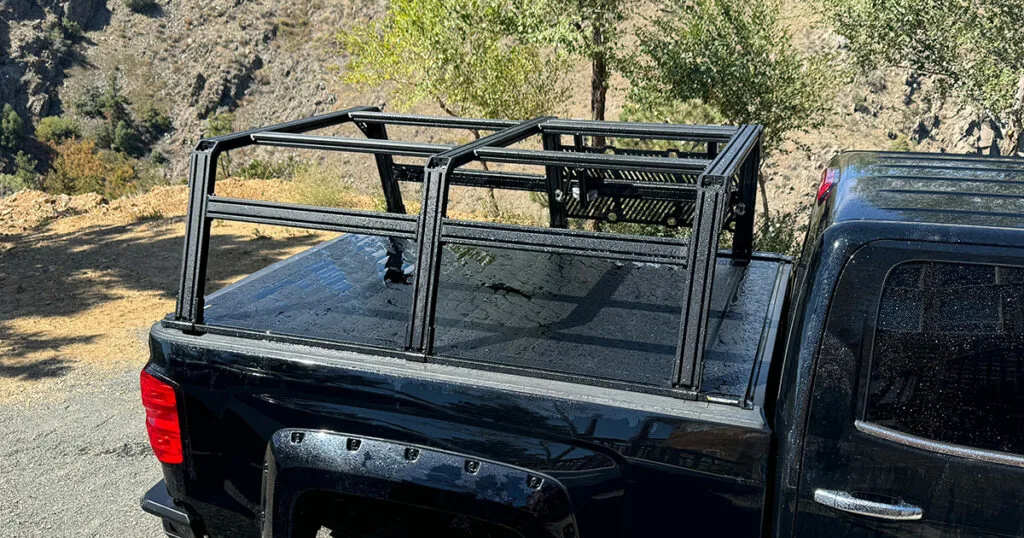
I’ll be sharing all of the add-ons (not pictured) and details on why each item has been added.
I used to drive a Toyota Tundra with a full truck camper, but it limited my ability to adapt to different situations—especially for overlanding and emergency preparedness. Switching to the Chevy Silverado 2500 Duramax (diesel – LOADS OF POWER FOR TOWING) with the Xtrusion XTR3 bed rack system completely changed that. Now, I can haul survival gear, mount a solar and backup battery system, and even carry a rooftop tent while still having room for extra fuel and recovery tools. Plus, I can still tackle my regular trips to Home Depot for building projects without the hassle of removing a bulky camper. This setup offers the perfect balance of readiness for off-road adventures, serious emergency situations, and everyday utility.
Why I Chose the Xtrusion XTR3 Bed Rack System

Easy Installation and Modifications: Designed with DIY enthusiasts in mind, the XTR3 system can be easily installed and modified using basic tools. This is especially useful for those building a custom overlanding rig or preparing for emergency situations where quick adjustments are needed.
Unmatched Modularity: The T-slot channel design allows full customization of your truck’s bed. You can easily attach gear like rooftop tents, lighting, fuel cans, and water tanks, adapting your setup based on the specific trip or emergency scenario. This flexibility makes it ideal for overlanding, hunting, and emergency preparedness.
Durable & Lightweight: Made from powder coated aluminum, the XTR3 offers a perfect balance between strength and weight, allowing heavy gear loads without compromising fuel efficiency or vehicle handling. Its corrosion-resistant finish ensures longevity in harsh conditions.
Height and Width Adjustability: Fully adjustable to fit different load types, from smaller loads like recovery gear to larger ones such as rooftop tents or larger storage cases. You can modify the setup as needed, making it incredibly versatile across multiple uses.
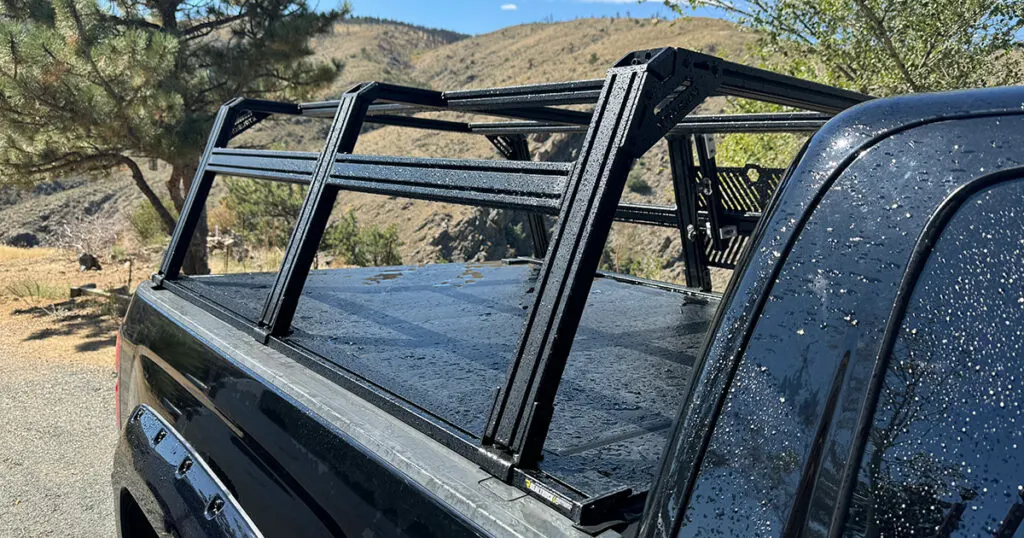
Maximizes Bed Space: The XTR3 rack maximizes usable storage by lifting larger gear above the bed, leaving the truck bed free for other supplies, hunting equipment, or emergency tools, while still maintaining full access to your RetraxPro XR cover beneath.
Built for Harsh Conditions: Its rugged construction ensures it can handle off-road and harsh weather environments without failure. This is essential for overland adventures or emergency situations where reliability is crucial.
Effortless Accessory Integration: With its standardized T-slot channels, the system supports a wide range of off-the-shelf overland and off-road accessories, so you can quickly add or remove gear based on your specific needs without worrying about compatibility.
Efficient Setup for Long Expeditions: The bed rack’s load-bearing capacity is ideal for extended trips, carrying camping gear, hunting supplies, or emergency preparedness kits like fuel, water, and food storage that could be critical in survival situations. Its high load capacity allows for carrying vital supplies and overlanding gear with ease.
use code BUCKHORN for a discount
>>> SHOP XTRUSION ONLINE <<<
How to Install the XTR3 Bed Rack w/ Retrax Tonneau Cover
Installing the XTR3 Bed Rack on your truck bed can seem daunting, but following a structured process will make the task straightforward.
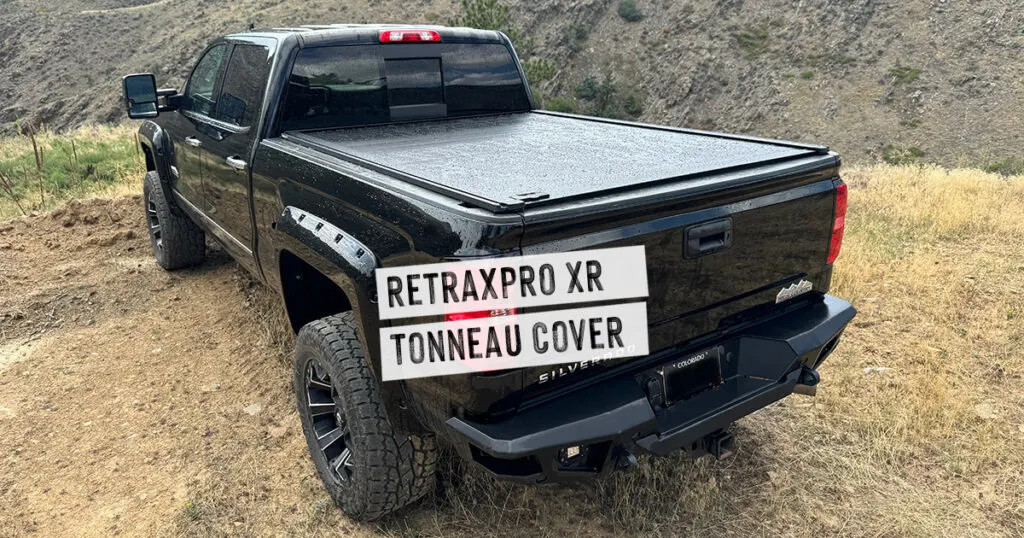
You first need the Retrax Tonneau Cover installed. Check it out:
Prep Your Truck for the Ultimate Overlanding Adventure with the RetraxPRO XR Tonneau Cover

Step 1: Check Components
Before diving into the installation, inspect all components using your pack list. Key parts include:
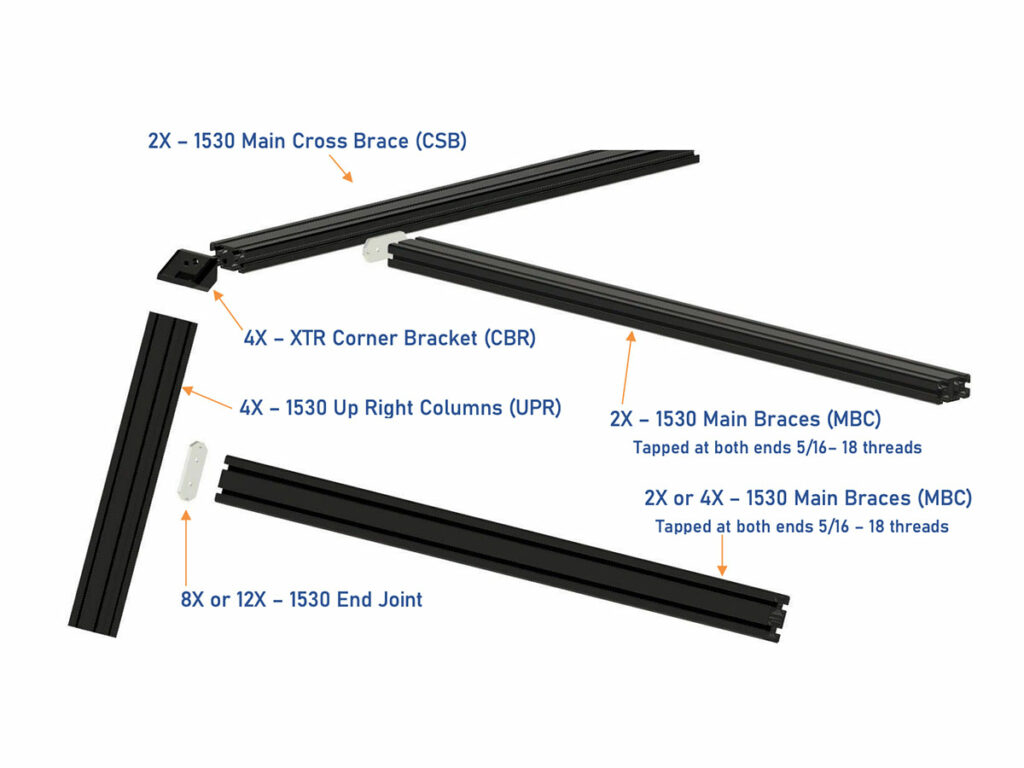
Extrusion Bars:
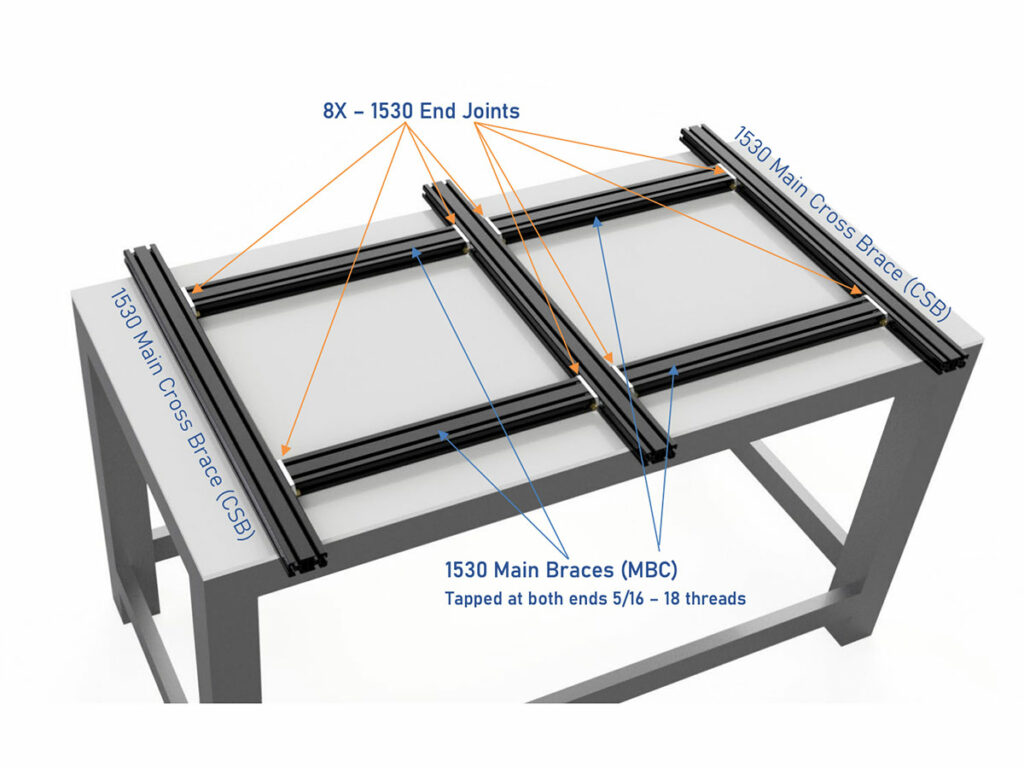
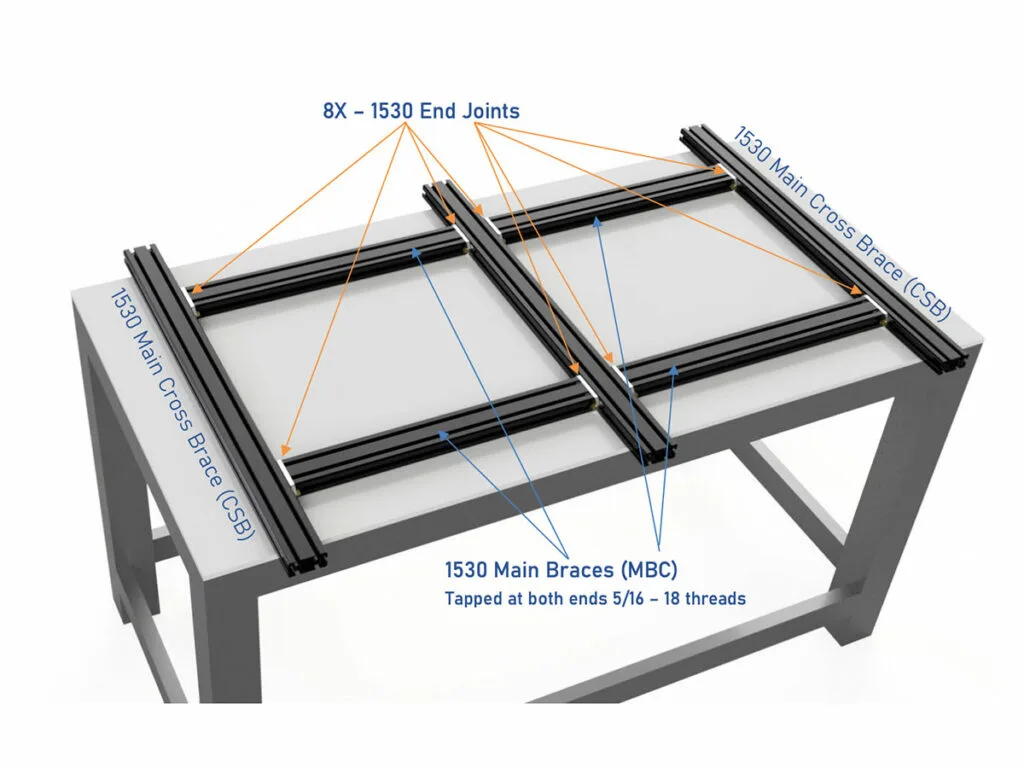
- 1530 Main Braces (MBC) – Supports horizontally along the sides.
- 1530 Upright Columns (UPR) – Vertical supports for the structure.
- 1530 Main Cross Braces (CSB) – Connects across the top for stability.
- 1530 End Joint Plates – Secures connections at the ends of braces.
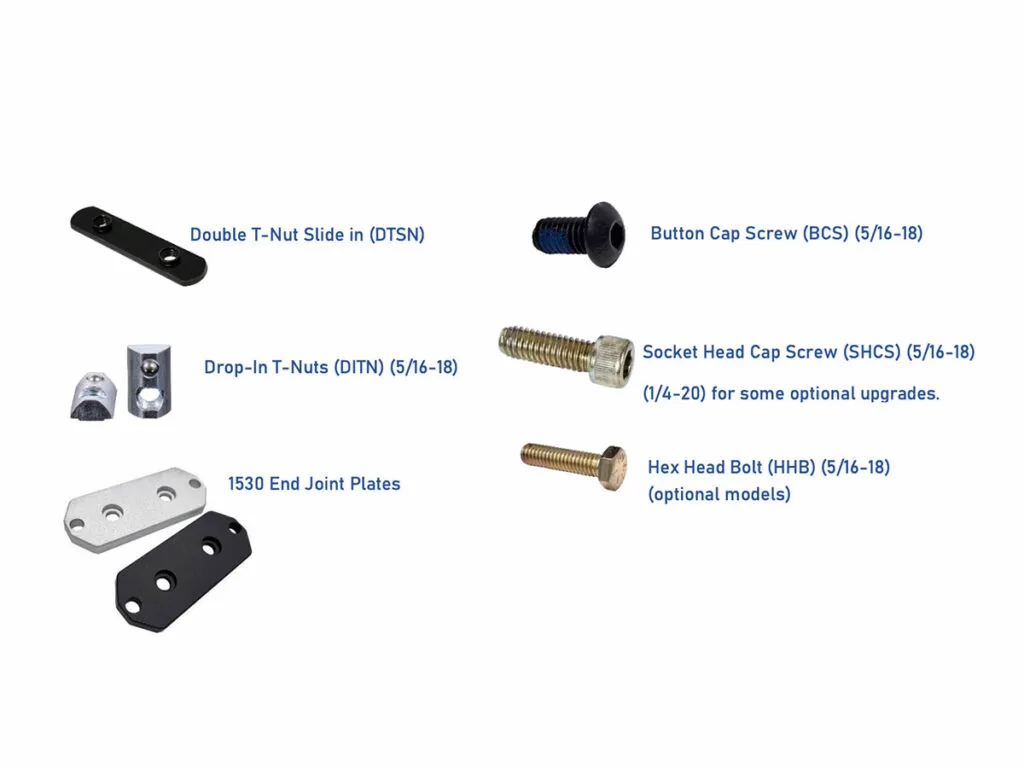
Hardware:
- Button Cap Screws (BCS) – For fastening braces and joints.
- Socket Head Cap Screws (SHCS) – Heavy-duty fastening for key connections.
- Drop-In T-Nuts (DITN) – Secures components to extrusion slots.
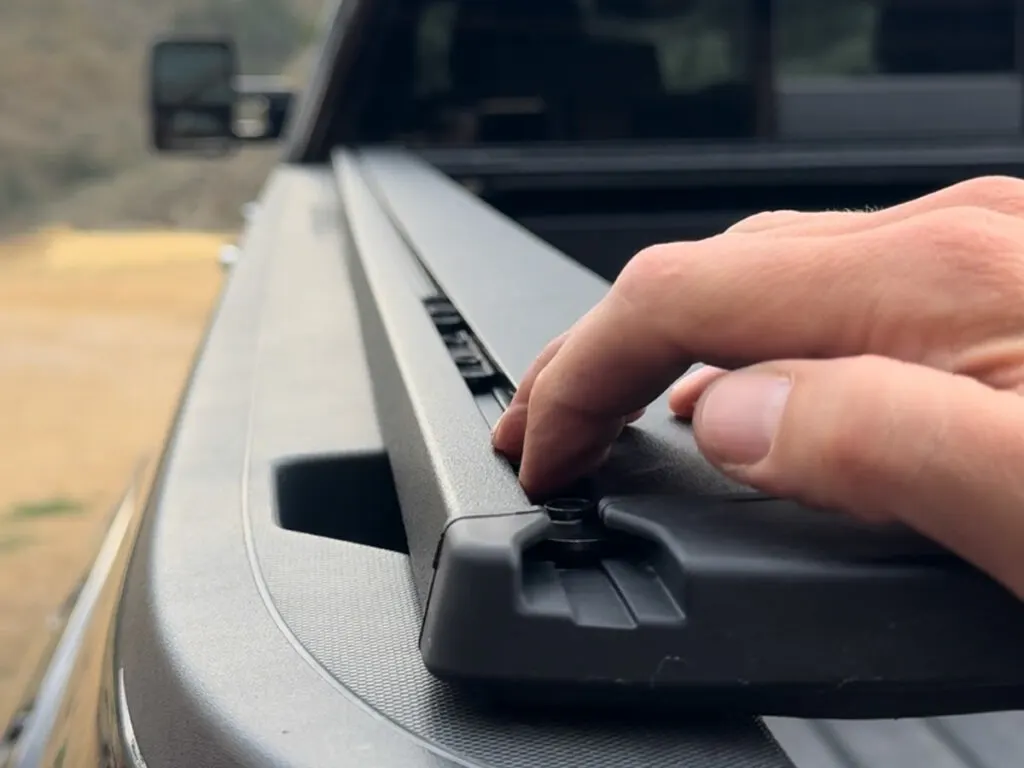
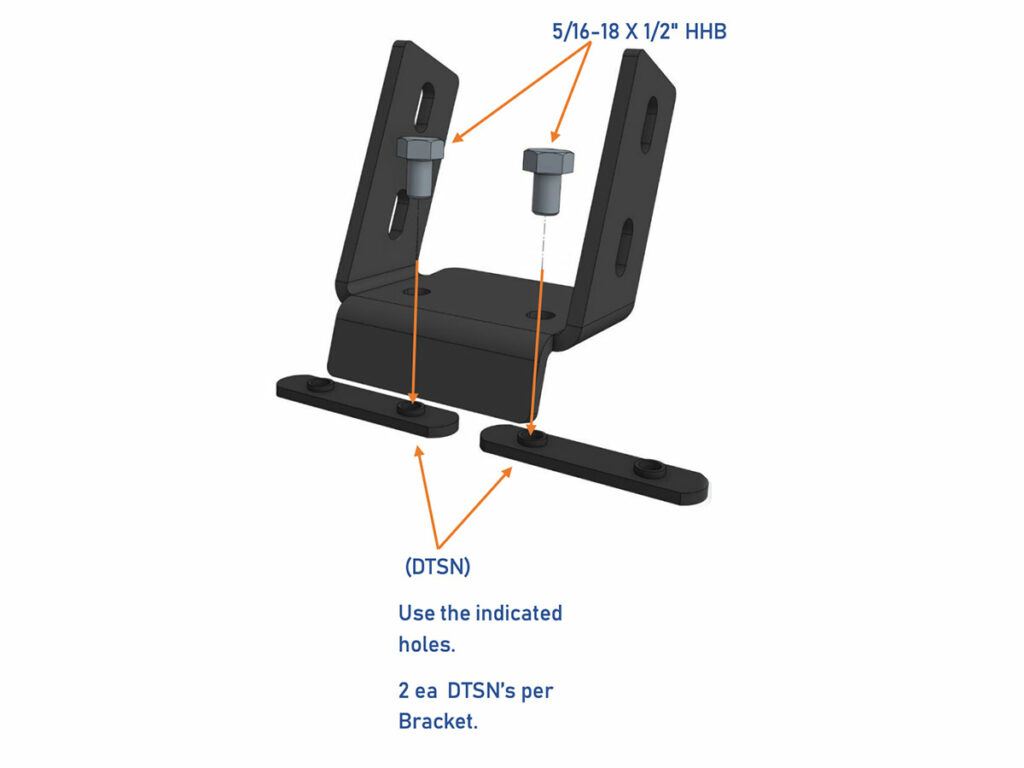
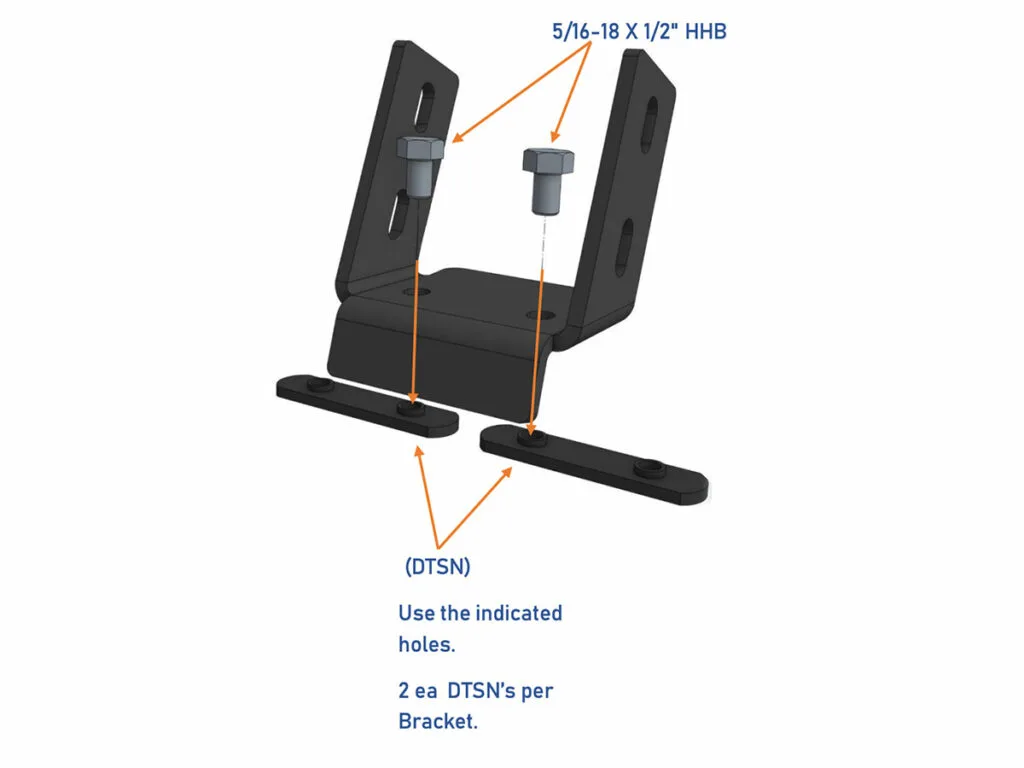
- Double T-Nut Slides (DTSN) – For adjustable mounting on the Retrax Tonneau cover.
- Hex Head Bolts (HHB) – Bracket mounting for the Retrax Tonneau cover brackets.
- 1530 End Joint Plates – Fastens joints for extra stability and connectivity.
Brackets:
- XTR Corner Brackets (CBR) – Connects upright columns and braces at corners.
- Bed Rail Brackets (BRBKT) – Secures the bed rack to the truck bed.


use code BUCKHORN for a discount
>>> SHOP XTRUSION ONLINE <<<
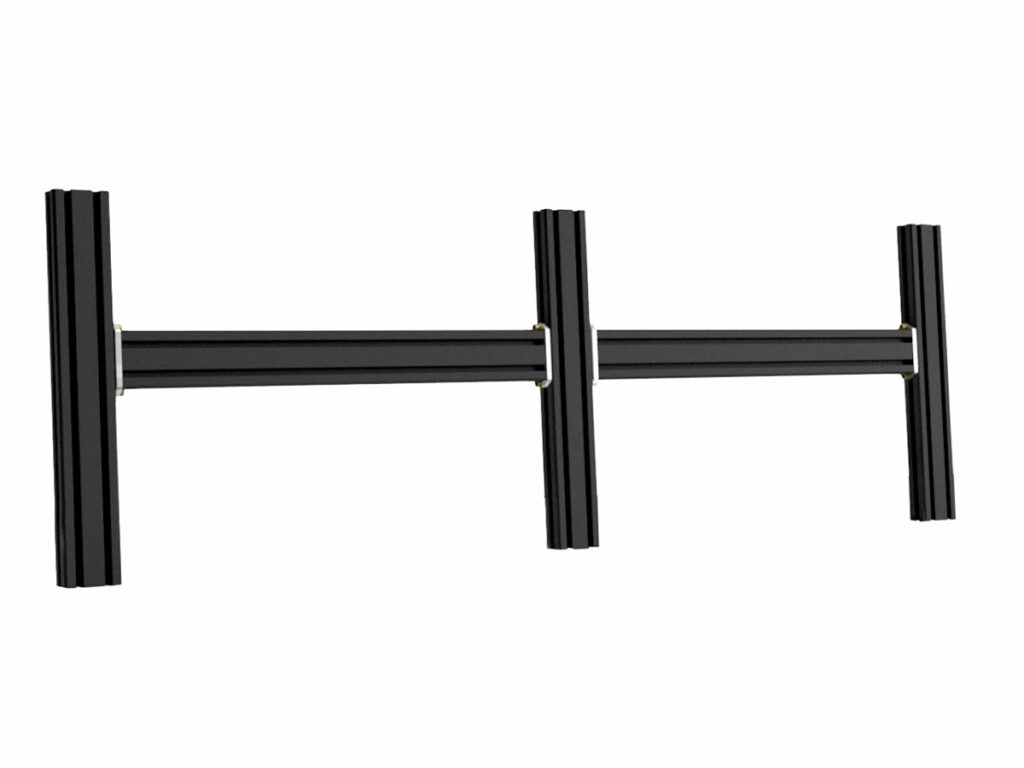
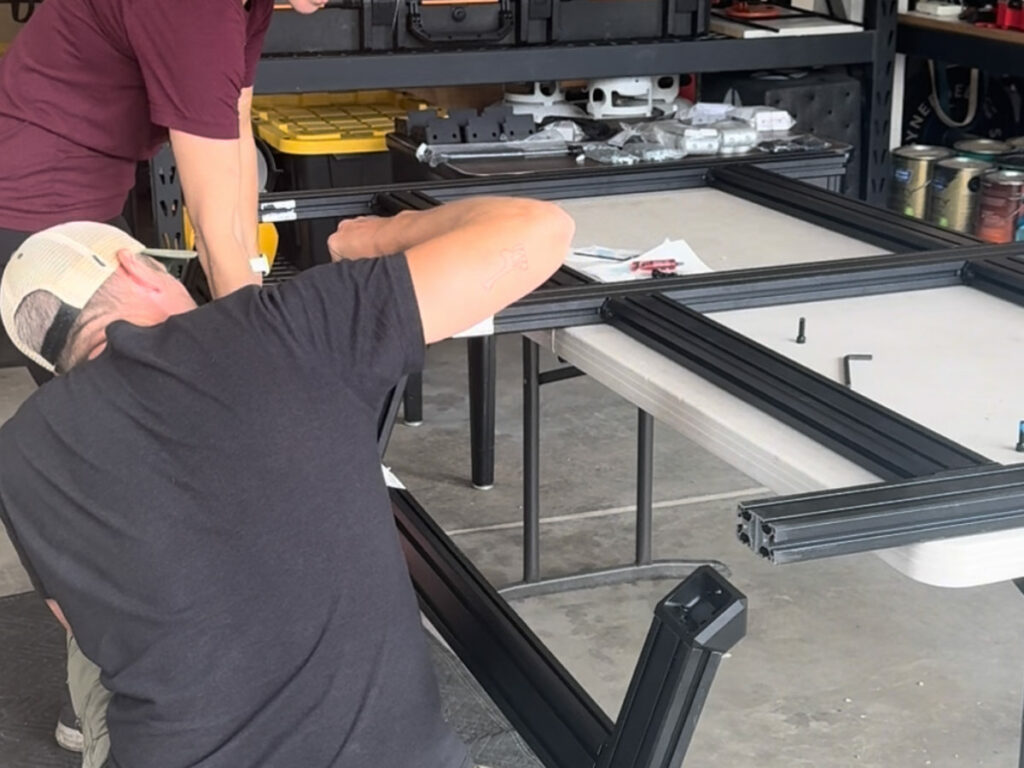
Step 2: Assemble the Sides
Begin by building the sides of the rack:

Attach 1530 End Joints to both ends of the Side Braces (MBC).

Insert Drop-In T-Nuts into the Upright Columns (UPR) that will later connect the side braces to the bed rails.
Use Button Cap Screws to secure the Main Braces (MBC) to the Upright Columns (UPR).
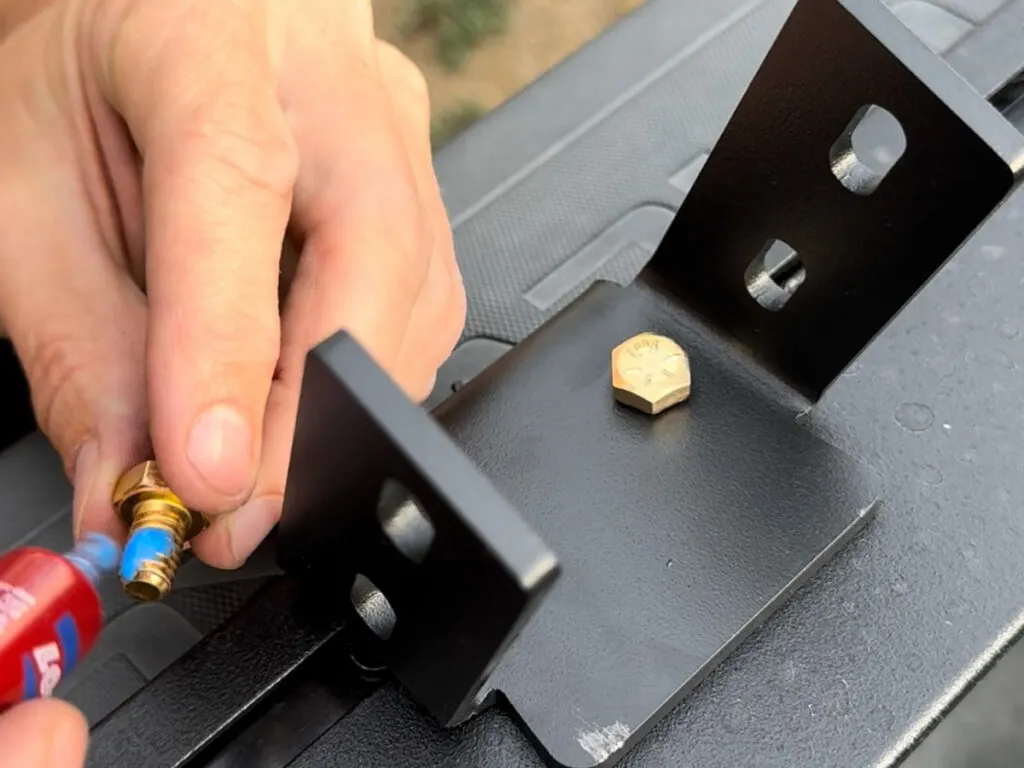
NOTE: Use Loctite (thread locker) on all bolts/screws – Xtrustion Overland included (a small container) – I ended up purchasing a second.
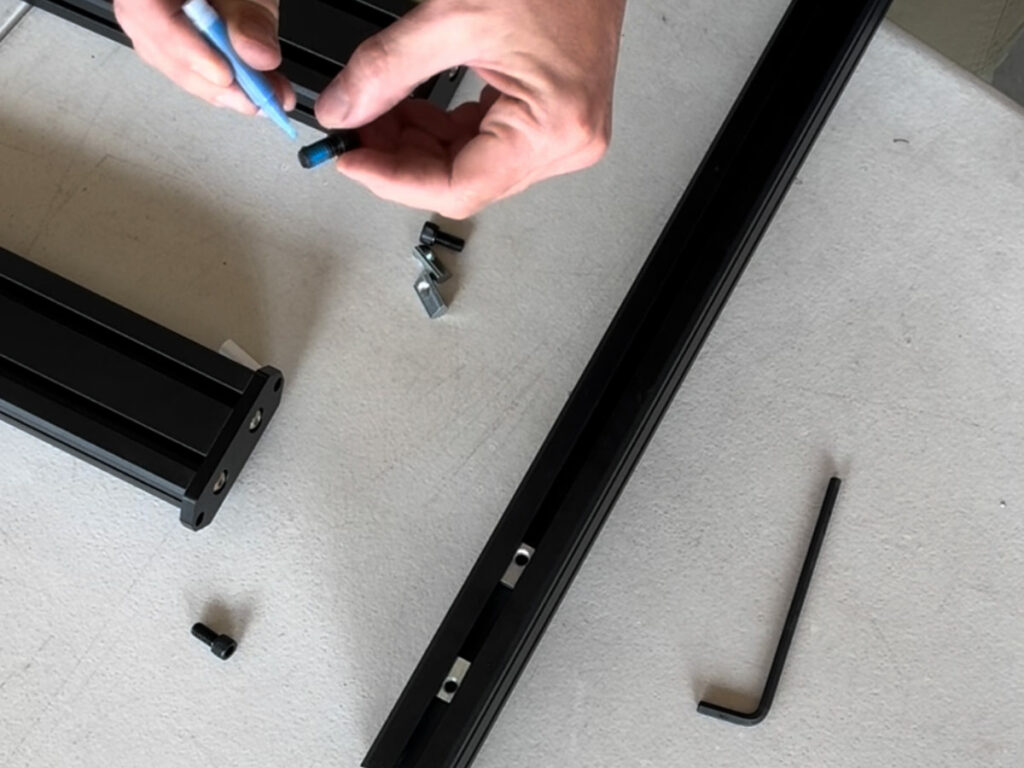
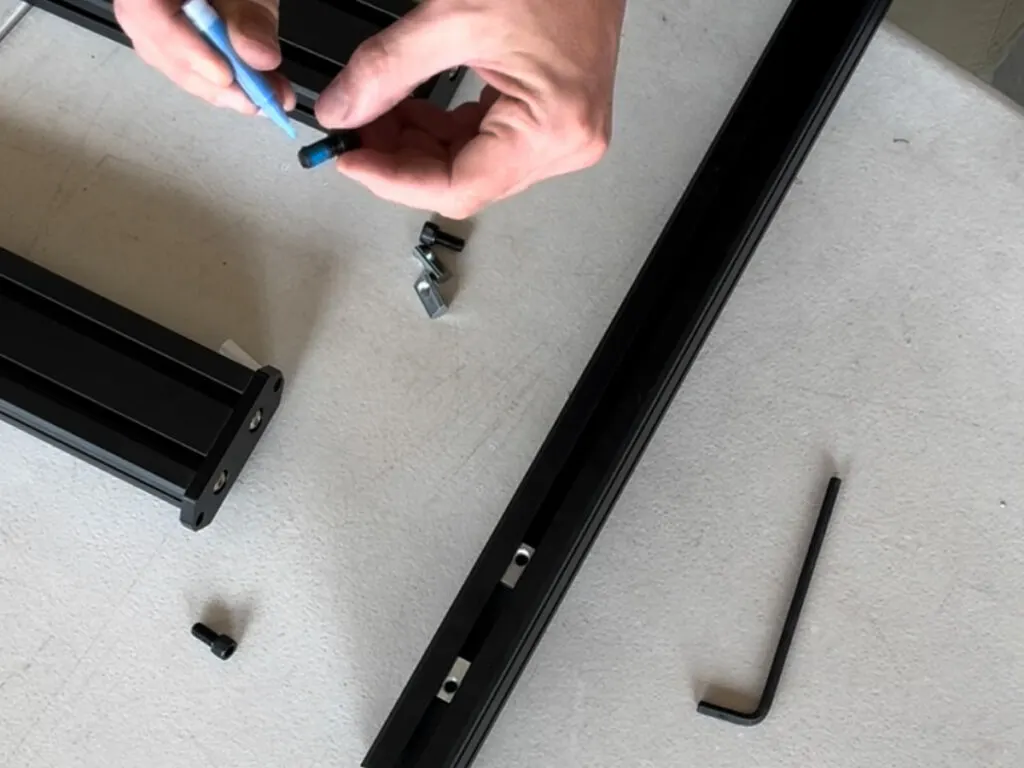
Pro Tip: Keep all bolts semi-loose during this process to allow adjustments later.

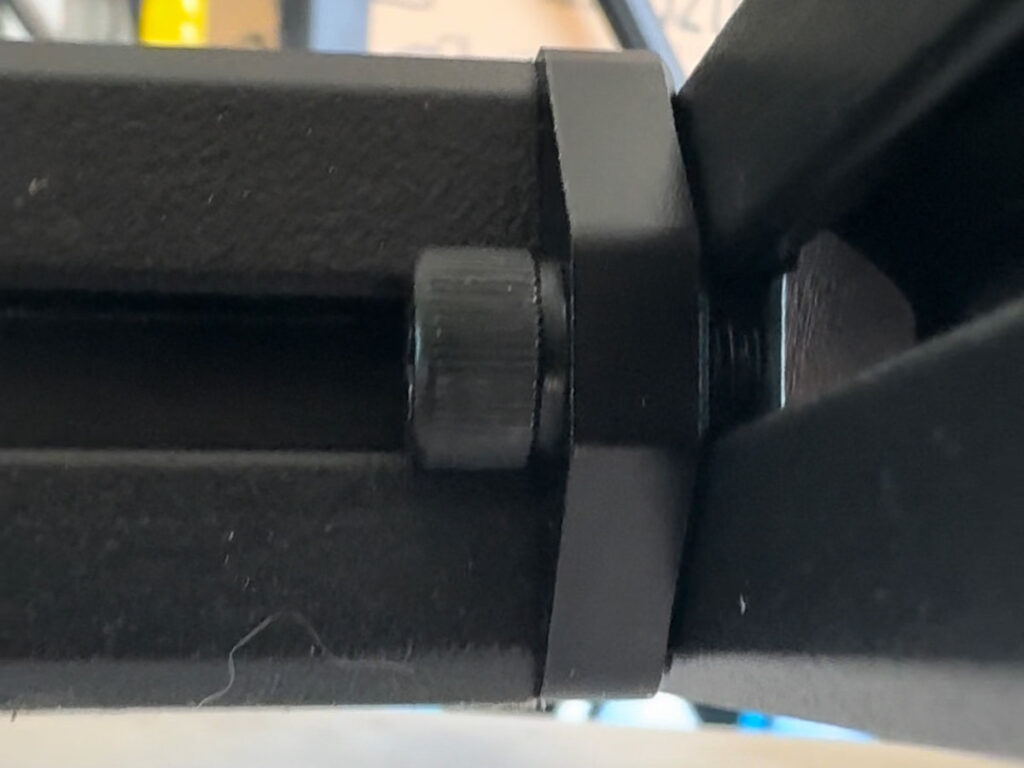
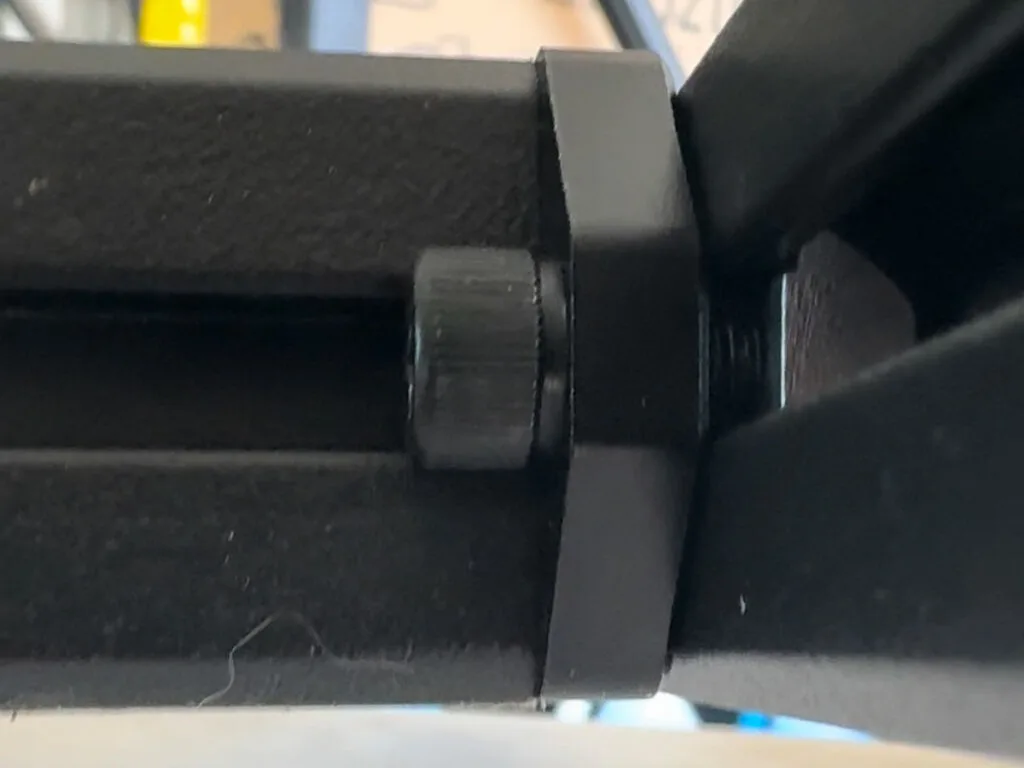
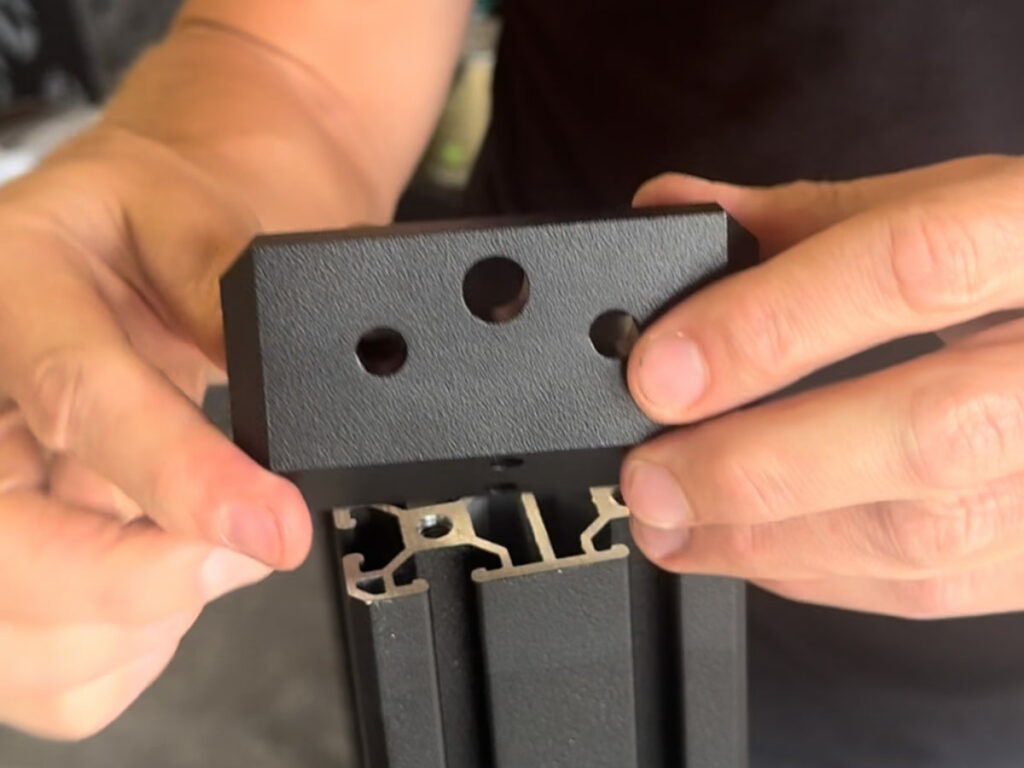
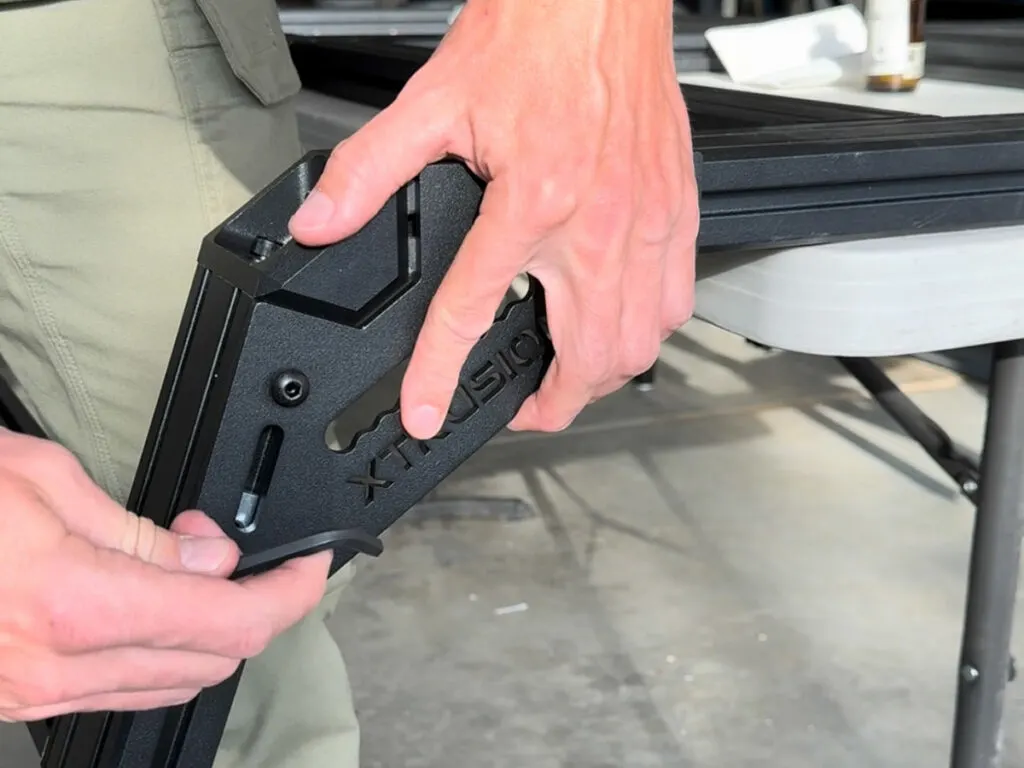
Install the XTR Corner Brackets onto the Upright Columns using the provided Socket Head Cap Screws. Keep the bolts semi-tight at this point to allow for adjustments later.
Threaded side of (UPR) faces up (one side is threaded and the other isn’t) and is your connection from the upright columns to the top via the XTR Corner Bracket (shown below).

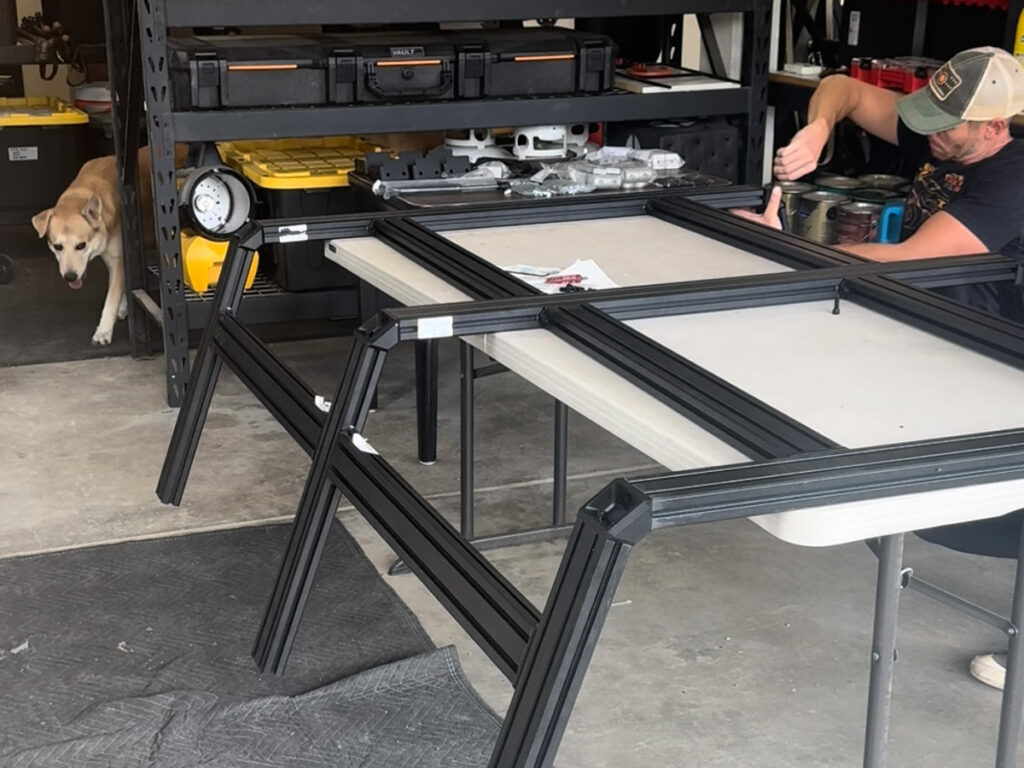
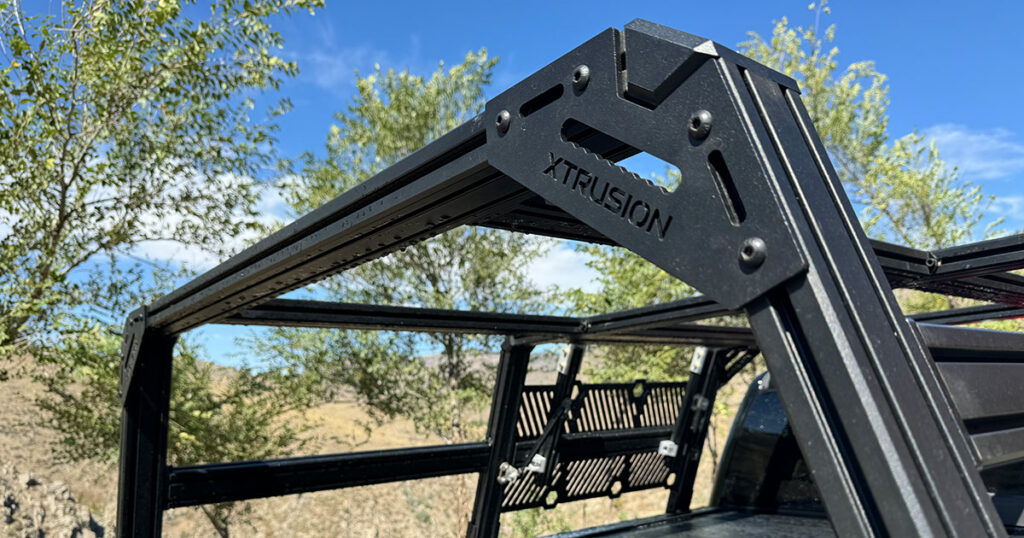
Step 3: Assemble the Top (and Connect the Sides)
Once the sides are in place, it’s time to work on the top, just like this:
Attach the Main Cross Braces (CSB) to the top of the rack by sliding T-Nuts into the extrusion slots on the Upright Columns.
Secure the cross braces using Button Cap Screws but don’t fully tighten them yet, allowing room for future adjustments.
Attach the sides to the top (remember: most everything is slightly loose, at least enough to move around). XTR Corner Brackets connect the sides to the top.


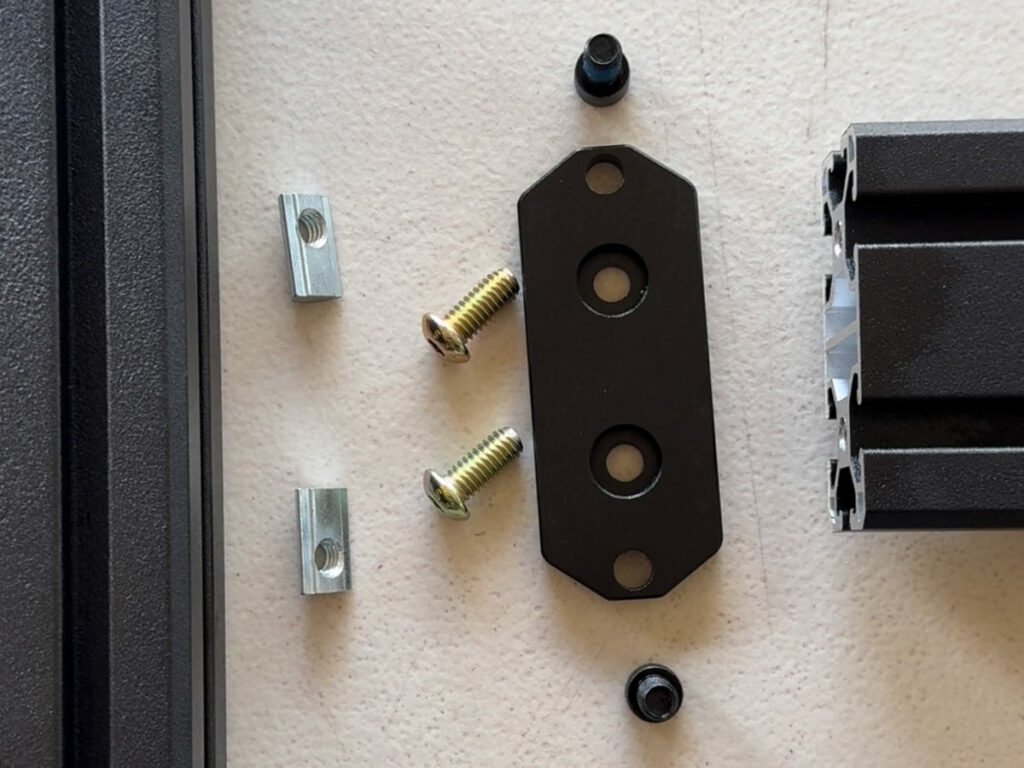
Step 4: Install Reinforcement Plates (Optional)
If you’ve chosen to add Off-Road Reinforcement Plates, now is the time to install them:

- Insert Drop-In T-Nuts into the crossbars.
- Position the reinforcement plates and secure them with Button Cap Screws. These plates add extra stability, especially if you’ll be taking your truck on off-road adventures.
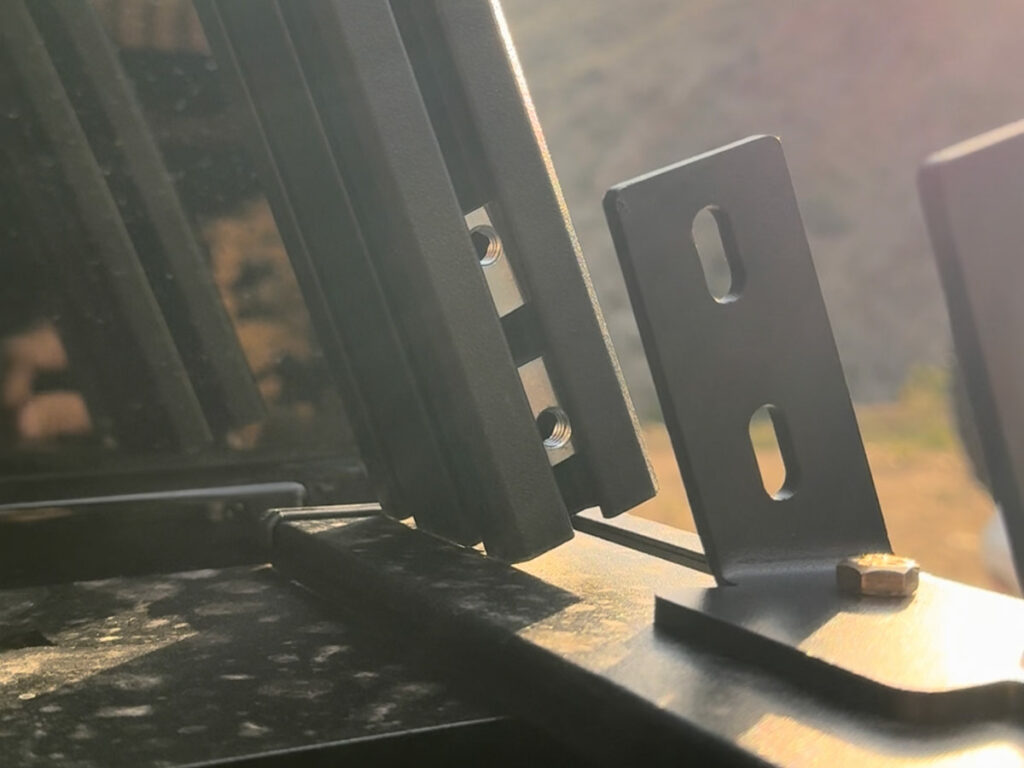
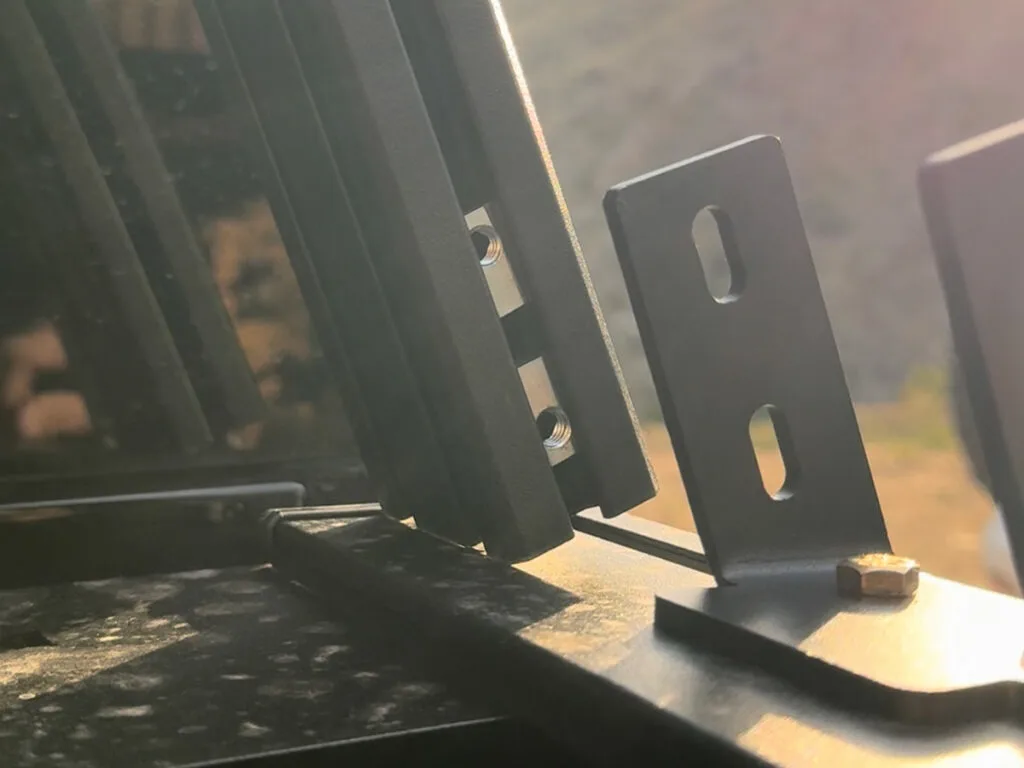
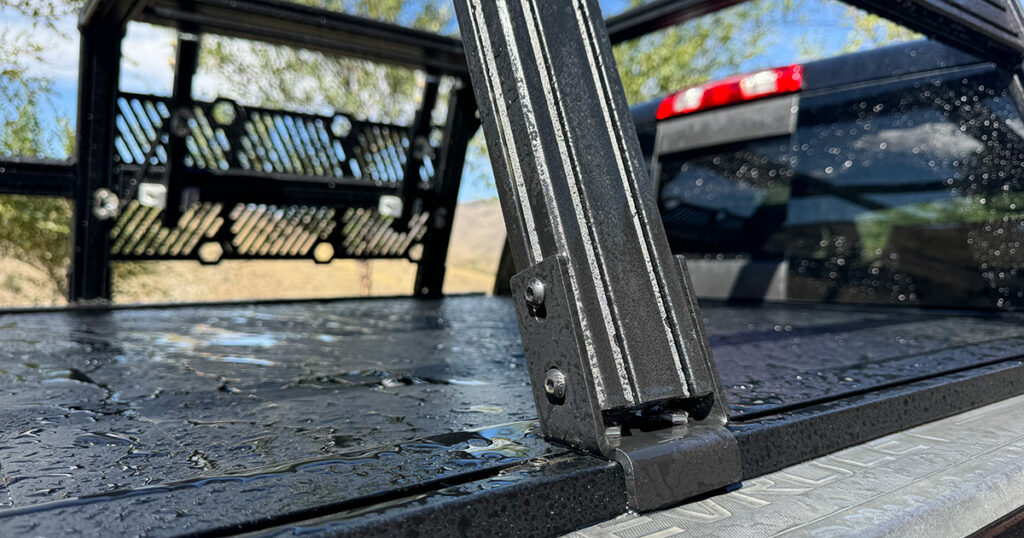
Step 5: Install Bed Rail Brackets
Now, install the Bed Rail Brackets:
Slide the brackets into place on the Upright Columns using Drop-In T-Nuts.
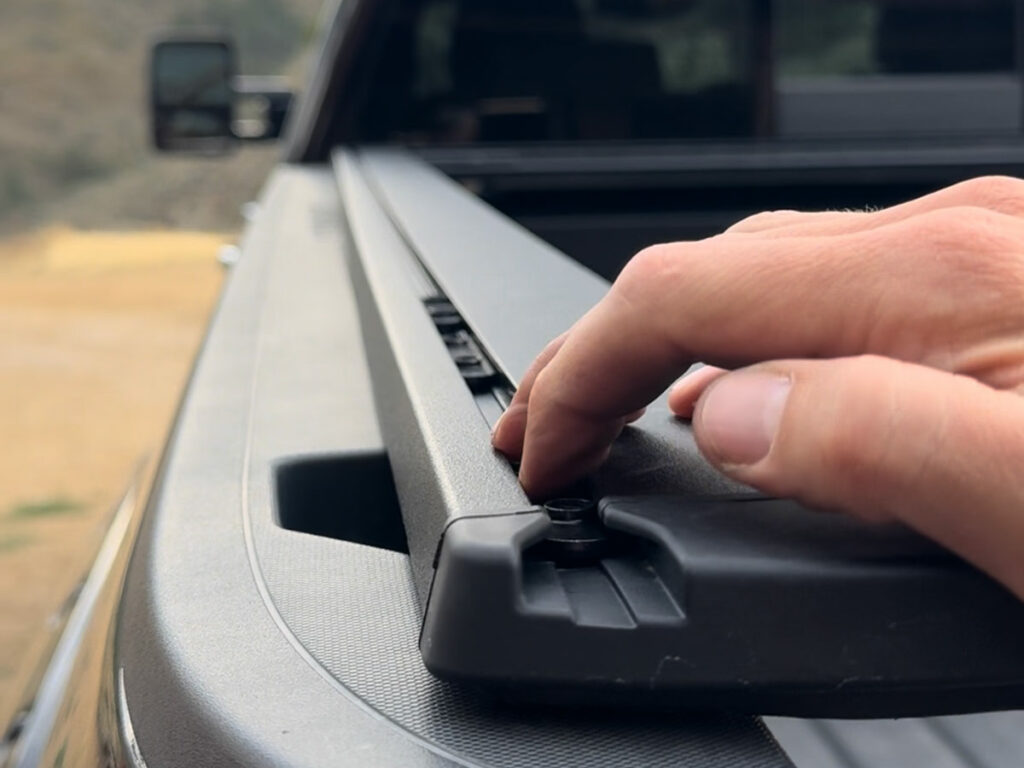
These brackets will later attach the bed rack securely to the truck’s bed rails. As with previous steps, keep all bolts semi-loose to allow for adjustments.
Add 3 to each side of the bed. Secure all of them while leaving them loose enough to slide back and forth.

Step 6: Place the Assembled Rack on Your Truck Bed
With the help of a friend, lift the assembled rack onto the truck’s bed rails. Ensure that all components are positioned correctly and that the brackets sit firmly on the rails. Keep all bolts semi-loose for final adjustments.

Important Note: If you’re installing the rack with a Retrax Tonneau Cover (which is the focus of this assembly guide), you’ll need to align the brackets with the tonneau cover rails and adjust to position you want (next step).
Step 7: Adjust the Rack’s Position
Now that the rack is on the bed:
Adjust the Bed Rail Brackets to the desired position on the truck bed.
We did this after placing the bed rack on the rails then adjusting the brackets where we want the rack to permanently sit. The bed rack is right up against the bracket (for all 6).

Leave bolts semi-tight to ensure you can make final adjustments.
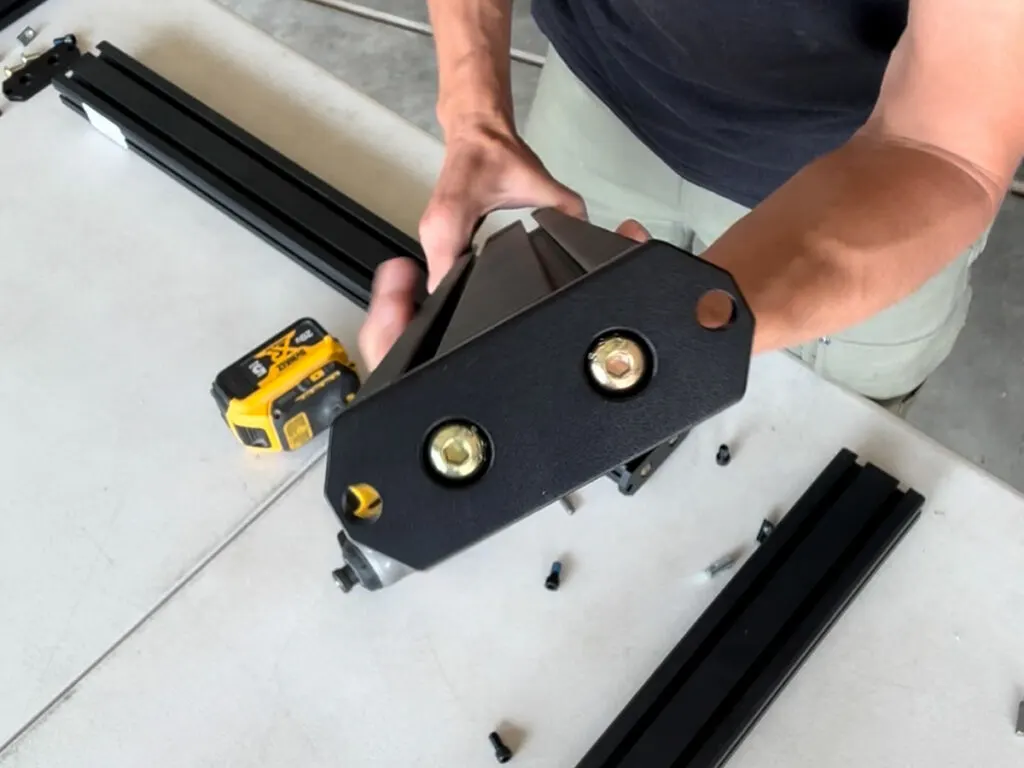
Step 8: Final Placement & Connection
Once the rack is in place (all 6 UPR aligned with each bed rail bracket).
We used a pliers and cloth (no scratches) to help align for a tight fit.
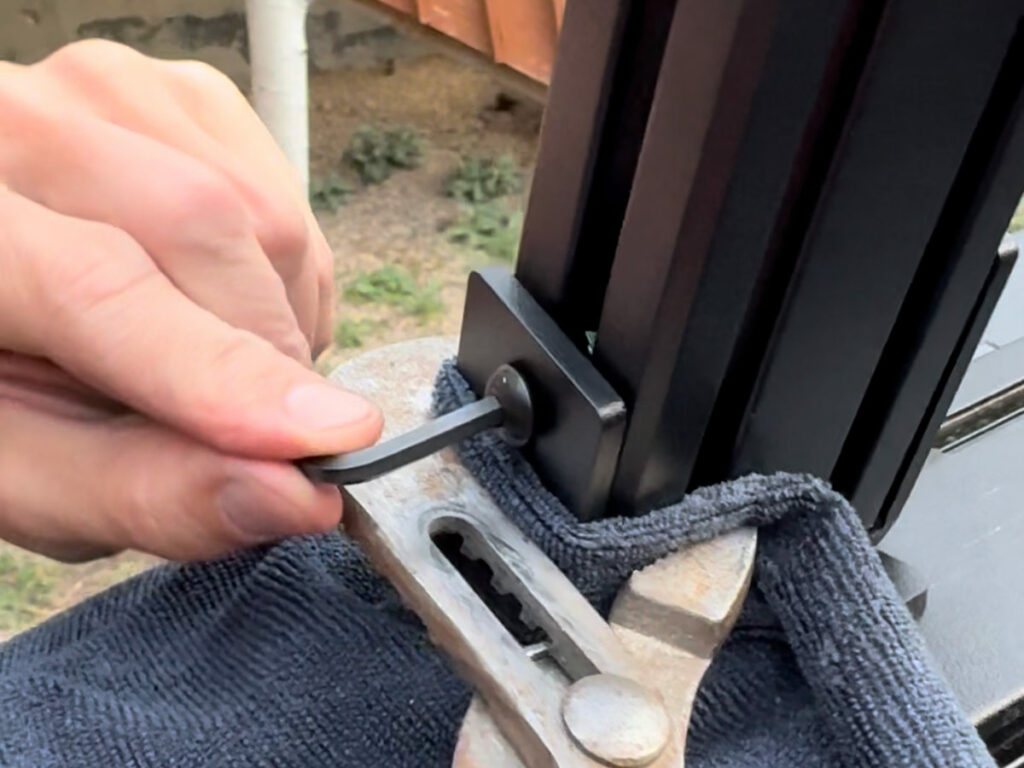

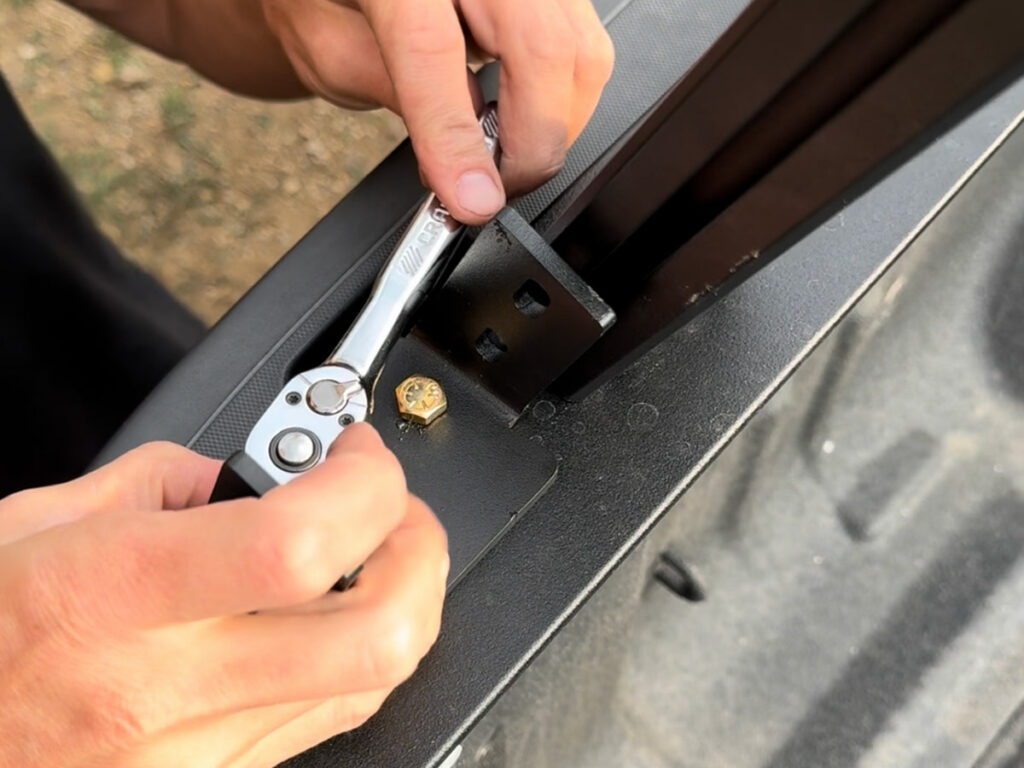
Step 9: Tighten Everything
Now that your bed rack is aligned and positioned:

Tighten all bolts using a torque wrench where necessary. The Bed Rail Brackets should be torqued to 20-24 ft-lbs.
Ensure all screws, bolts, and T-Nuts are fully secured with Loctite.
Final Checks

Before hitting the road:
- Double-check every bolt, screw, and attachment.
- Make sure everything is properly tightened, and nothing is left loose. Periodically check the condition of your bed rack, especially before and after off-road trips.

use code BUCKHORN for a discount
>>> SHOP XTRUSION ONLINE <<<
Pin it: