
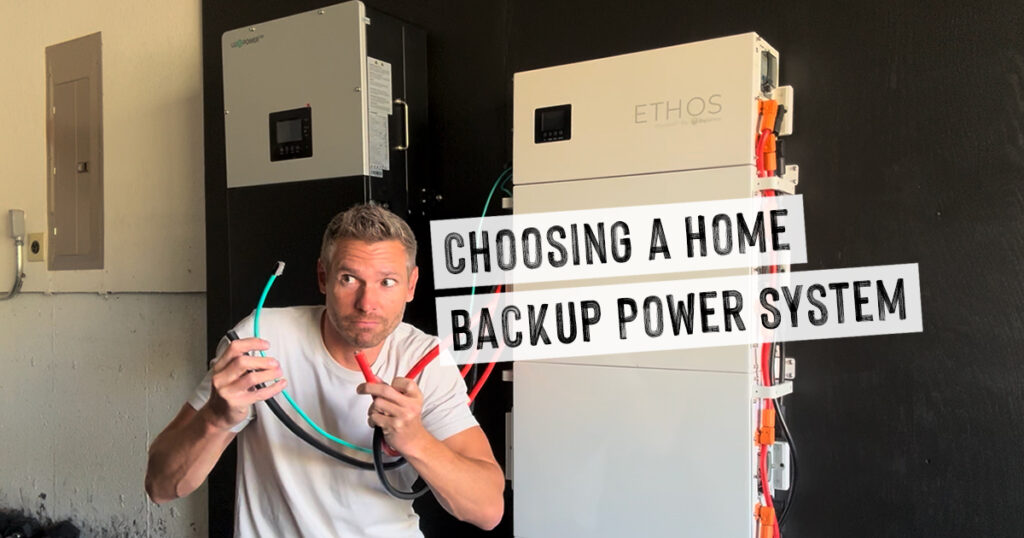
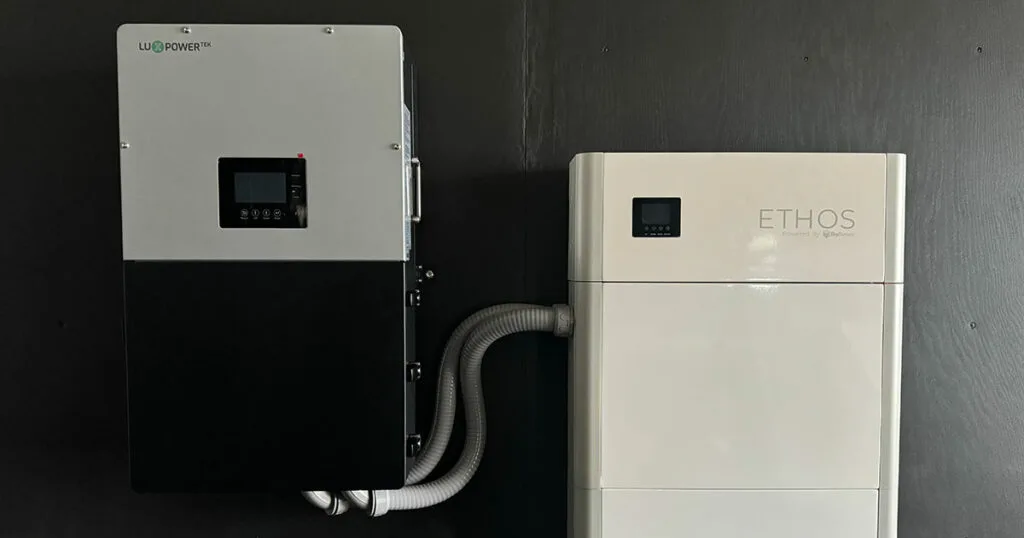
The BigBattery Ethos Energy Storage System (ESS) is an essential component for anyone looking to enhance their home’s energy resilience. This system, paired with the 12,000W Lux inverter, offers robust features like smart load control, AC coupling, peak shaving, and more.
Here’s a step-by-step guide for the initial set up for this system (connecting the hybrid inverter to the battery controller and 3 battery modules). This guide DOES NOT cover connecting inverter to solar or your electrical panel. This is step number 1 in creating a backup home power supply.
FIRST: Why did I choose this system?
If you haven’t yet, take a look at: Choosing a Home Backup Power System (Ethos & LUXPower) In this post I’ll outline why I chose a particular system, how it works, and what it powers (and why).

Preparing the Installation Area
Before you start mounting the components of the Ethos Energy Storage System, you’ll need to prepare the installation area properly. (For me) This involves creating a backer board to support the inverter and other heavy components, and ensuring the area is accessible and properly finished.
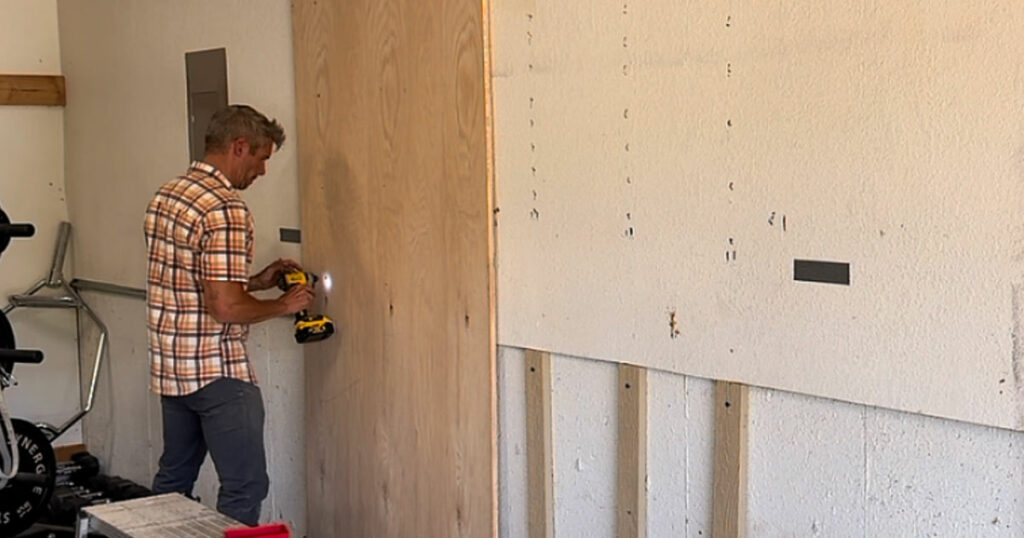
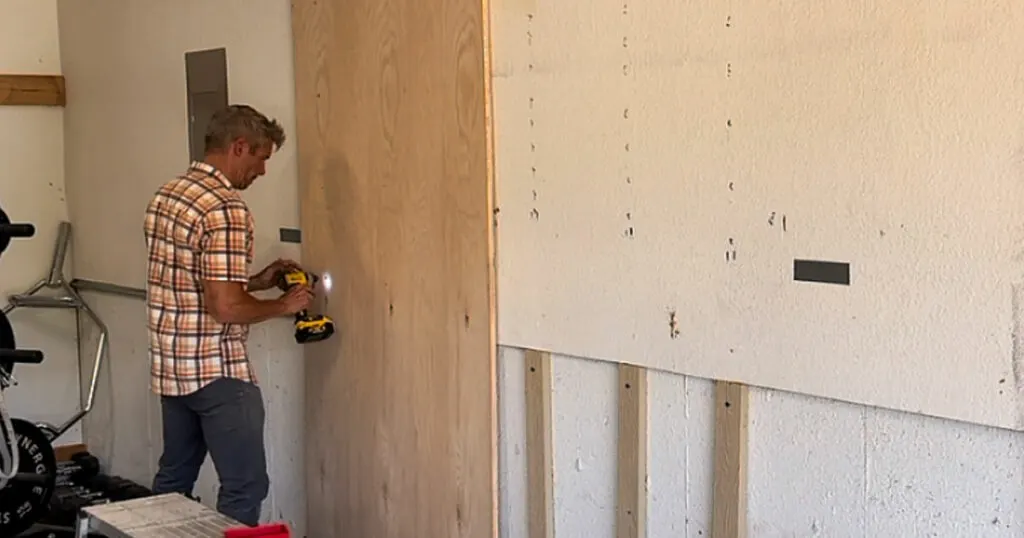
Create a Backer Board
Start by installing a backer board (mounting board) on your wall. This board will support the inverter, batteries, manual transfer switch, and other system components.


Ensure it is securely attached, as the inverter alone weighs over 120 pounds. According to the manual, always mount the battery in an upright position to avoid damage to the internal components.
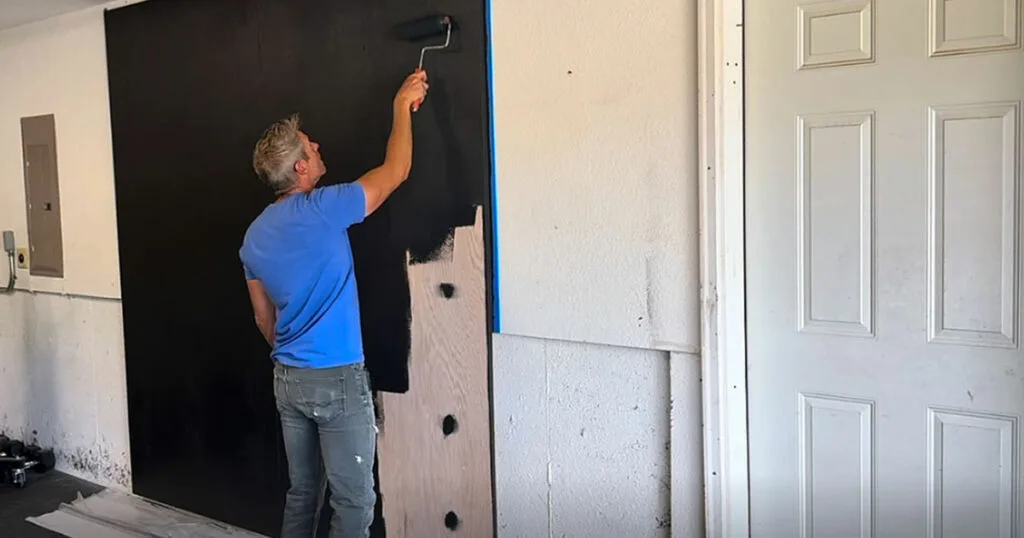
Painting the Board
Use black exterior-interior paint for a clean, finished look. Note that this system can be installed both indoors and outdoors, but for this setup, we’re placing it inside the garage near the main panel.

Mounting the Inverter
Mounting the inverter is a critical step in the setup process. Proper installation ensures stability and accessibility for maintenance and operation.
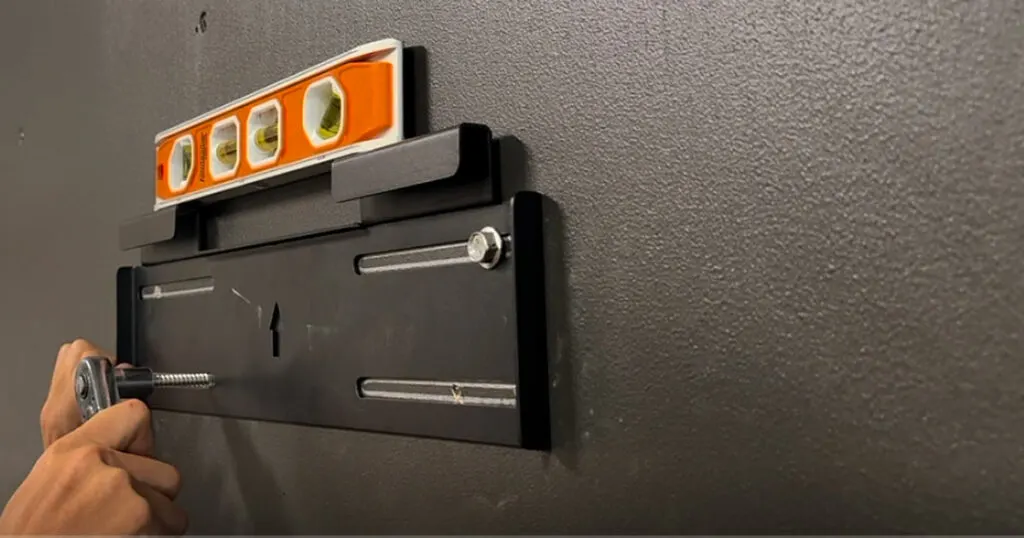
Position the Inverter
Ensure the mounting hardware is level. Secure at least one screw into a wall stud for stability, with the rest anchored into the backer board. The LUXPower Inverter manual suggests mounting the inverter at least 12 inches from the battery system to allow for proper airflow and maintenance.

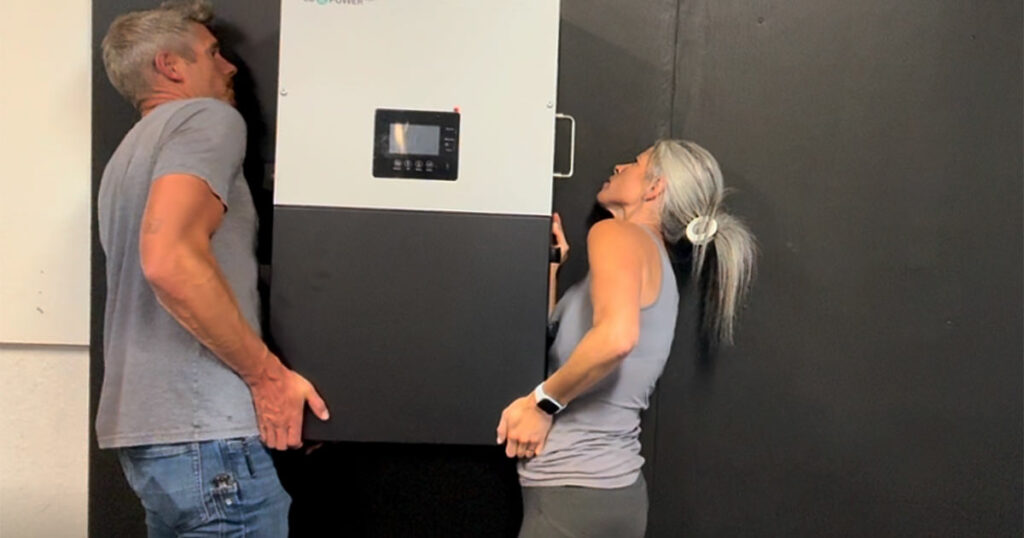
Additional Hands
While it’s possible to do this alone, having a second person can help position the inverter correctly on the included mounting hardware.

Secure Inverter w/ Brackets
Ensure the inverter is mounted securely with the included brackets. Follow the specific wiring diagrams provided in the LUXPower Inverter manual for accurate installation.

Mounting the Batteries
The batteries are a vital part of the system and must be mounted securely to ensure they remain in place and function correctly.
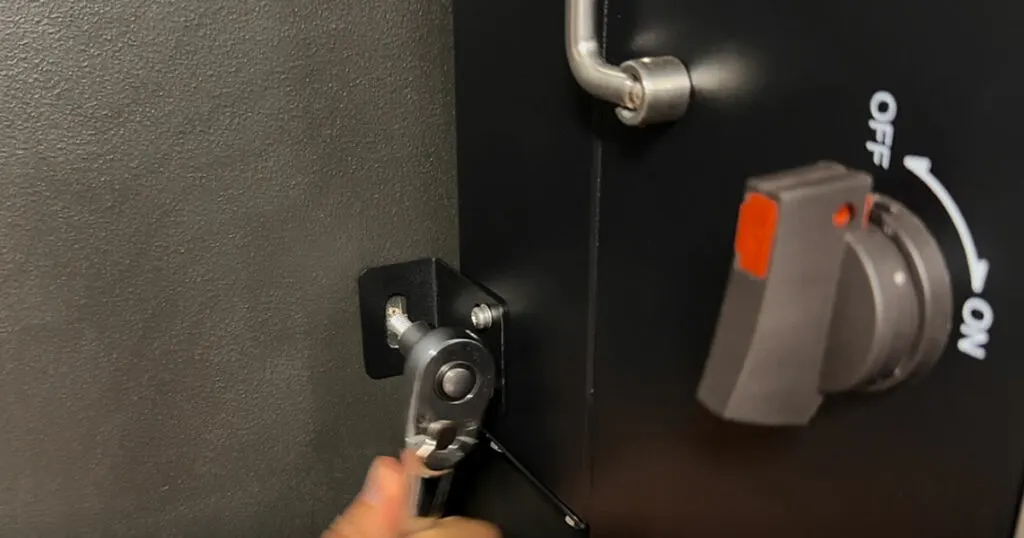
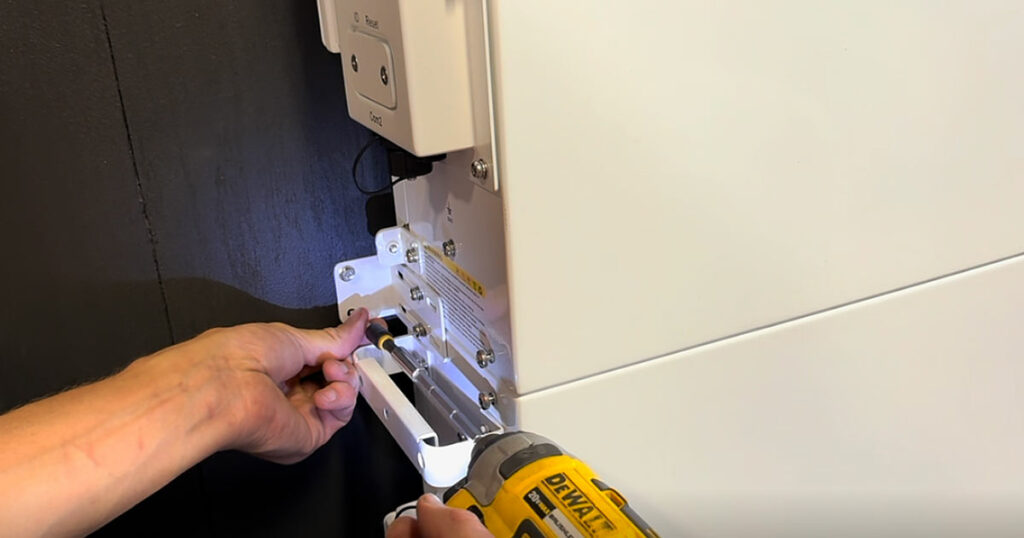
Secure the Batteries
The batteries sit on the ground but must be attached to the wall to prevent movement. This system includes the necessary mounting hardware.
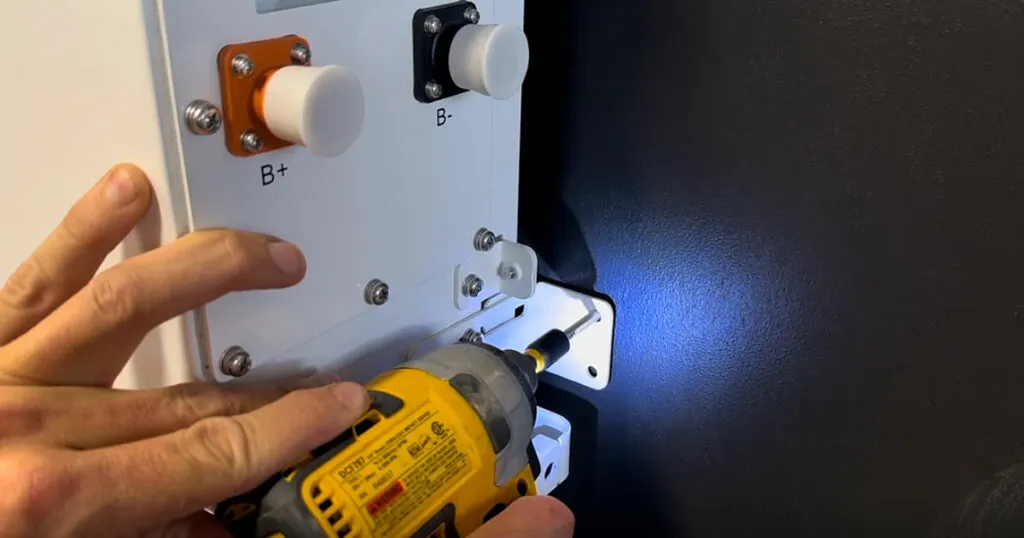
The manual emphasizes securing each module to the wall using L brackets and fastener screws to ensure stability.

Ensure Stability
Even if the batteries are not perfectly level, they will function correctly. The manual indicates that the system is designed to operate even if not perfectly level, which helps simplify installation.
Connecting the System Components
Connecting the various components of the system is a straightforward process but must be done with care to ensure everything operates correctly.
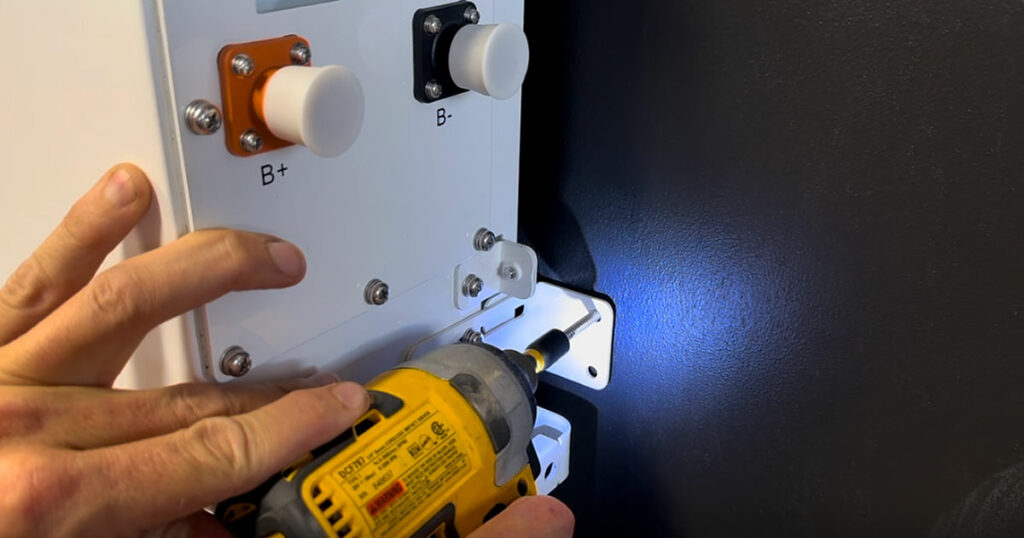
Battery Modules
Each battery module is 48 volts and offers over 5 kWh. Connect them to the controller box and mount them securely. The manual provides detailed diagrams to ensure correct connections and configurations.

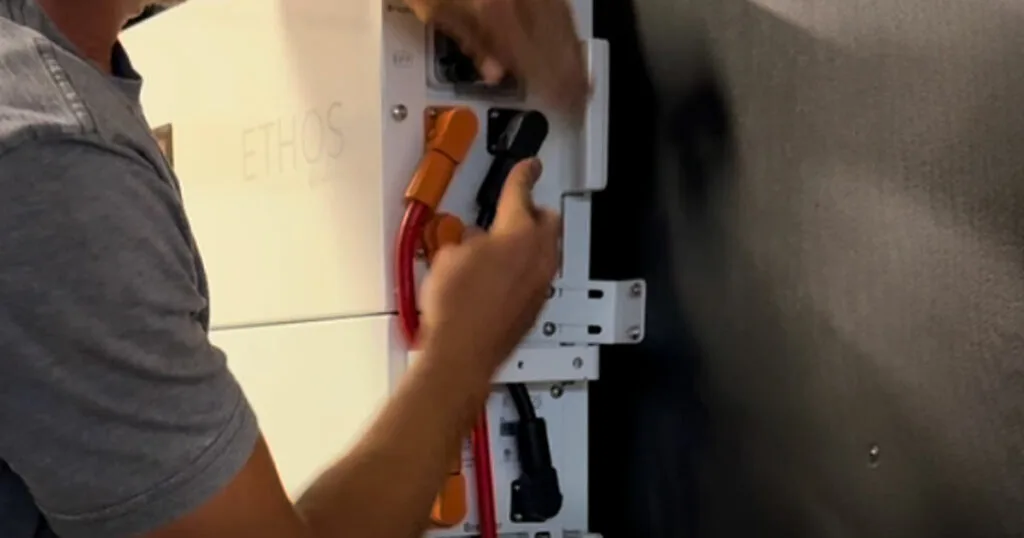
Included Cables
Use the provided cables for connections. Follow the manual, which is straightforward and easy to understand. The manual recommends using the provided Battery Module Comm Cable and Battery Module Red & Black Parallel Cable for secure and efficient connections.
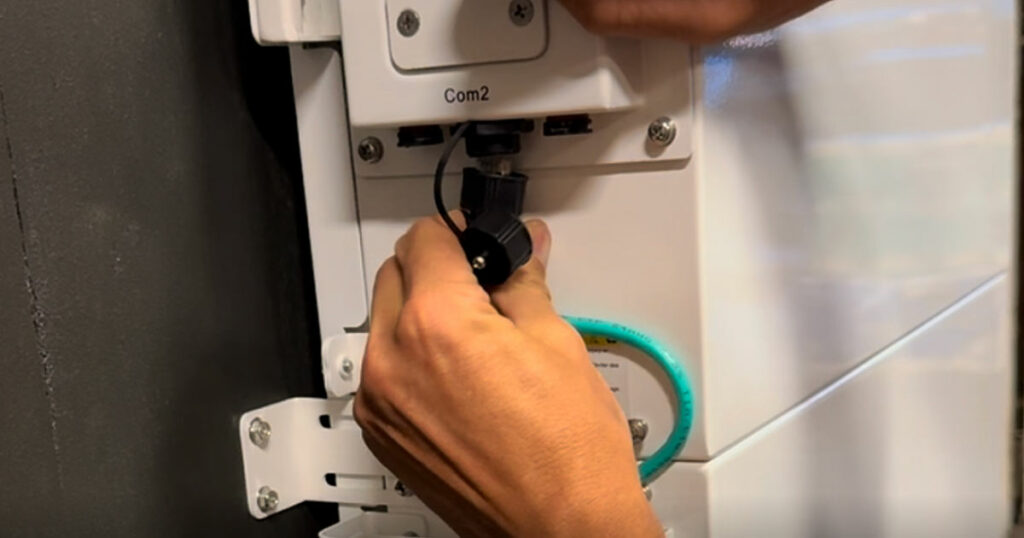
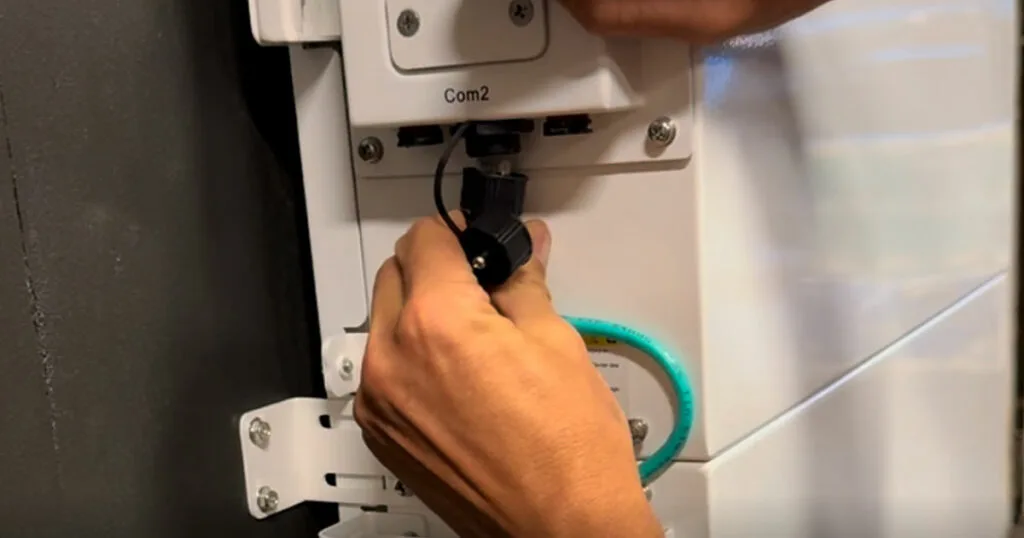
Communication Cables
These cables allow the controller to relay information about each battery. According to the manual, use the RJ45 communication ports for connecting the batteries to the control box and ensuring proper data flow.
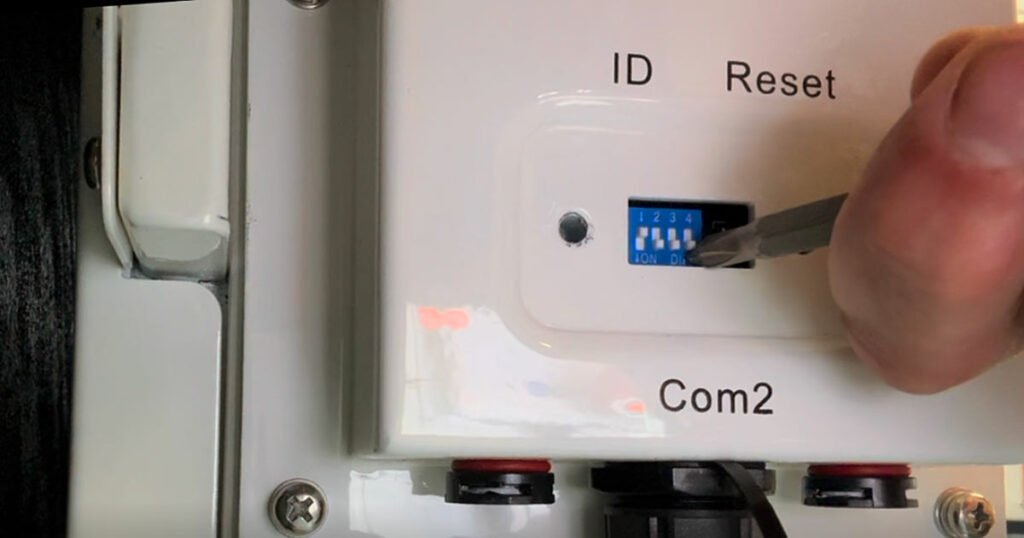
Configuring Connections
Configure the battery IDs using the dip switches as per the manual. Connect the batteries to the controller and the controller to the inverter. The first battery should be set to ID1, the second to ID2, and so on, ensuring unique IDs for proper communication.

Installing Liquid Tight Conduit
Using liquid tight conduit helps protect the wiring and ensures a neat installation, suitable for both indoor and outdoor setups.
Conduit Setup
For a clean and protective setup, use liquid tight conduit for wiring. This method is suitable for outdoor use and helps organize the wires. The manual suggests using conduit to protect and organize the wiring for a neat and safe installation.
What I used:


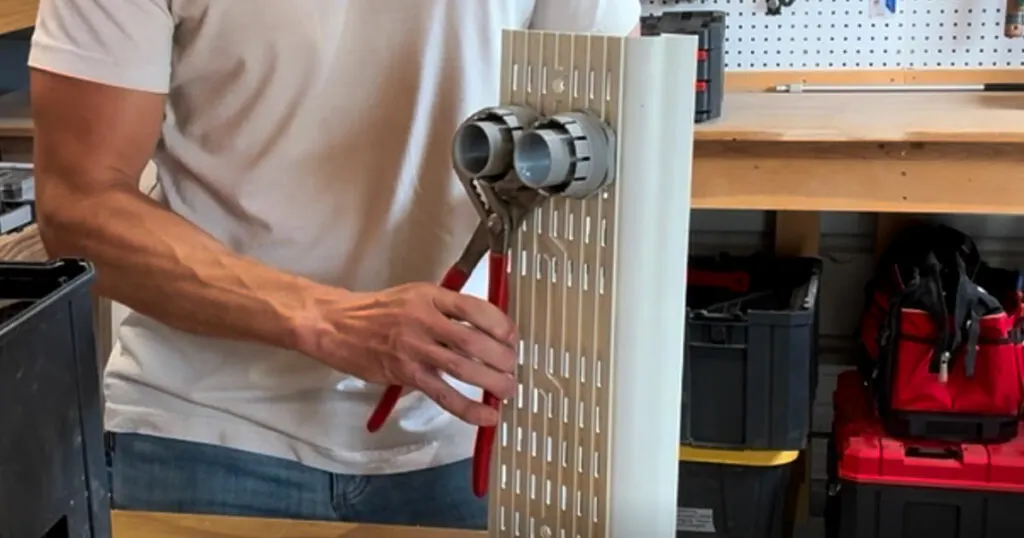
Cutting and Fitting
Cut the conduit to size and fit it into connectors. Hand-tighten the connections and use reducing washers as needed. Ensure all connections are secure to prevent any potential damage or disconnection.

Testing the System
Testing the system is the final step in the installation process. This ensures that all components are working correctly and the system is ready for use.
Power Up
Turn on the breakers for each battery and the controller. Then, turn on the main panel breaker to test the system. The manual advises checking the screen on the control box to ensure it detects all batteries and displays the correct amp-hour capacity.
Verify Connections
Ensure that all connections are secure and the system is functioning correctly. The manual emphasizes verifying all connections and configurations before finalizing the installation.
Technical Recommendations from Manufacturer Manuals

Incorporating recommendations from the manufacturer’s manuals ensures the system is set up correctly and safely. Here are some key points from the LUXPower Inverter Manual and the Ethos Battery Manual.
From the LUXPower Inverter Manual
- Safety Guidelines: Before starting any installation, ensure that all safety guidelines are followed to prevent accidents and equipment damage.
- Mounting the Inverter: The inverter should be mounted using the provided hardware and should be securely attached to a wall stud for stability. Ensure that the mounting area is level and that the inverter is accessible for maintenance.
- Electrical Connections: Follow the specific wiring diagrams provided in the manual. Ensure that all connections are tight and secure to prevent electrical faults.
From the Ethos Battery Manual
- Battery Configuration: Use the dip switches to configure each battery’s ID. The first battery should be set to ID1, the second to ID2, and so on. This ensures proper communication between the batteries and the control box.
- Communication Ports: Connect the communication ports using the provided RJ45 cables. This allows the control box to monitor and manage each battery module.
- Safety Precautions: Always turn off the batteries before making any connections. Use a voltmeter to ensure there is no voltage present before handling any terminals.
- Grounding: While not mandatory, grounding the system can enhance safety and stability. Follow the grounding diagram provided in the manual if you choose to ground the system.
This Ethos Energy Storage System is designed with DIY enthusiasts in mind, making it an excellent choice for those looking to enhance their home’s energy resilience. The installation process, while detailed, is manageable with the right tools and some patience. For the final setup, consider consulting an electrician, especially when integrating the system with your main electrical panel.
Pin it:
