Here are a few ideas and pictures to help you complete your DIY Garden Fence. Creating the proper garden fence will help you keep out unwanted guests like deer and bunnies.
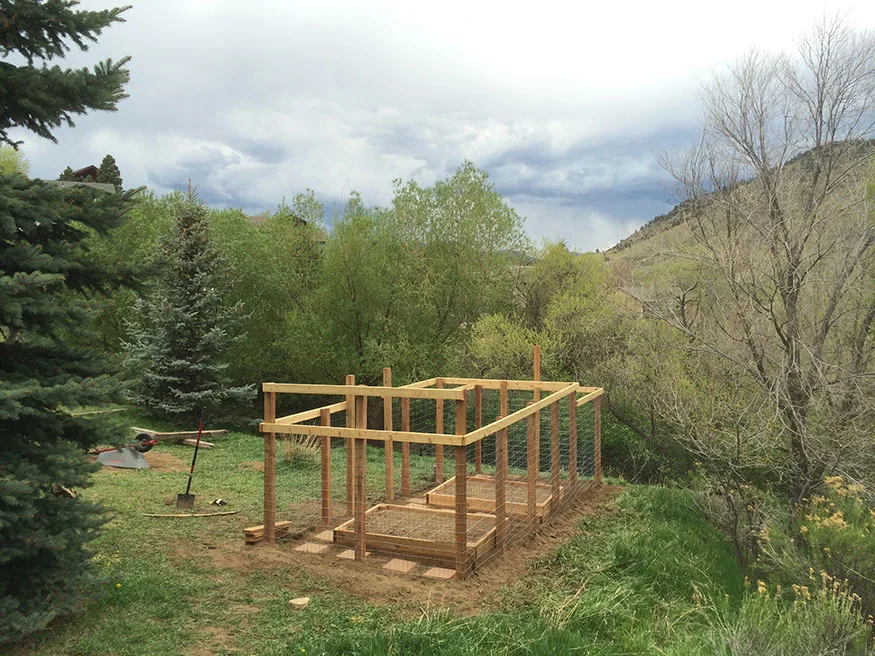
This project was from 2015 (at our previous house).
At our last house (here in Northern Colorado) the Mule Deer were very friendly and would love nothing more than to snack from your garden. Not only that… depending on the year the bunnies are very abundant and they too love a good salad.
This means: one of the first priorities we had after moving in was to build a fence around the garden. Here’s a little look at what we did.
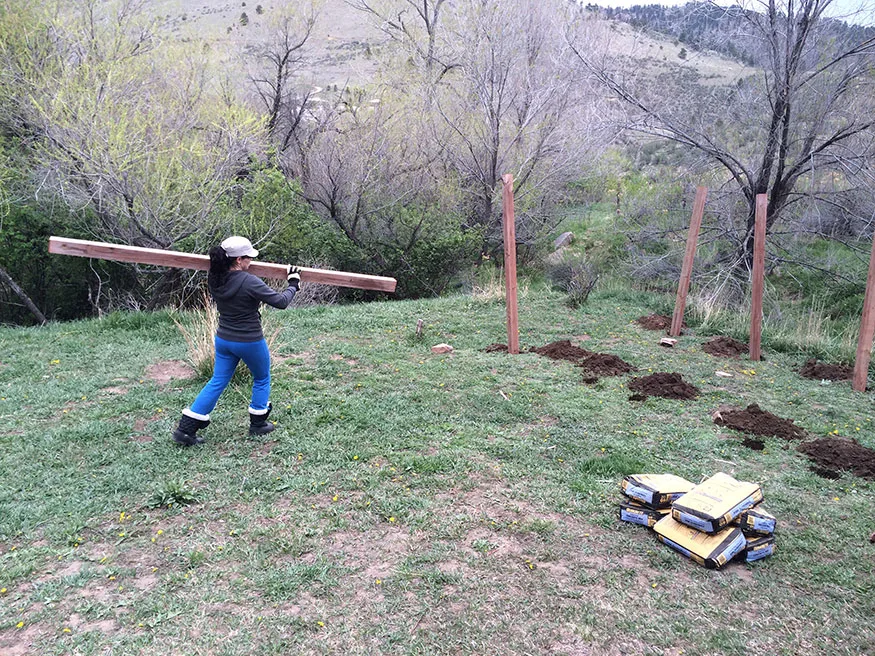
Step by Step Instructions for Building a Garden Fence
Pick the Garden Location
Pick your garden location and measure where you want to install your posts. Mark the ground with spray paint or whatever method will allow you to be exact.
Dig the Holes
We dug the holes with a post hole digger (we happened to have dirt in this particular area, that’s not the case where we live now, it’s all rock).
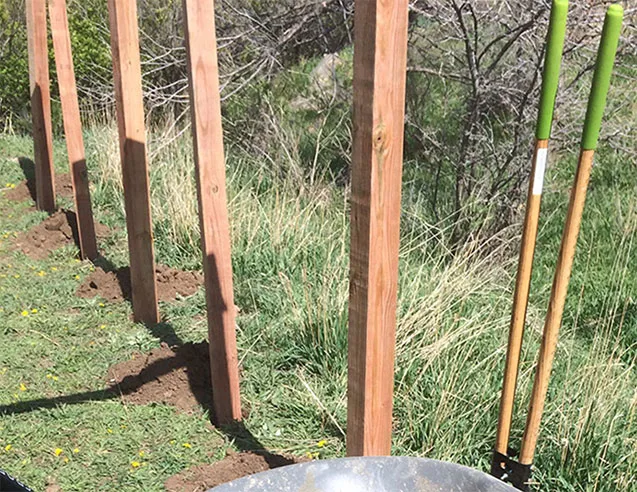
Once I had the post holes dug and ready for the posts, it’s time to add the concrete. If your ground allows for post holes, get a post hold digger.
Set Treated Lumber in the Post Hole (prior to filling with concrete)
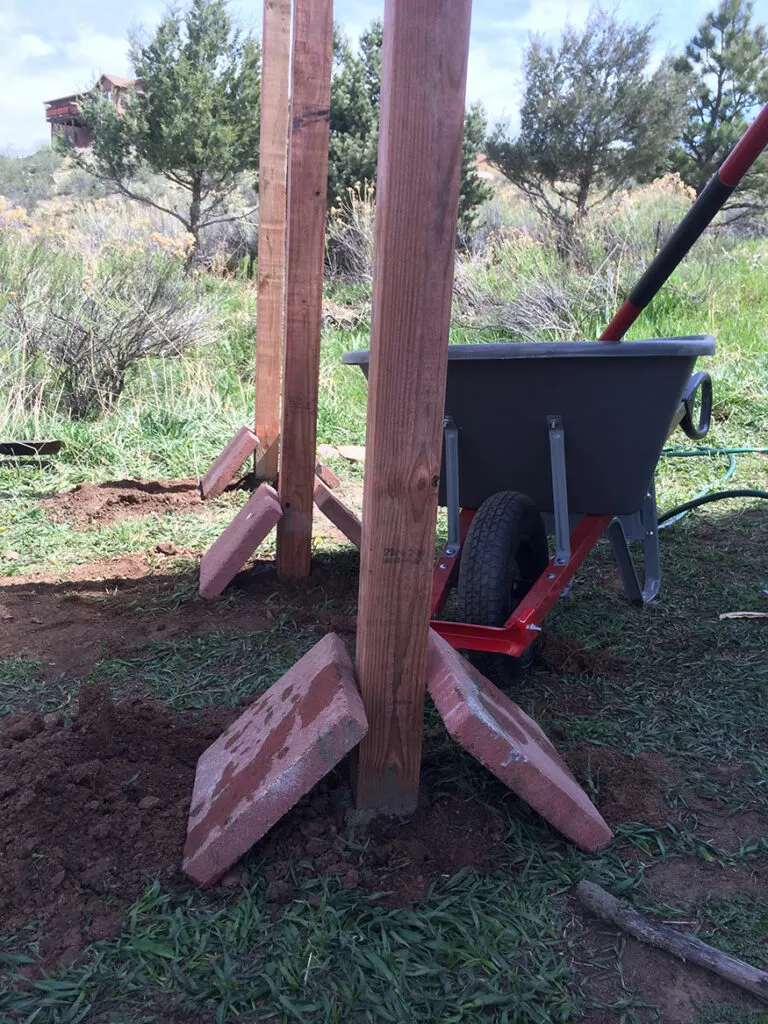
I had pavers ready for the path in the garden and they came in handy for leveling the treated 4X4 lumber prior to attaching all of the posts together via 2×4.
Concrete Filled Fence Post Holes
Here’s the deal with concrete, I’ve had just as much success dropping dry concrete in to the hole and spraying it with water, poking it around, and then repeating.
It’s a lot easier than trying to mix it in a bucket or a wheelbarrow and it works just as well (at least here).
Use a digging bar to mix the concrete and water in the ground and tamp it in with force.
Level the Fence Posts w/ 2x4s
Get your level and ensure the posts are level on the north facing and west facing sides of each post. My janky way in this particular project was to ensure everything stays level with pavers. Not ideal. Use 2X4s if you want to do it right.
However, it worked just fine and remained level after the concrete hardened.
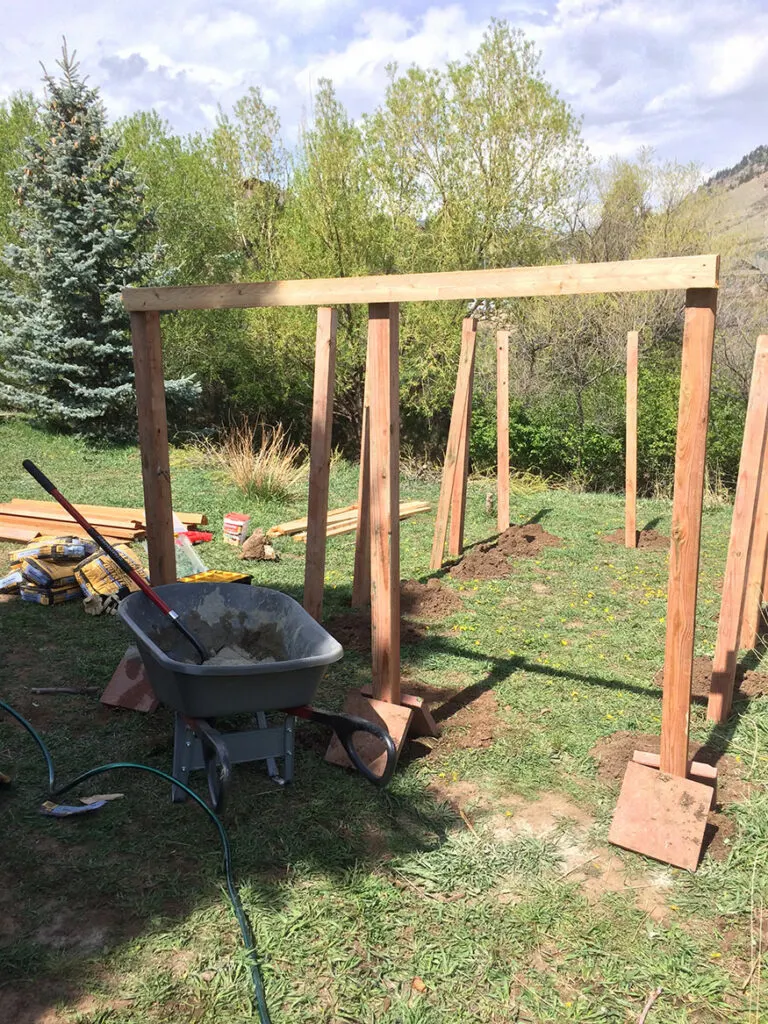
>>> Lesson Learned
As you can see here, I was using a wheelbarrow to mix the concrete. Experience has taught me it’s a wasted step (at least here). I’ve not done that again since and I’ve installed many fence posts.
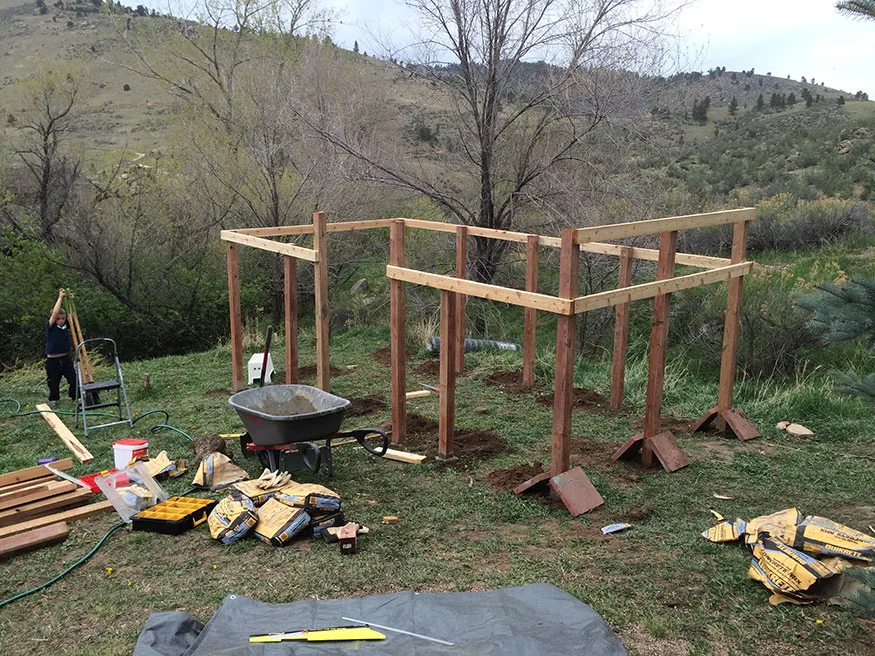
Clear the Ground
After your posts have set, it’s time to create garden beds and prep the garden area (prior to attaching the welded wire).
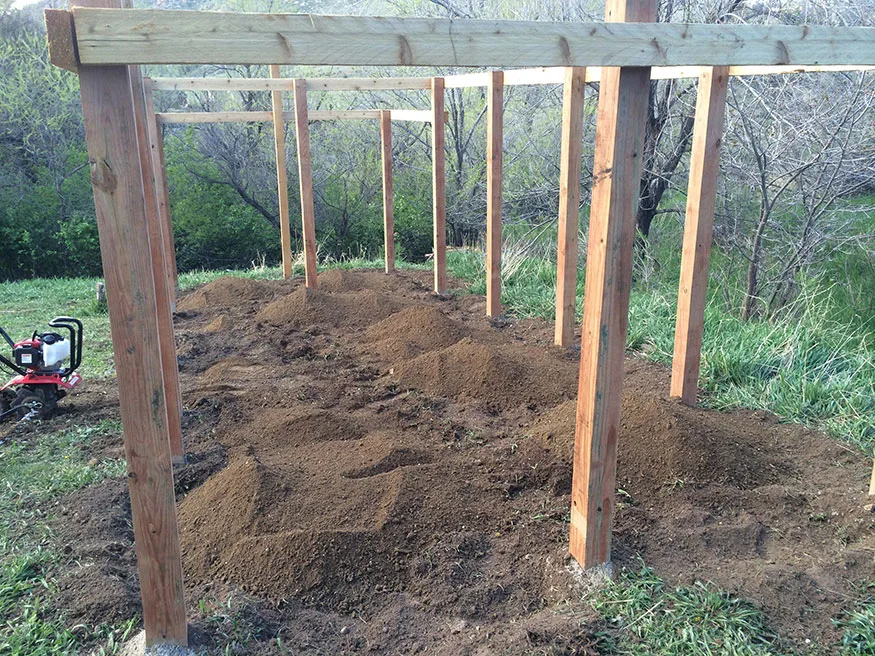
Now it’s time to prep the raised garden beds.
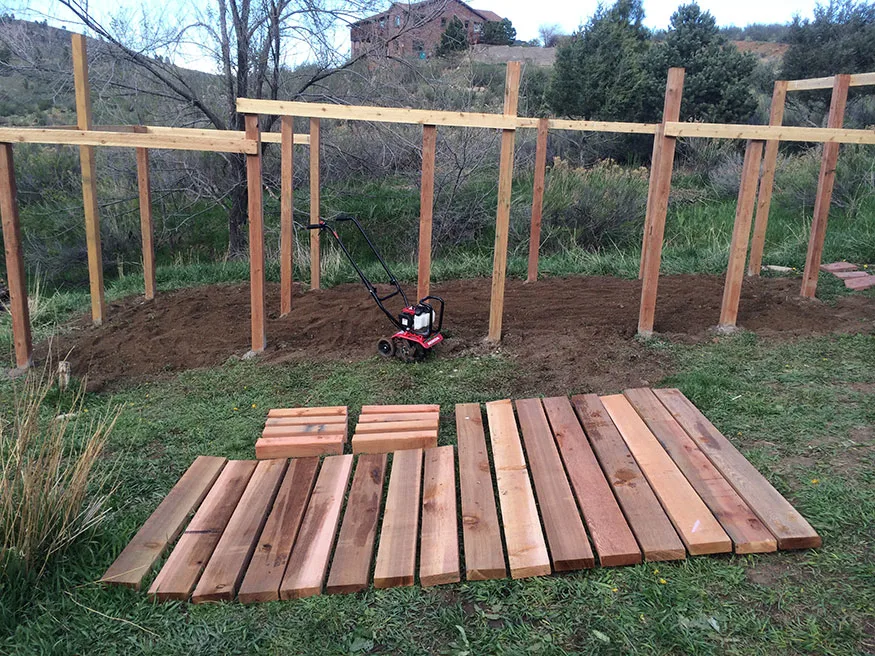
How to Build Garden Beds
For this project I used cedar (it was expensive) and I wouldn’t use cedar again. I’d just go for treated lumber all around. Either way, use whatever wood you have access to and can afford.
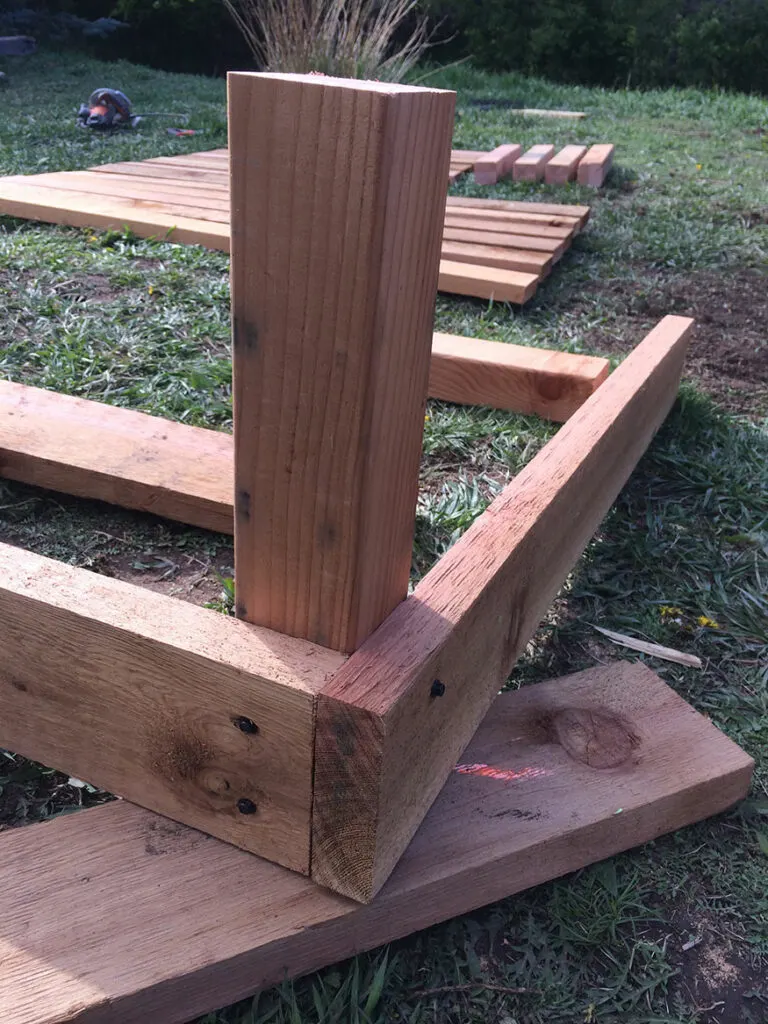
I used 4×4 treated lumber and then whatever wood for the sides you have available (in this case, cedar). I also used TimberLOK screws (or similar brand). These are landscape screws are the best.
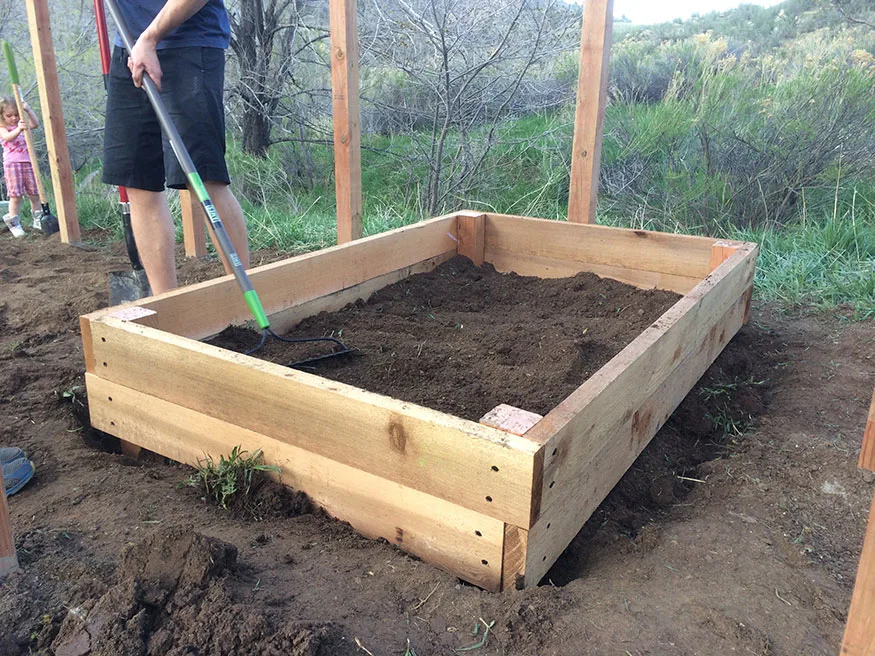
I staggered the sides and each 4×4 post is about 1 foot in to the ground for long term stability. My sidewalls are a little lower than where the surrounding earth will be too.
Both of those steps help to create a very secure garden bed that’ll last awhile.
And if you decide you want to scrap it in 10 years, those TimberLOK screws should still be good to use on your next project.
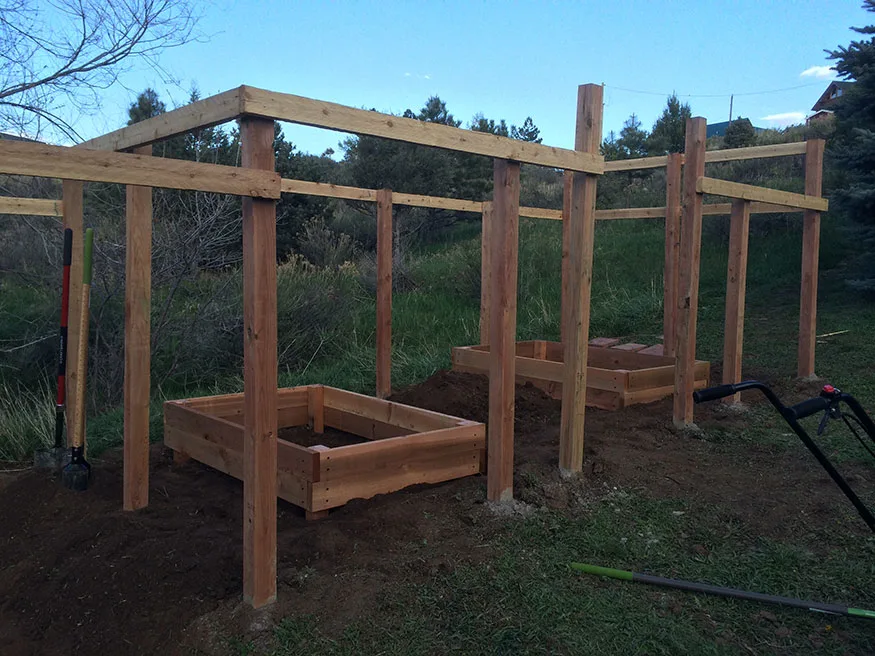
Attach Welded Wire to Parameter of the Garden Fence
If you’re attempting to protect your garden from vermin in addition to dear, you’ll want to dig a trench around the fence posts prior to installing the welded wire.
You’ll also want to attach chicken wire to the bottom couple feet of your fence (not pictured).
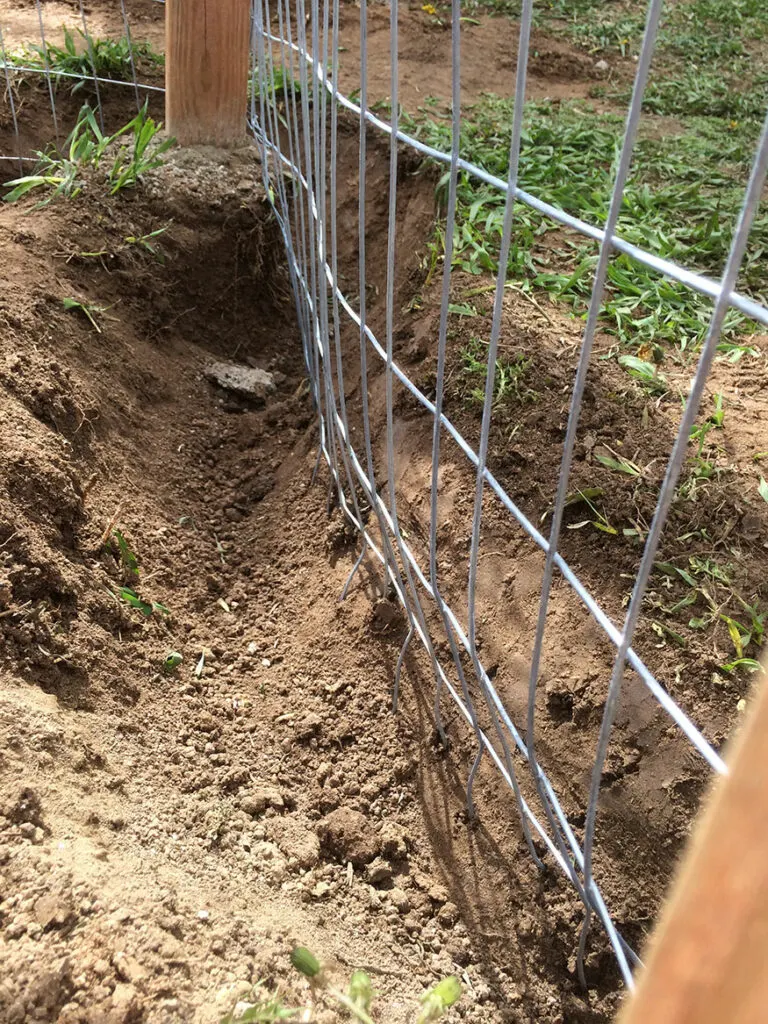
Rolling out the welded wire is difficult, a great exercise in patience. Stretch and tighten. There are a lot of ways to do this, I should probably write a post on how I’ve done it with our cattle fence.
One method for a small project like this is to use or create a type of lever that allows you to pull both top and bottom to ensure the tightest fit you can get.
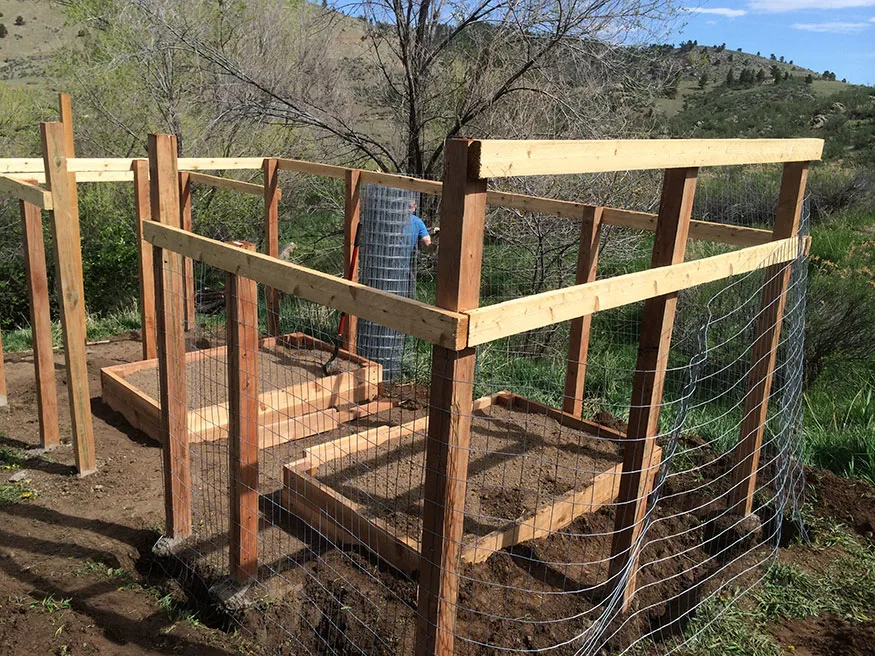
When attaching the welded wire to your 4×4 treated lumber posts, use fence staples and a great hammer.

I used pavers to wrap around the garden beds (nice when it’s muddy).
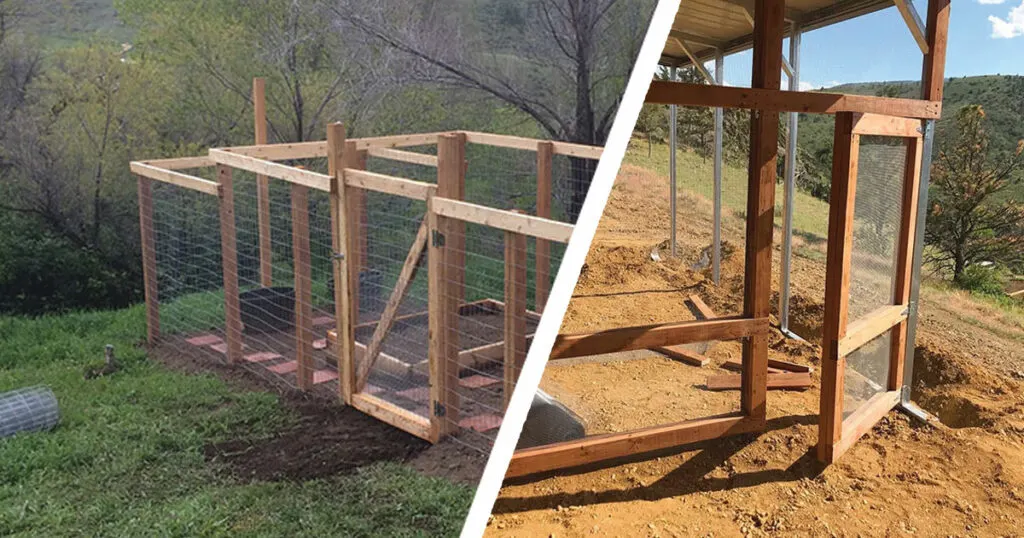
Check out this post on details on how to build a garden gate for your new garden.
Pin it:

Justin
Thursday 11th of March 2021
I will be starting this project this weekend. If you have any updated tips please let me know!! We aren’t doing full fencing but I am setting posts for the same style ground box gardens; fencing will be along single backside to aid in climbing plants (privacy).