
On this page you’ll find pictures and details on how to build a garden fence gate that’ll last. In fact, there are two different layouts to give you a choice. + I include a few things I would have done differently (at the end of the post).
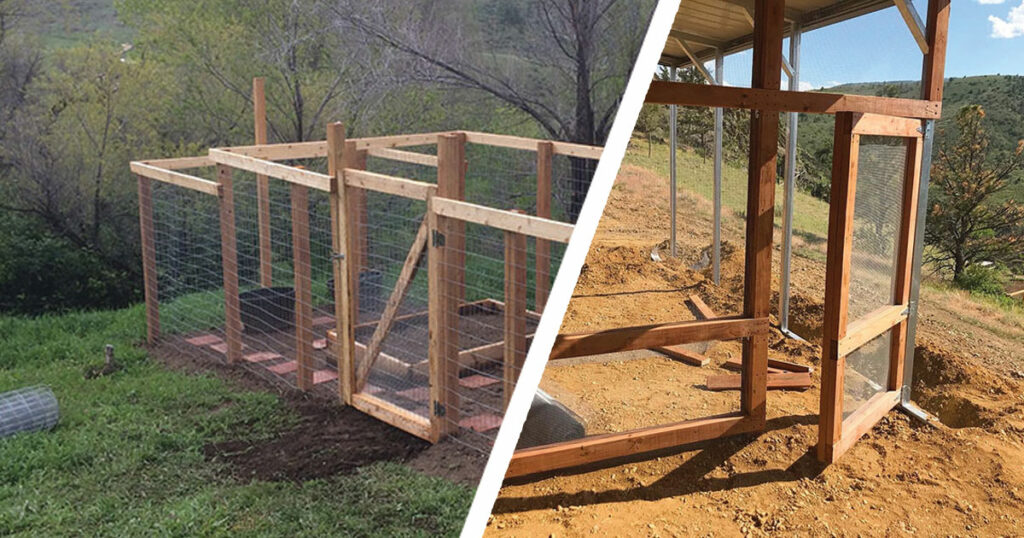
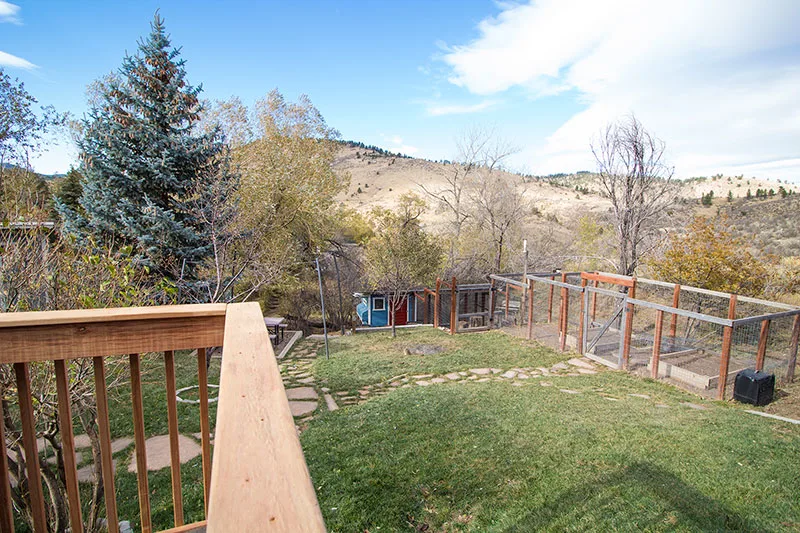
The original garden gate was built at our last property. Since then we’ve moved to our homestead/ranch (not far from this garden). At the new place we’ve just recently built a chicken run under our lean-to on the prefab barn we had built. At the end of this post I’ve got a few pictures of the chicken run doors I built (could easily be used for a garden gate too). Hope this post is helpful for ya!
And if you wanted to see the: DIY Garden Fence

The gate for entry into the garden is part of the garden layout, deer are a big problem (in northern Colorado) for gardens. Gardening at higher elevations is also loaded with other difficulties too.
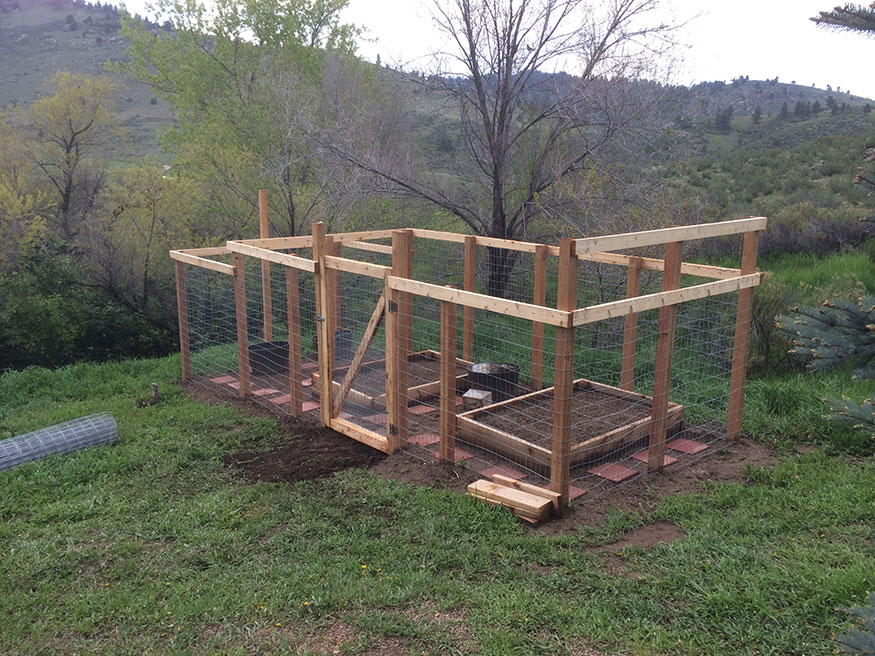
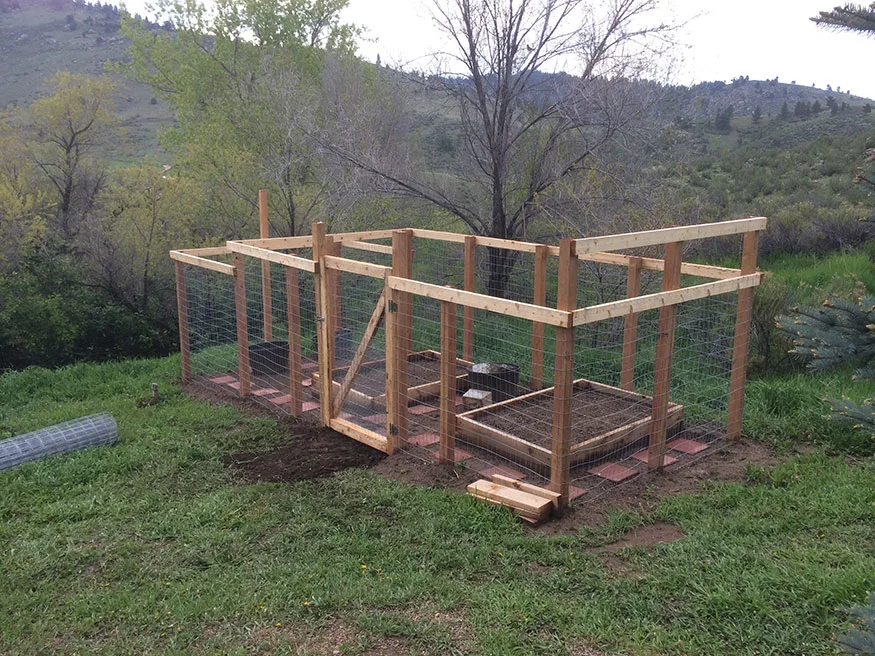
The picture below was taken about 4 years after the picture above (originally built in 2015). You can see that treated lumber keeps its coloring much better and probably will last longer.
Tip: Use treated lumber when building your garden gate.

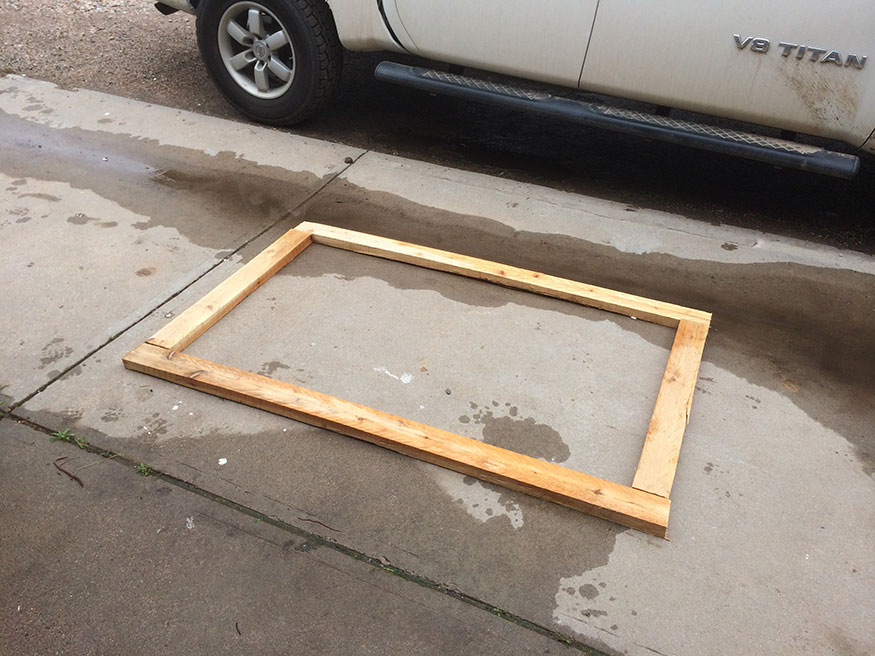
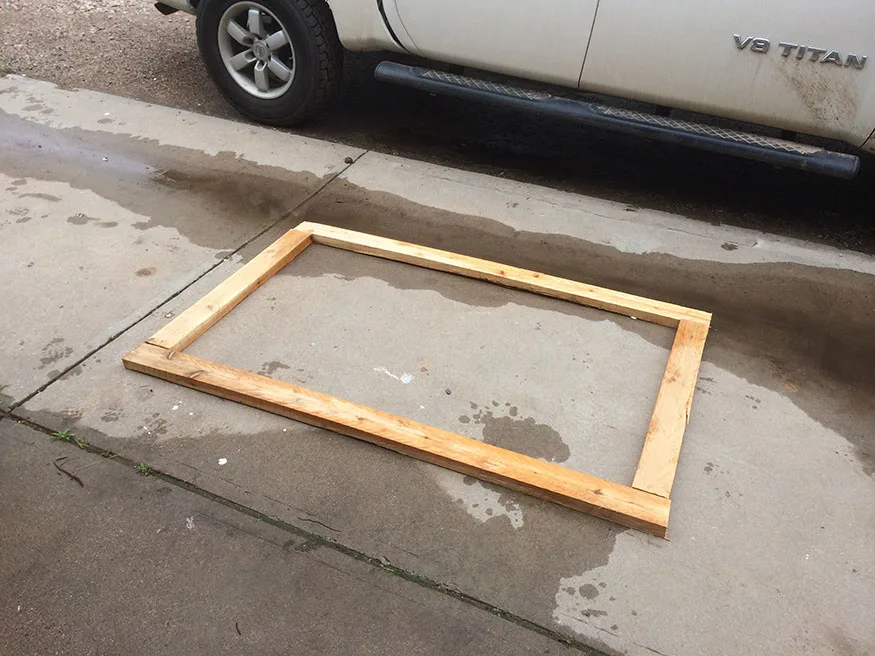
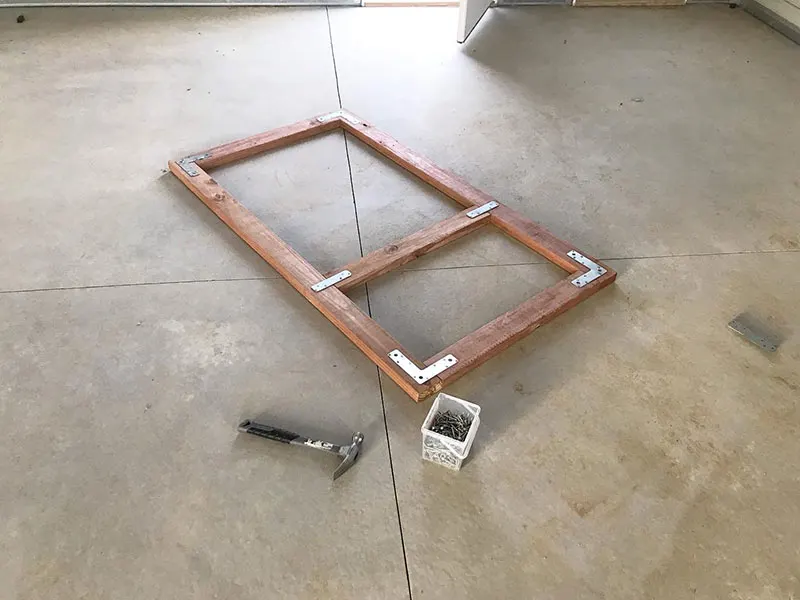
Initial Prep – Building a Wooden Gate
You have to start somewhere and lucky for me I had a little flat ground perfect for putting it all together. Let’s take a look at a few pictures to help you get an idea of what we did to build this Garden Fence Gate.

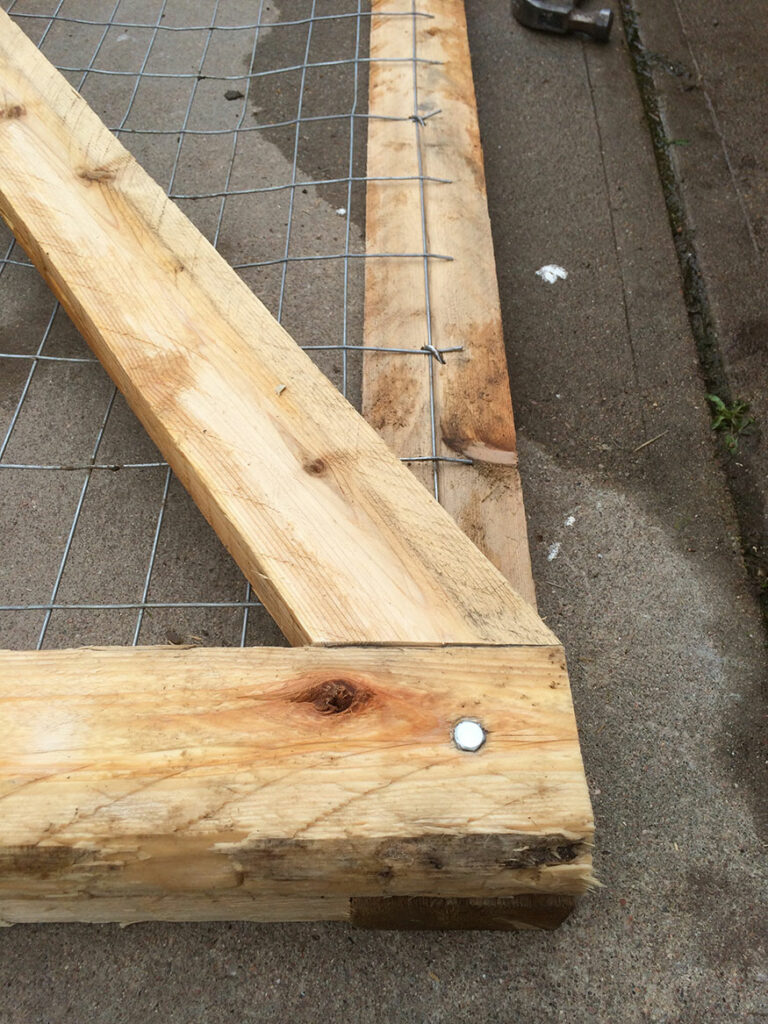
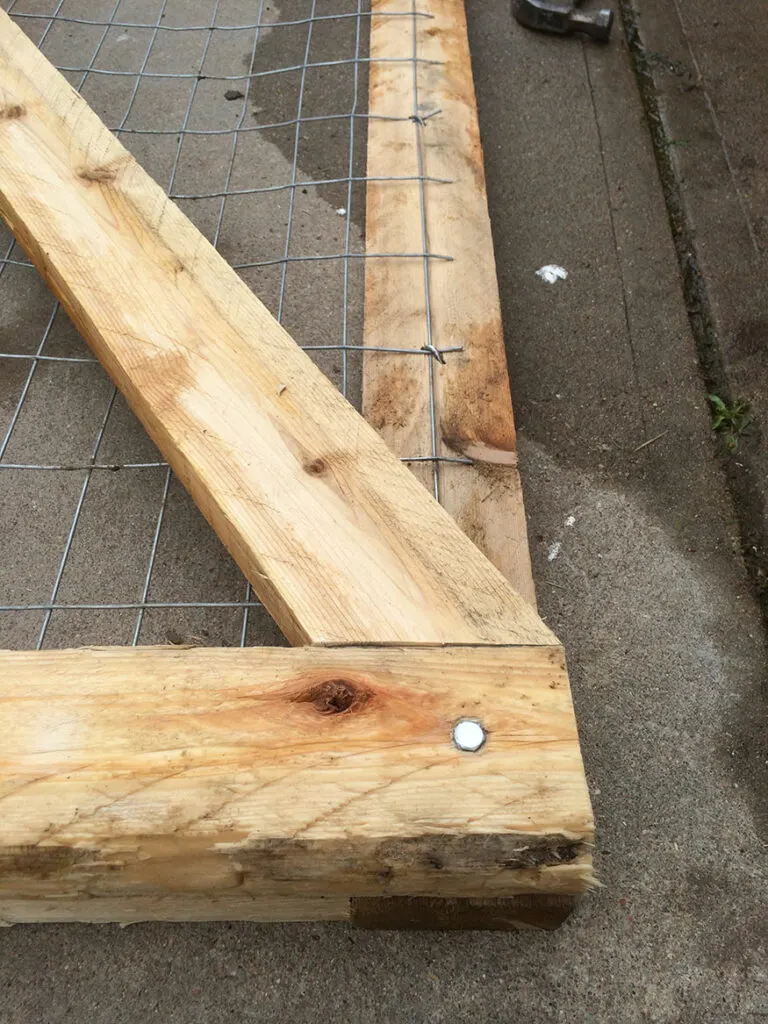
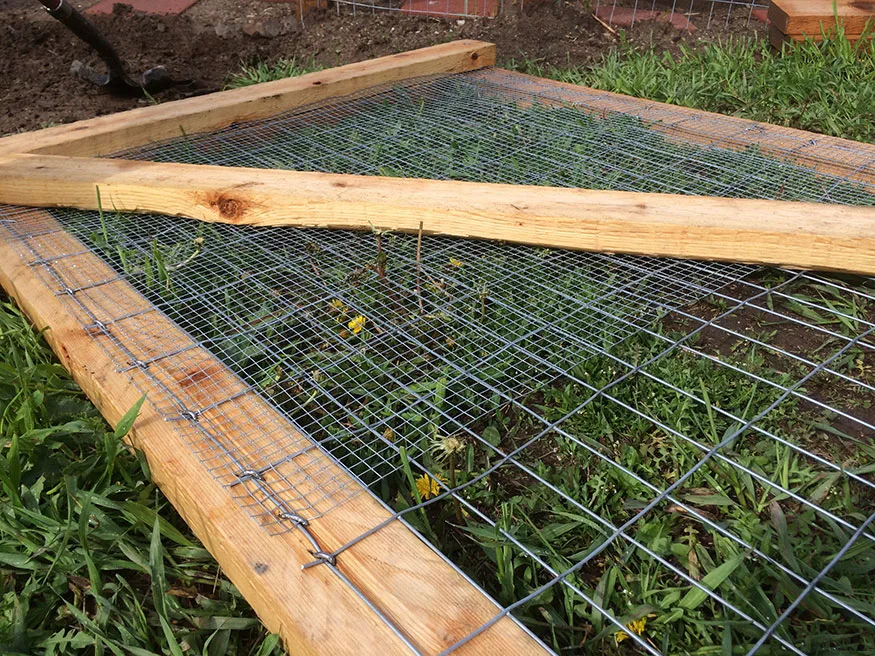
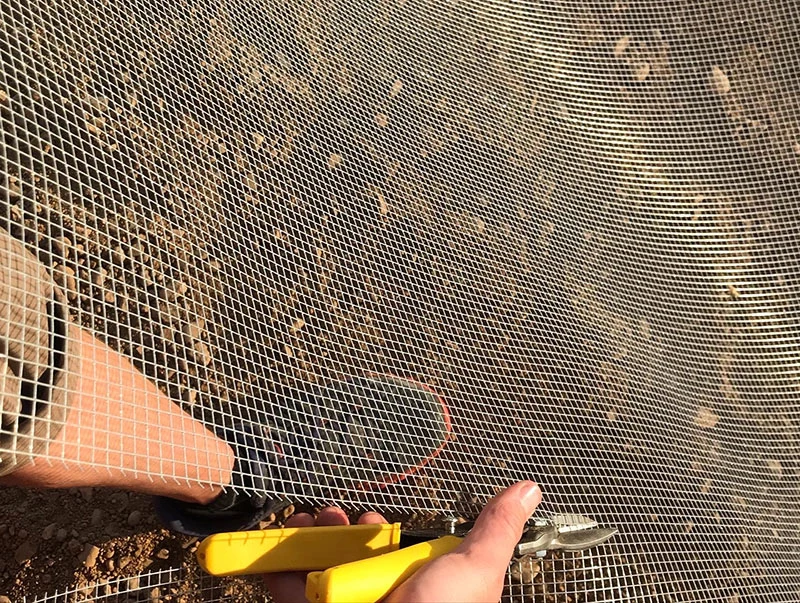
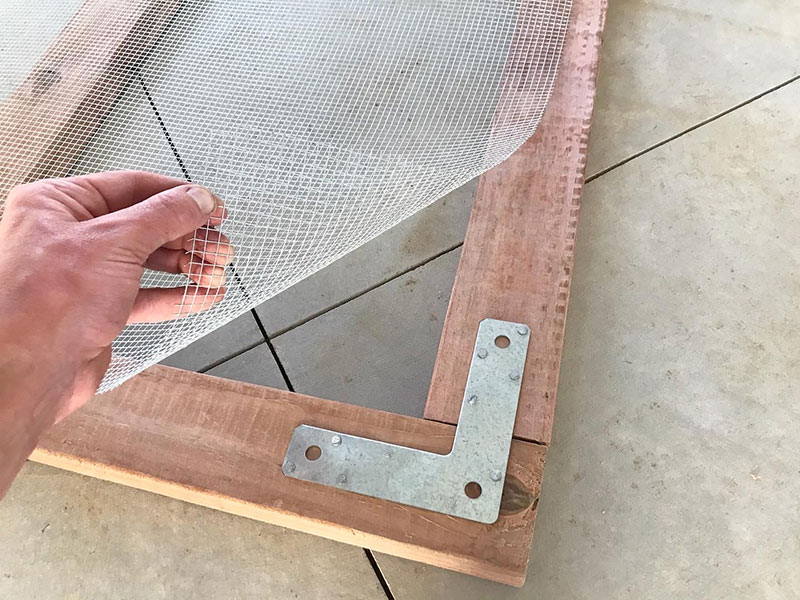
Fencing Nails & Welded Wire.
Welded wire is less expensive than chainlink and it’ll hold up better if you ever need to cut it. The fencing nails add a level of stability to the project.
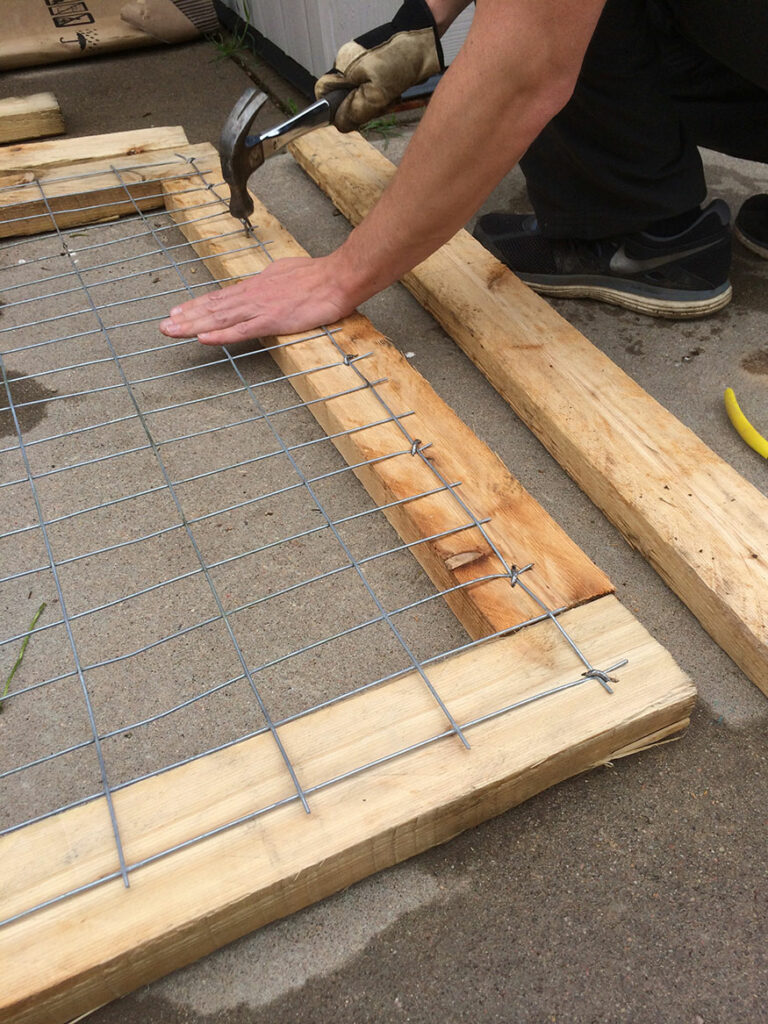

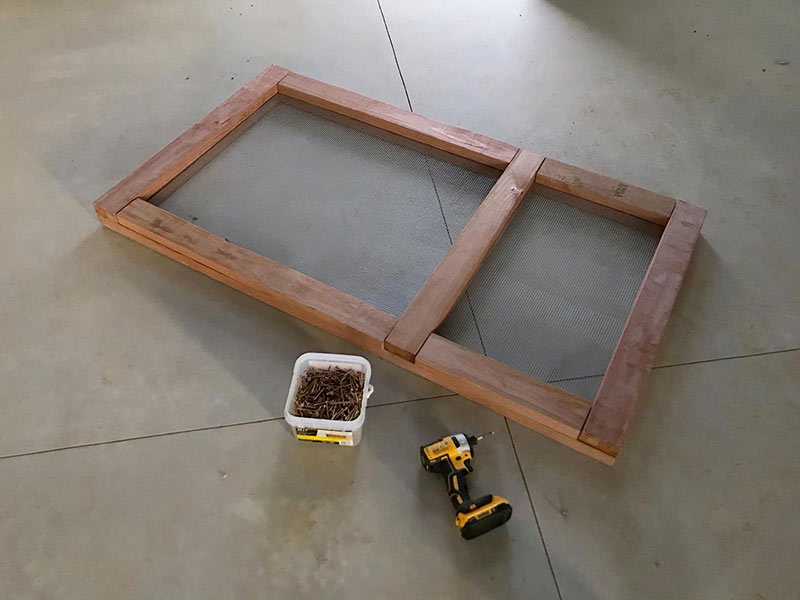
After completing the cutting to size of the welded wire, securing the wire to your wood with fencing nails, you can now add the second side of lumber to secure the gate layout.
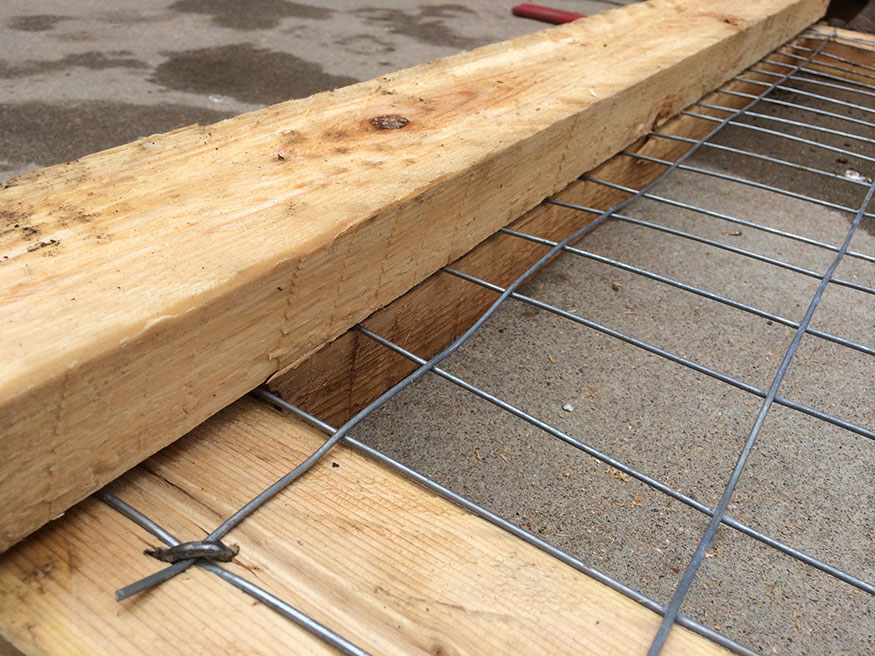

Having a flat surface was coming in handy during this process.
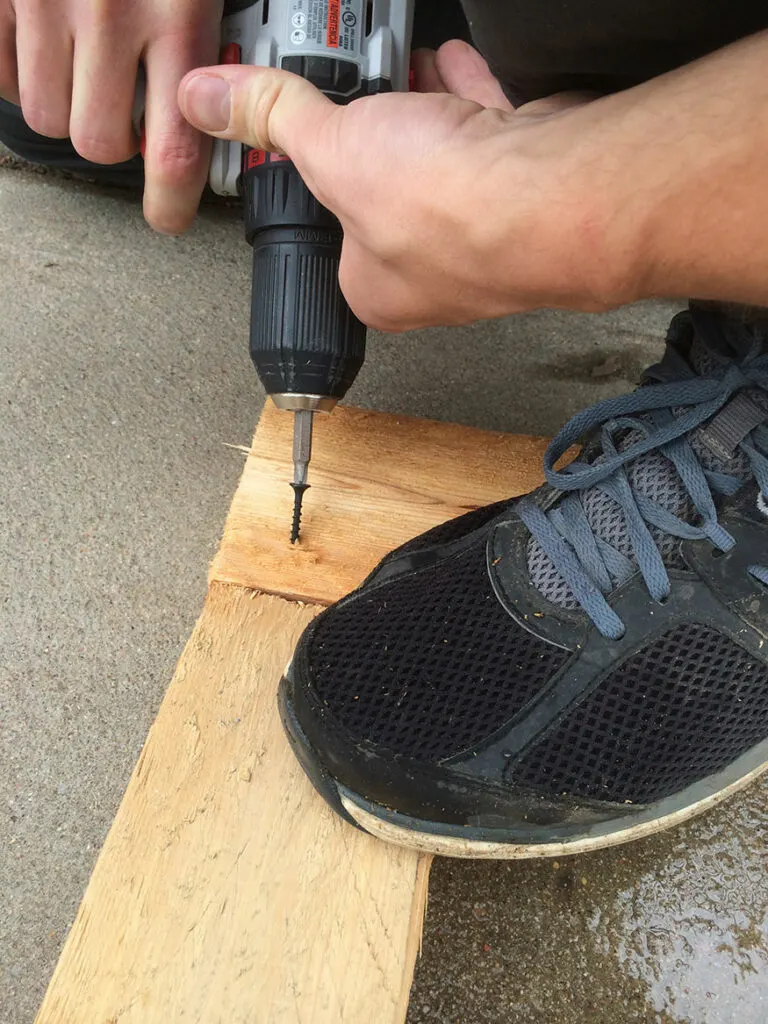
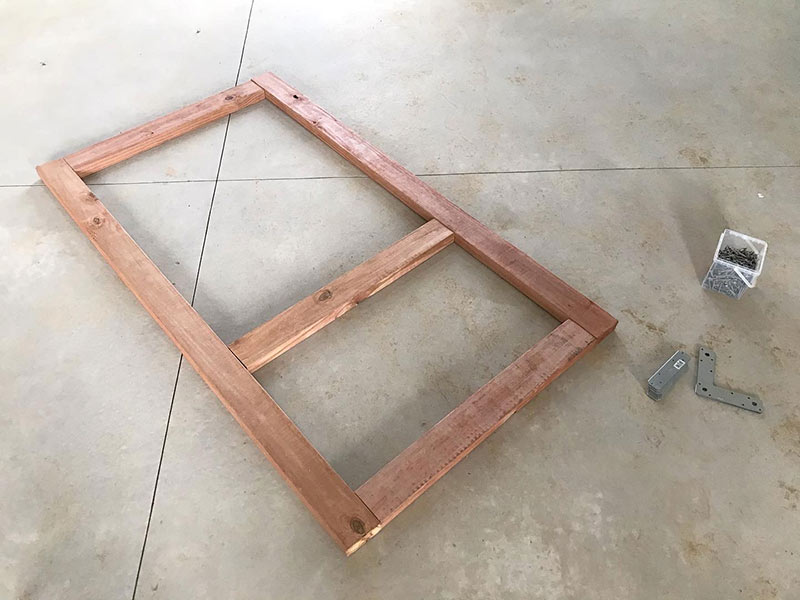
Next: You’ll want to draw these pieces closer together and secure the layout of the gate/door with screws.

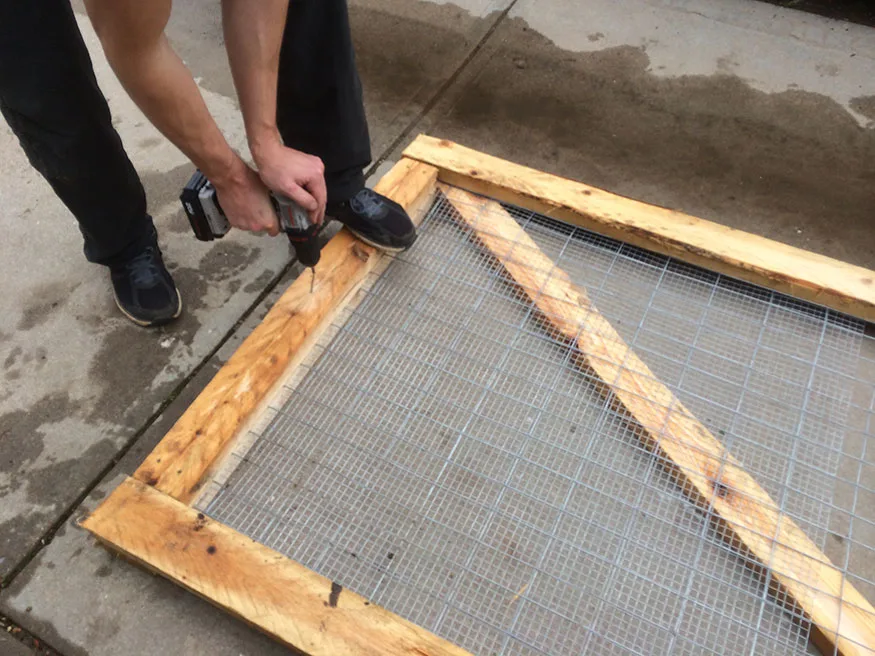
Lag Screw or TimberLOK?
Over the years I’ve become a big believer in the TimberLOK brand (or anything comparable). I don’t use galvanized lag screws any longer. The TimberLOKS are much more reliable and easy to use. Whether you’re building a garden fence gate, timber trail steps, or a loafing shed, the TimberLOKs (or similar product) are the way to go.
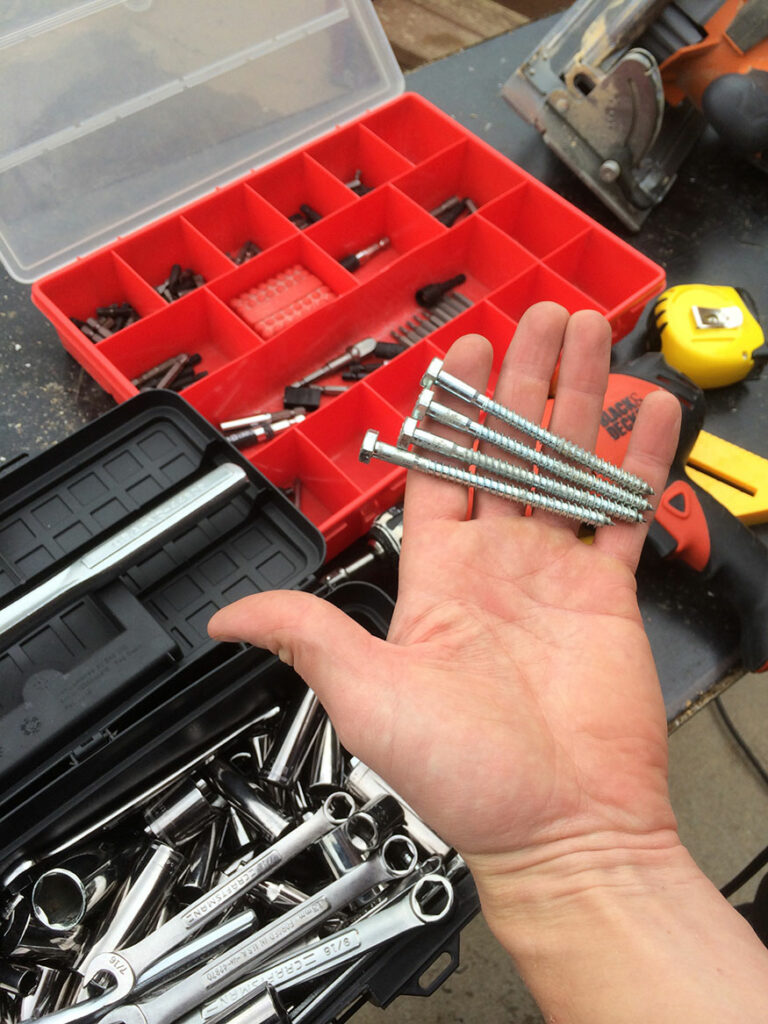

For outdoor projects, TimberLOK screws (or similar) are all I use.
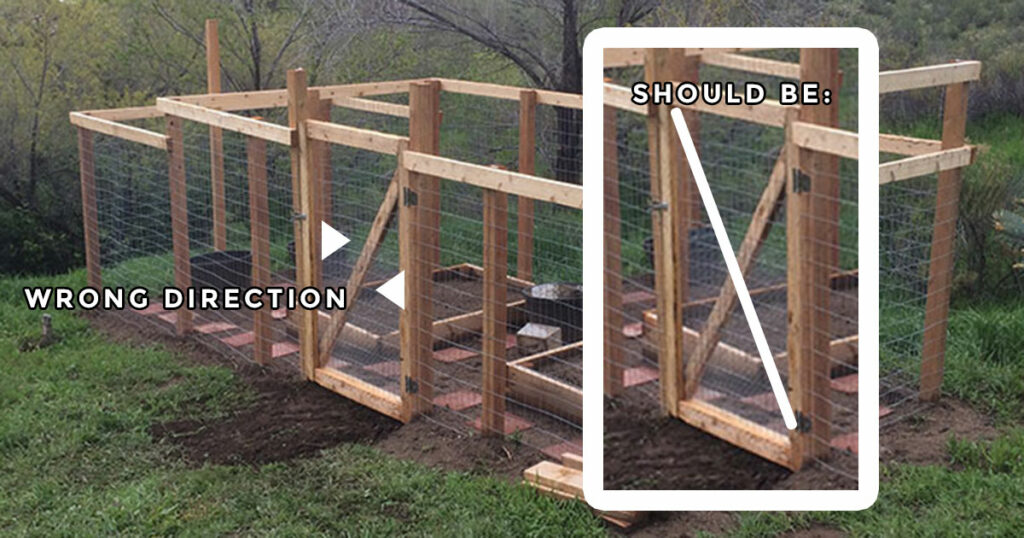
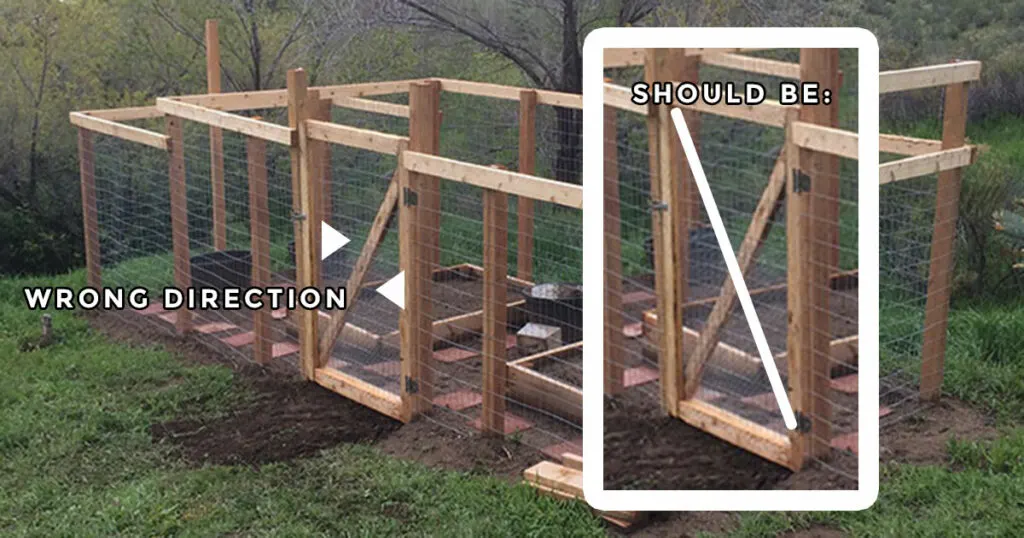
Diagonal Brace (and my mistake)
Bracing the Gate with a diagonal cross brace piece of wood.
And here’s where I made a mistake, and you can learn from my mistake.
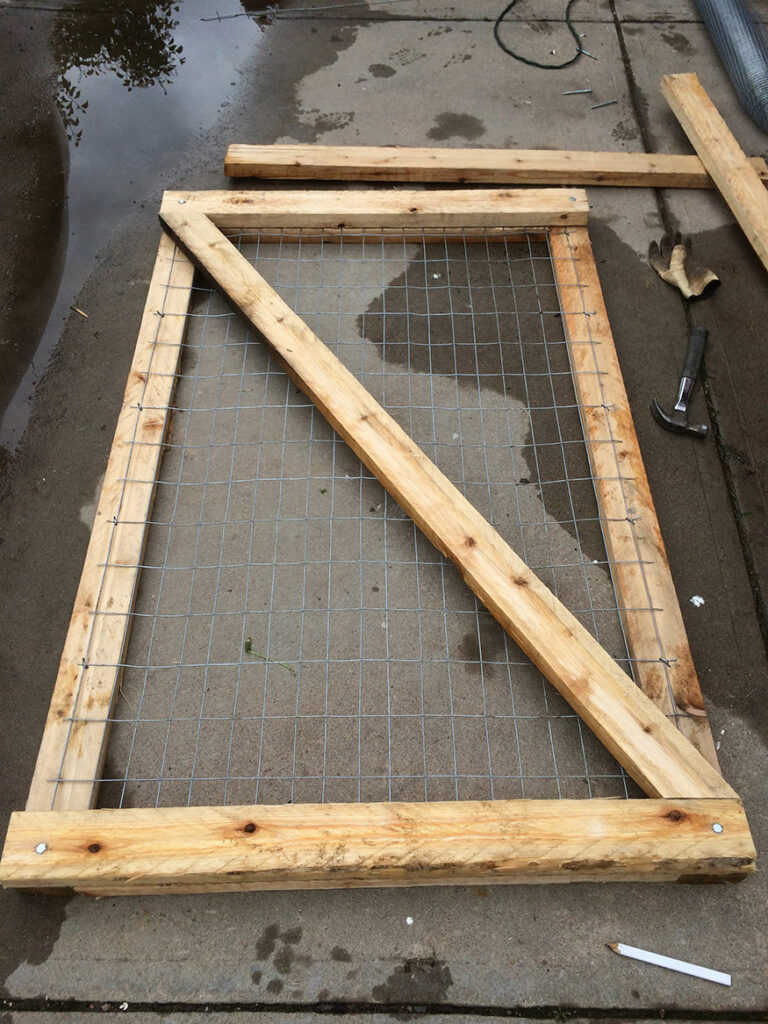

While it’s a good idea on a larger gate door like this to have a cross brace that’s diagonal, you need to consider the right placement of this in relation to the hinges (I’ll explain).
I did it wrong and didn’t even know. You should have your diagonal cross brace the opposite of what you see in my pics.
You want the load in the top left corner with the brace diagonal down to the bottom of the gate. The lower part of your diagonal support should be on the hinge side.
If you’re trying to keep bunnies out (or whatever Vermin you have to deal with), add chicken wire at the bottom of the gate.

To really keep out the unwanted wildlife from your garden, dig the welded wire in to the earth and use chicken wire around the entire perimeter.
Where the entry gate is, use pavers under the gate between the two posts where you enter the garden.
Nice fit:
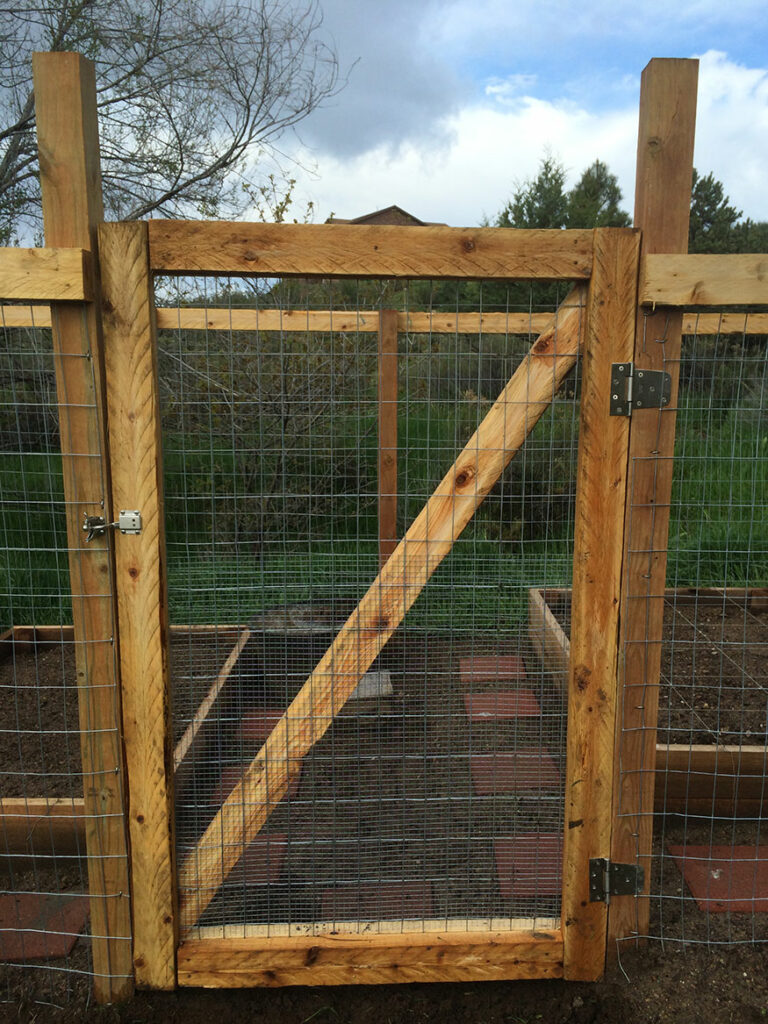

It’s held up nicely over the last several years.
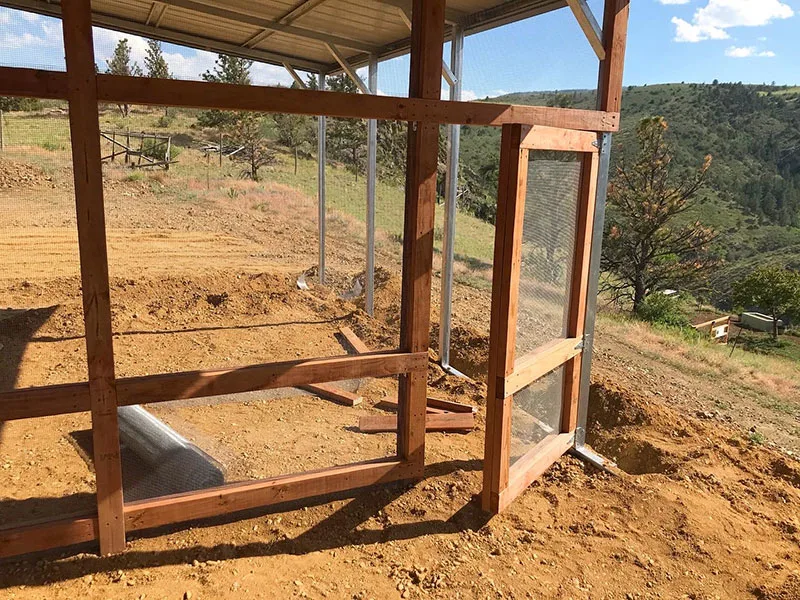
Okay… now on to the new chicken run door that could easily work for a garden gate too:
Treated 2X4 Lumber Garden Gate / Chicken Run Door with Hardware

Thanks to a nice barn and cement floors, this project became much easier. I’ve got a blog post on every cost related to building a metal barn, check it out.

With this particular project I opted to only use chicken wire. This door is made for the chicken run connected to our barn.


Such a nice clean look and it’s VERY sturdy.

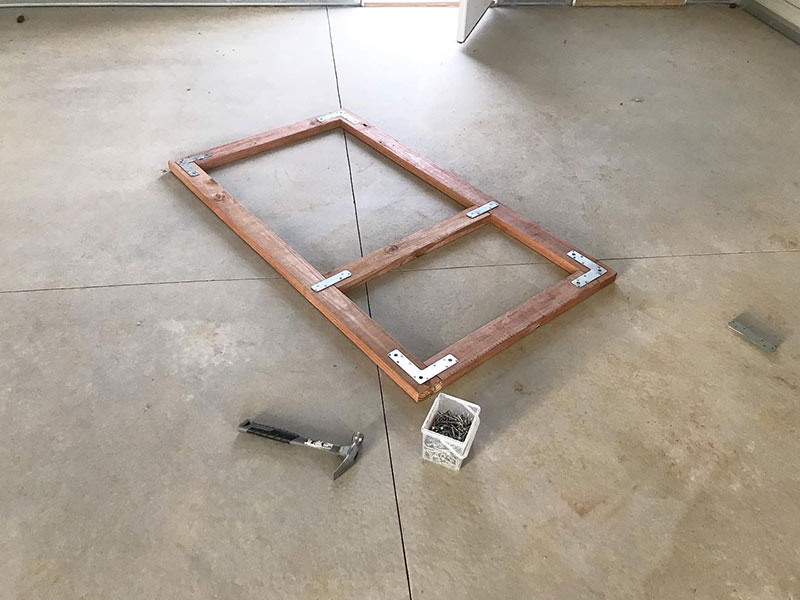
A couple pictures back there’s one with the hardware. It’s not necessary to use the hardware.
I built a second door on the other side of the run (not pictured) and I didn’t use any of the bracket hardware on it. It’s just as sturdy.
What I learned with experience:
- Use TimberLOK screws when working with lumber outside.
- Use treated lumber.
- With larger gates using wood, ensure your diagonal cross brace is properly established with the lower part of the brace on the hinge side of the gate.
- Excess hardware isn’t necessary.
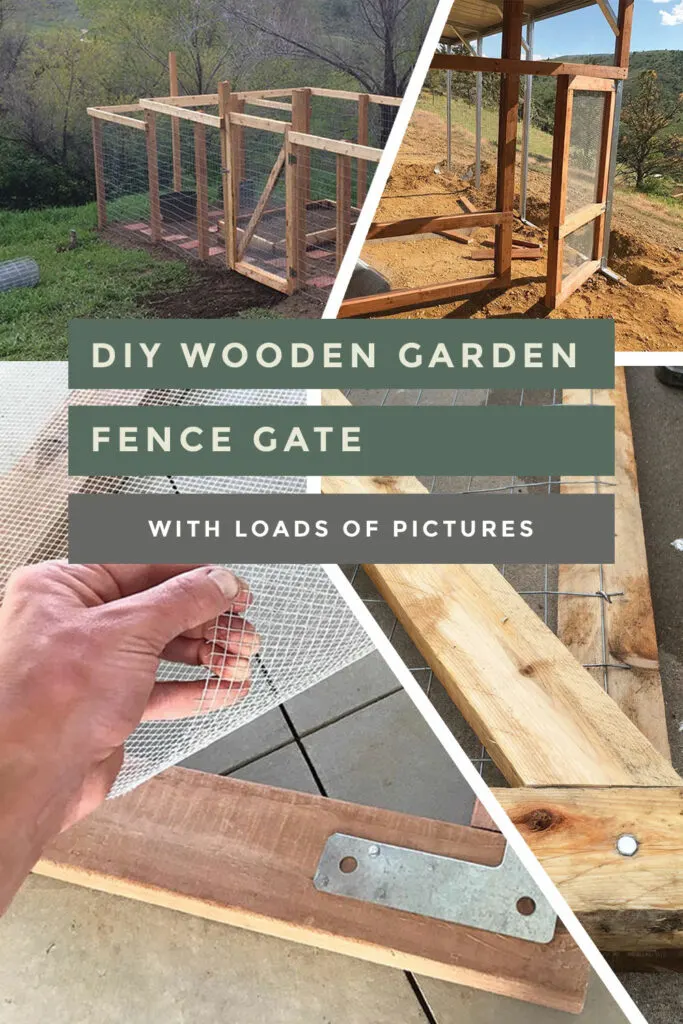
Pin this:

Mary
Sunday 9th of November 2025
Great Info on the diagonal support! You did nice work! Thanks!
Michelle
Thursday 20th of June 2024
You would think a 53 year old women would have knowledge on how to build a gate and here i was with all the materials in front of me and I had a meltdown until I seen your post, big, big help, thank you 🙂
Rob Benson
Thursday 20th of June 2024
Welcome!
Arun
Sunday 2nd of June 2024
Thanks this is exactly what I wanted to do, and I was confused also which direction the brace should go. Thank you
Tom G
Thursday 30th of May 2024
very help full appreciate your post
Leslie
Saturday 30th of March 2024
Love it! Thank you so much. I was just getting ready to build both a garden gate AND a gate to my chicken pen. Perfect info for me to do it right!
Rob Benson
Saturday 30th of March 2024
Welcome!