
Winter is coming, and if you’re an RV owner, it’s essential to ensure that your water system is prepared for the cold months ahead. Failing to winterize can lead to frozen pipes, which can burst and cause extensive damage. To help you out, I’ve compiled a comprehensive guide on how to winterize your RV’s water system.
- Disconnect from the city water supply.
- Drain the hot water tank.
- Ensure both gray and black water tank valves are closed.
- Open all low-point drain valves.
- Thoroughly clean the black water tank.
- Empty the black water tank.
- Set the hot water tank to bypass mode.
- Bypass the fresh water and connect a hose to an antifreeze container.
- Close all low-point drain valves (both hot and cold).
- Activate the water pump and run all faucets, the toilet, and shower until antifreeze is visible.
- Pour antifreeze into all drains to protect the P-traps.
- Empty the gray water tank.
- Ensure both gray and black water valves are securely closed.
Now, let’s delve deeper into each step:
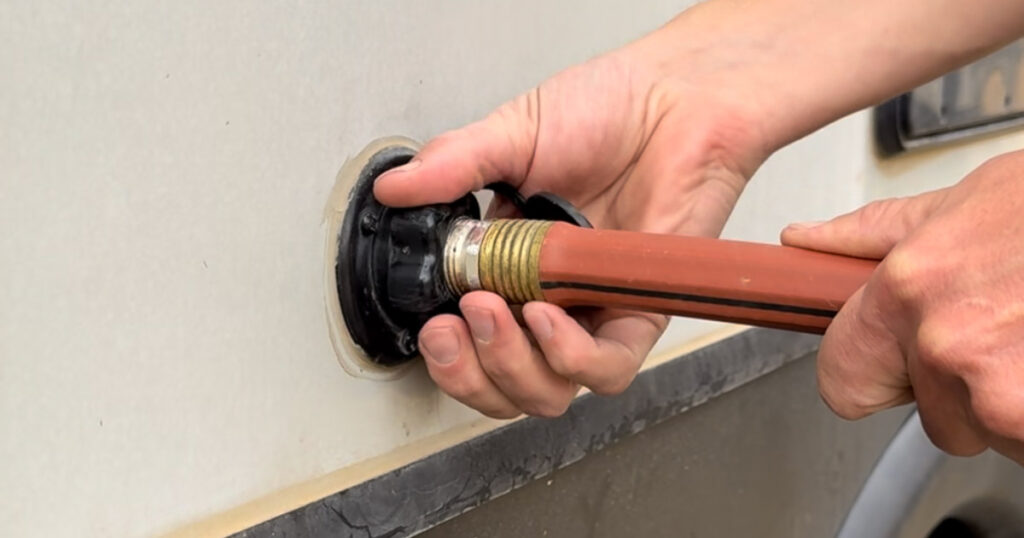
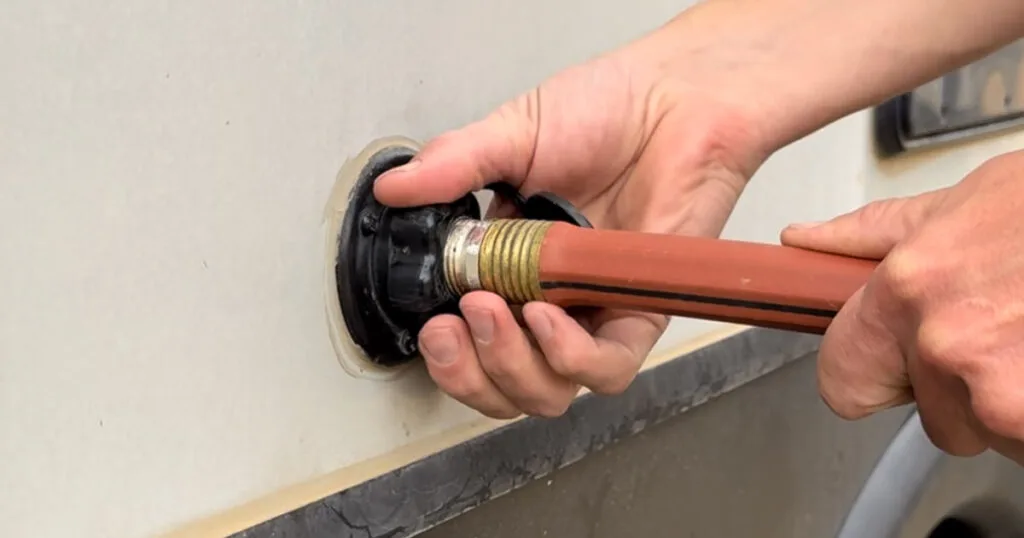
1. Disconnect from the City Water Supply

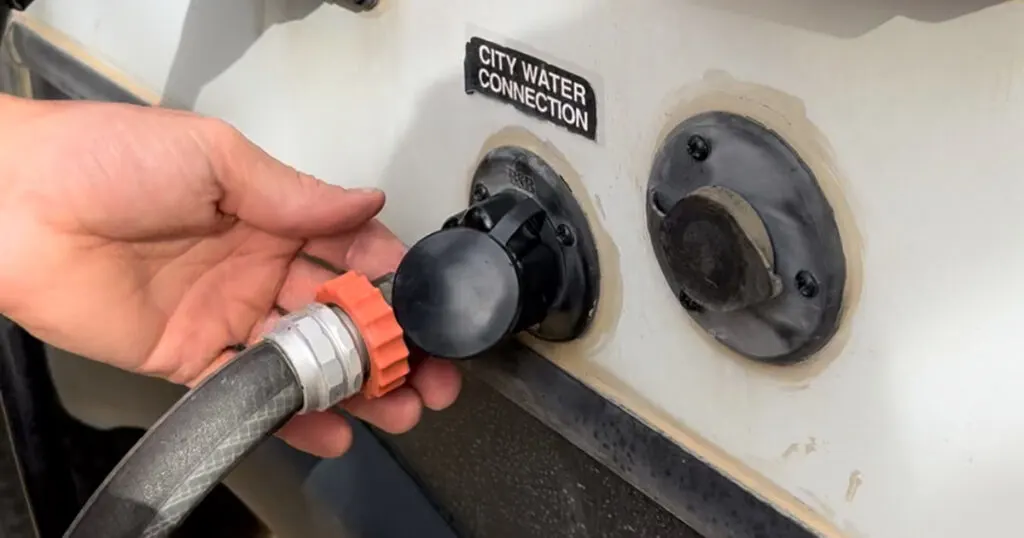
If you’re connected to a city water source, ensure you shut it off and disconnect. This prevents any unwanted water flow during the winterization process. You can also flush the fresh water tank if you think you need to.
2. Drain the Hot Water Tank
Emptying the hot water tank is crucial to prevent any water from freezing inside, which could cause the tank to crack.
3. Close Gray and Black Water Tank Valves

Make sure that if either the gray or black water tank valves are open, you shut them. This step ensures no unwanted spillage.
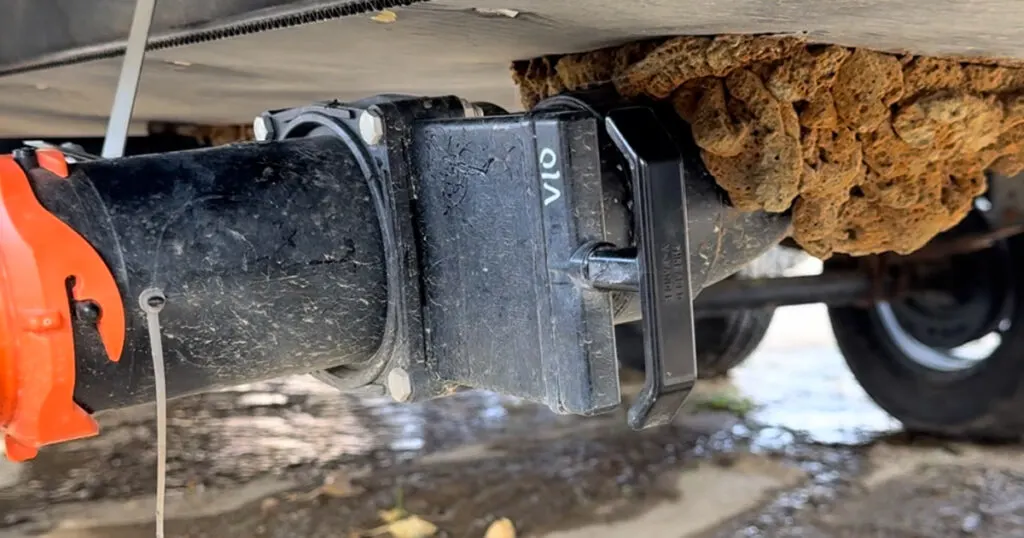
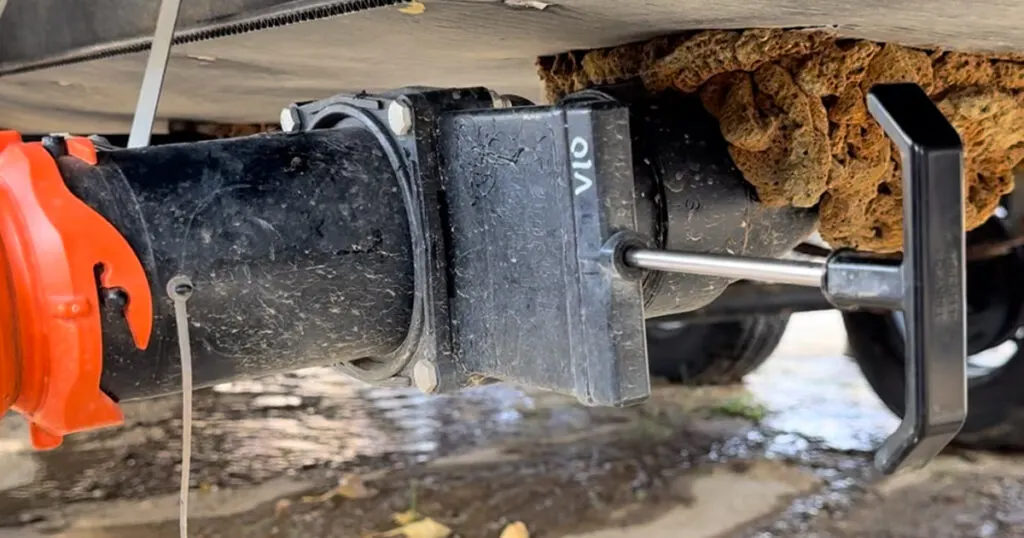
4. Open All Low-Point Drain Valves
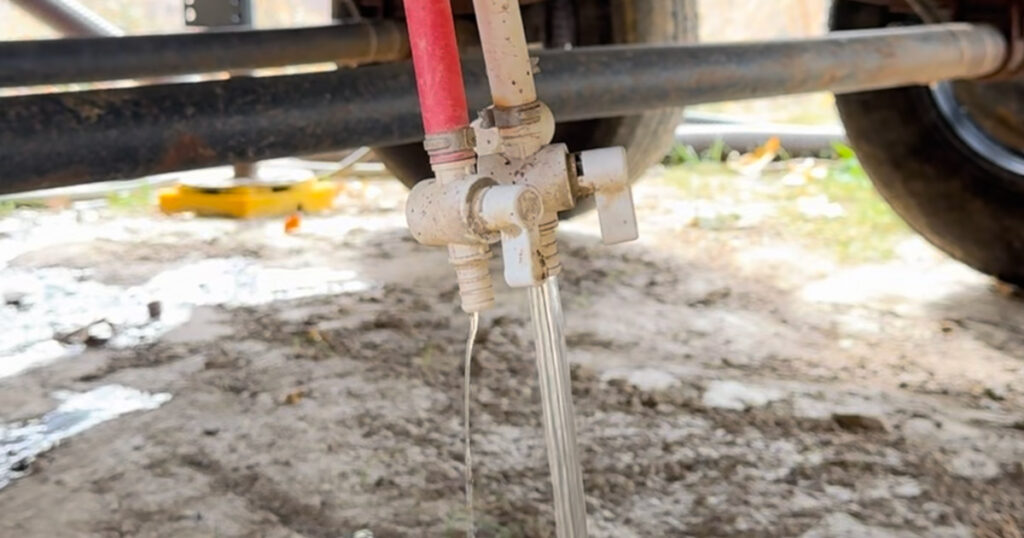
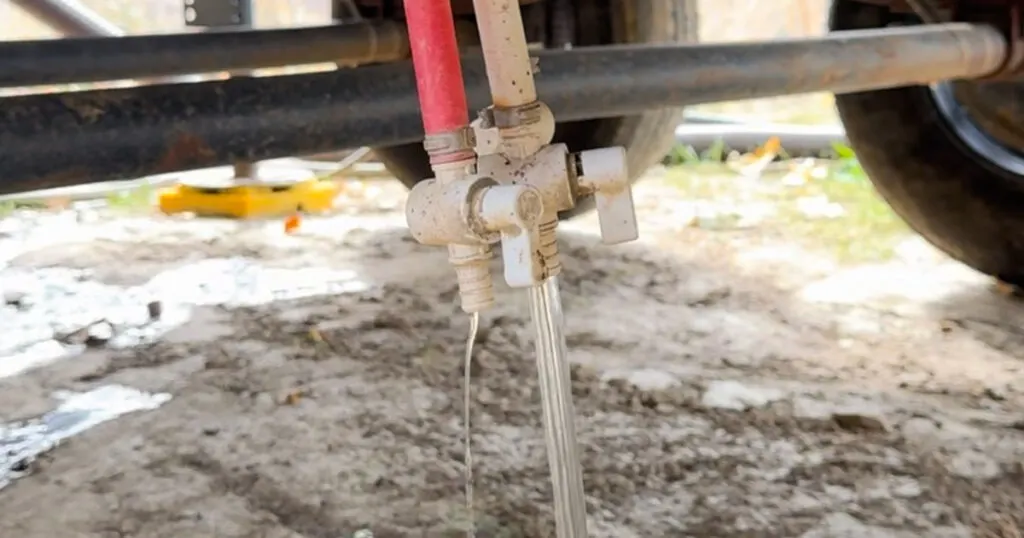
Open the drain valves for the fresh water tank, cold water lines, and fresh water lines to ensure all water is drained.
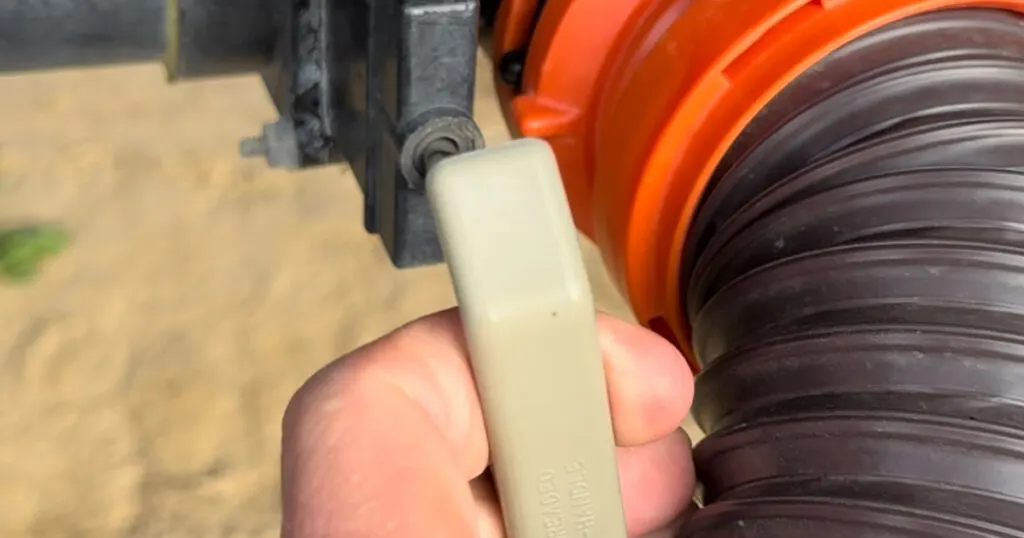
5. Clean the Black Water Tank
Using a hose, clean out the black water tank to ensure no waste remains.
6. Empty the Black Water Tank

Once cleaned, open the black water valve to drain any remaining water or waste. You can leave the clean out hose running after you open the tank valve.
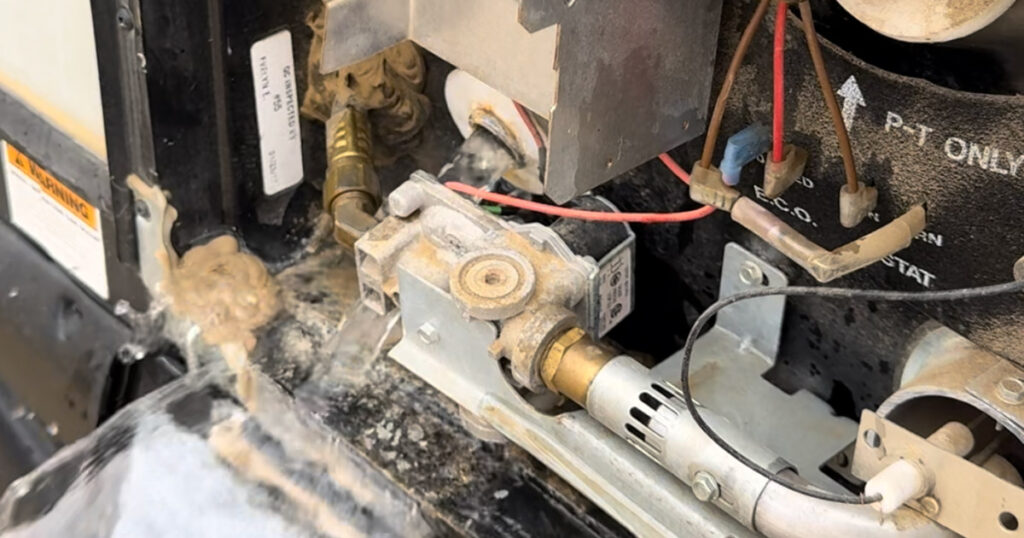
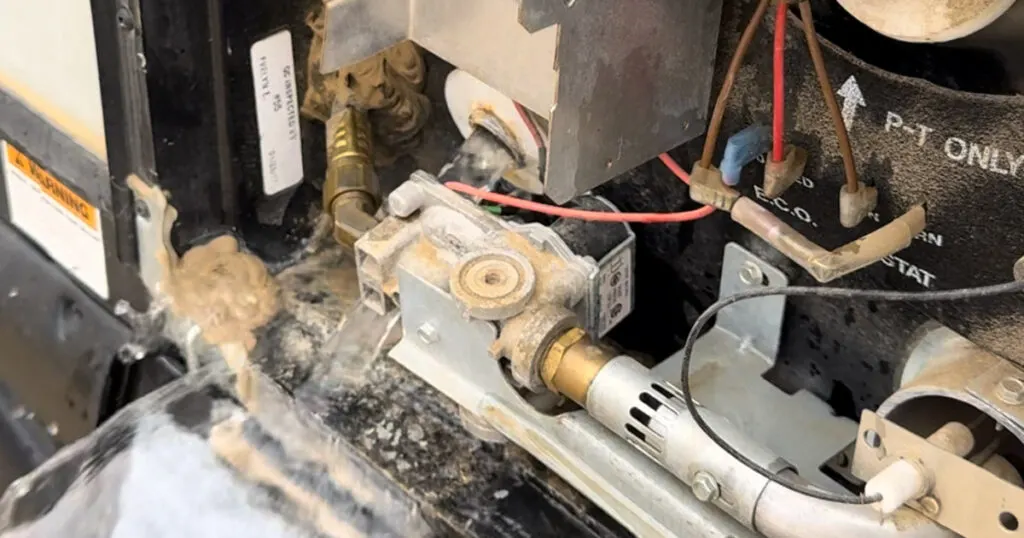
7. Set the Hot Water Tank to Bypass Mode
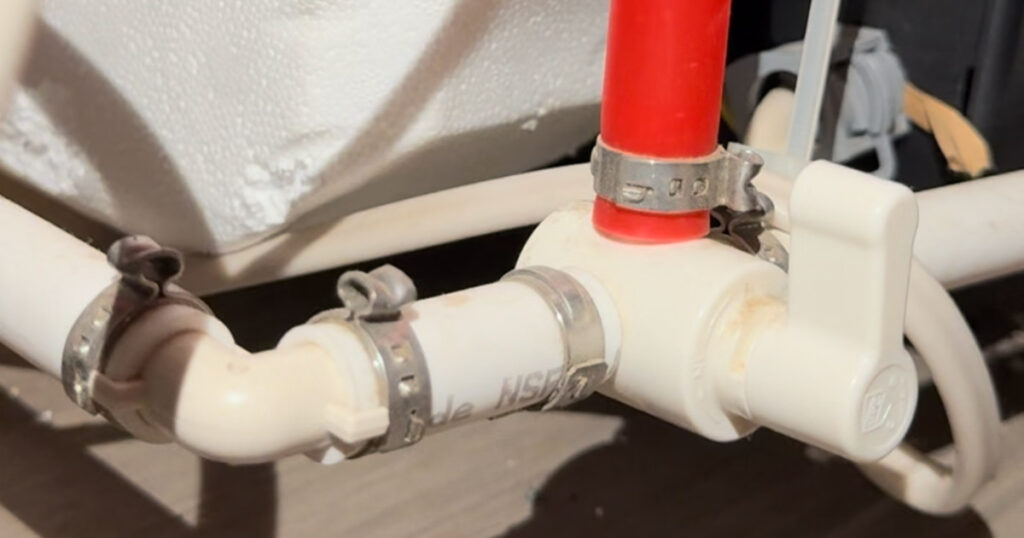

Access the hot water tank valve and set it to bypass mode. This step ensures that antifreeze doesn’t enter the hot water tank.
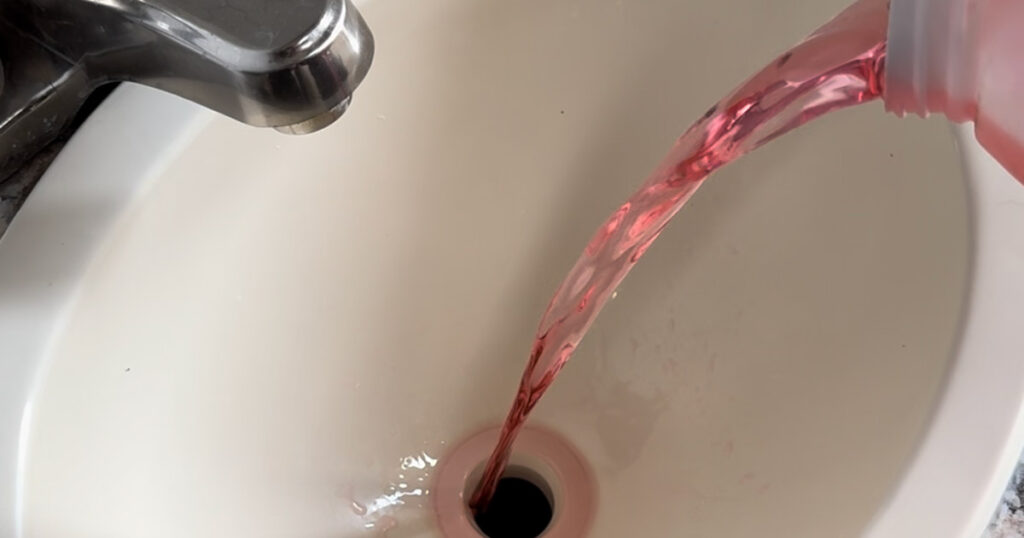
8. Bypass Fresh Water and Connect to Antifreeze
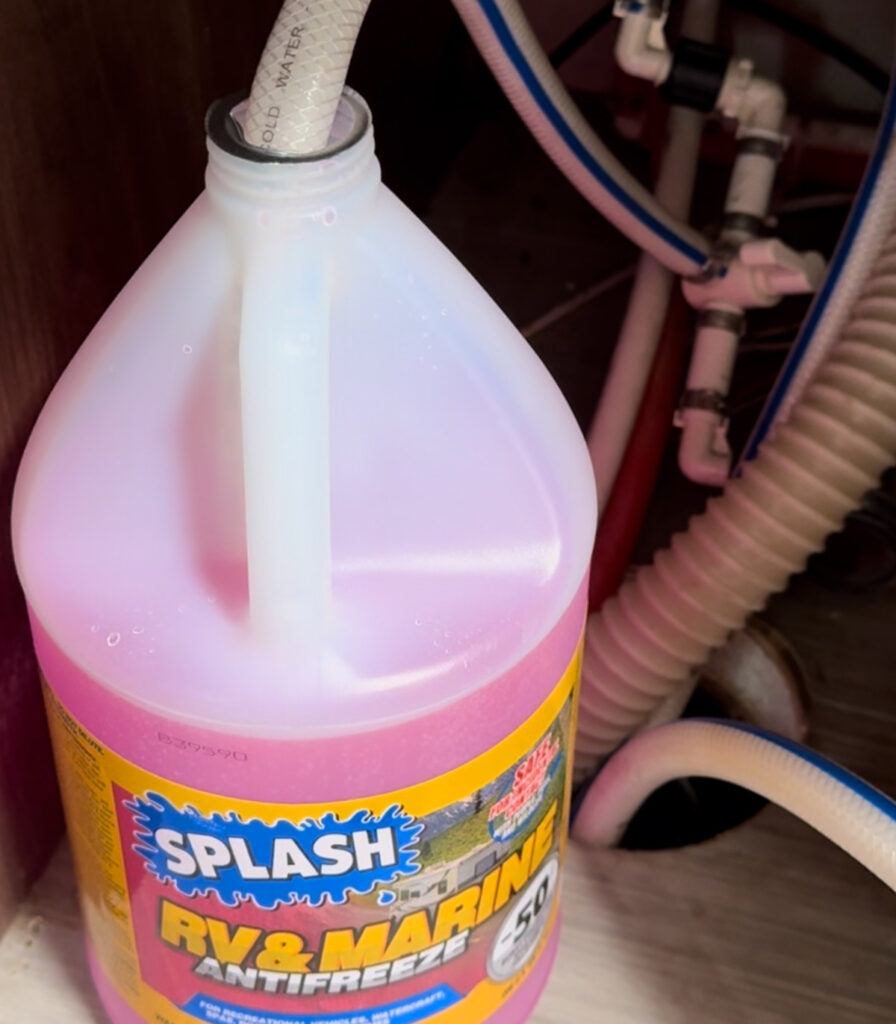

Connect a hose to an antifreeze container and bypass the fresh water system. This step prepares the system for antifreeze introduction.
9. Close All Low-Point Drain Valves
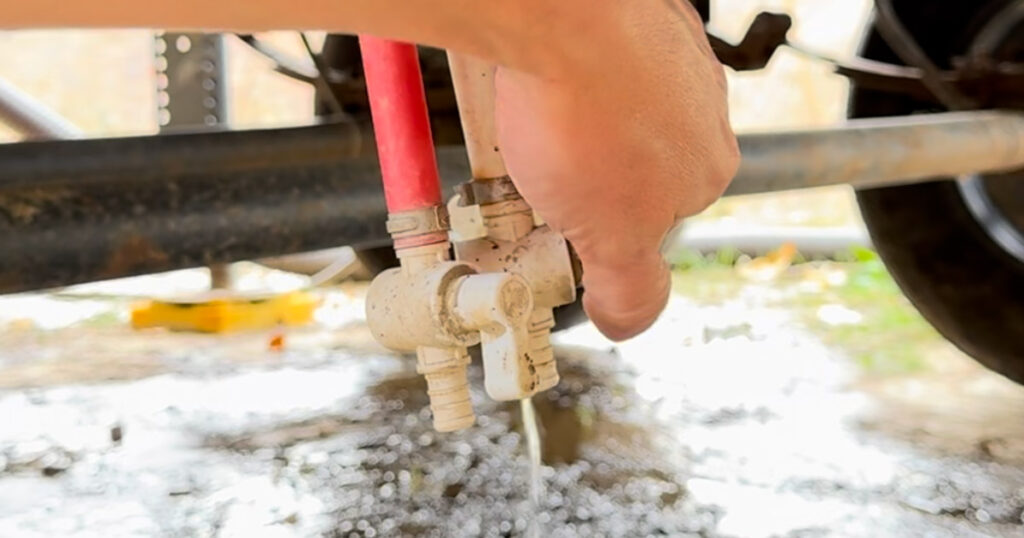

Ensure both the hot and cold drain valves are closed before introducing antifreeze.
10. Run All Faucets Until Antifreeze Appears

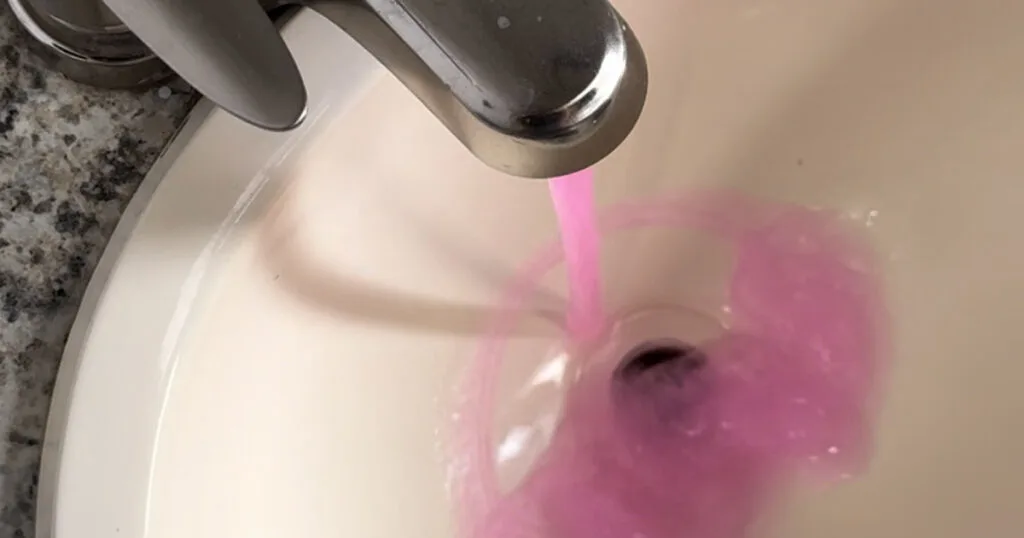
Turn on the water pump and open all faucets, the toilet, and shower. Keep them running until you see antifreeze, ensuring the system is fully protected.
11. Protect the Drains with Antifreeze
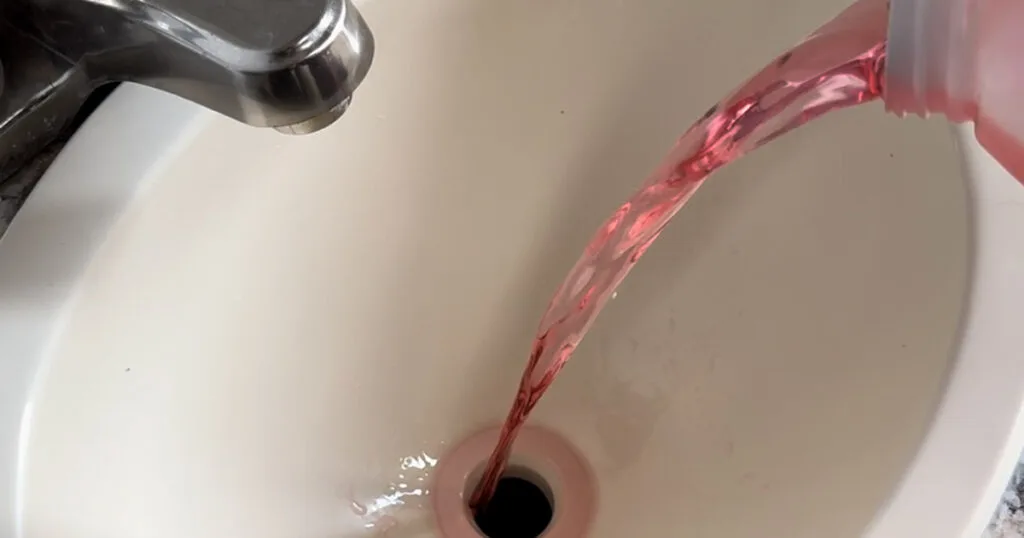
Pour antifreeze into all drains, ensuring the P-traps are protected from freezing.
12. Empty the Gray Water Tank

After introducing antifreeze, drain the gray water tank to remove any remaining water.
13. Close All Valves
Finally, ensure both the gray and black water valves are securely closed, completing the winterization process.