
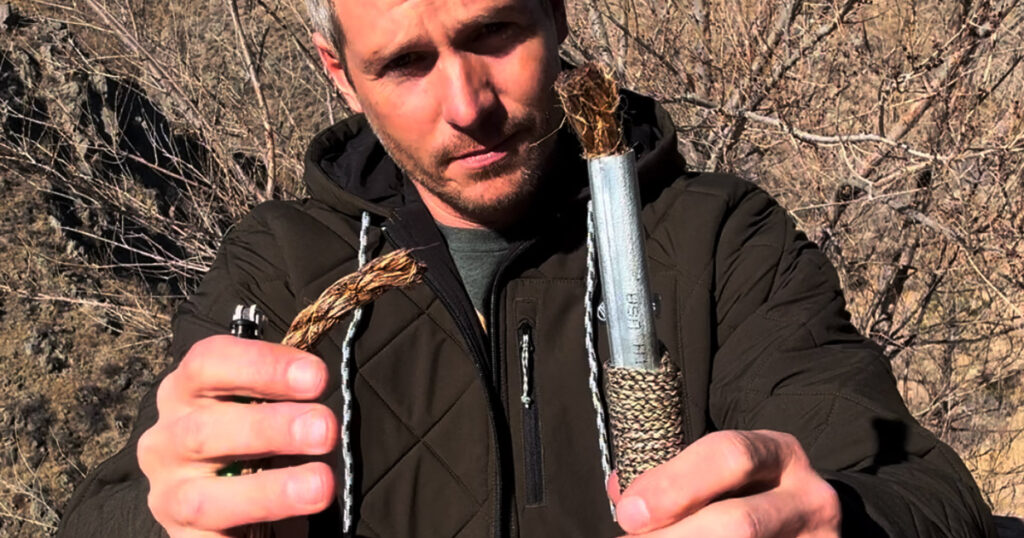
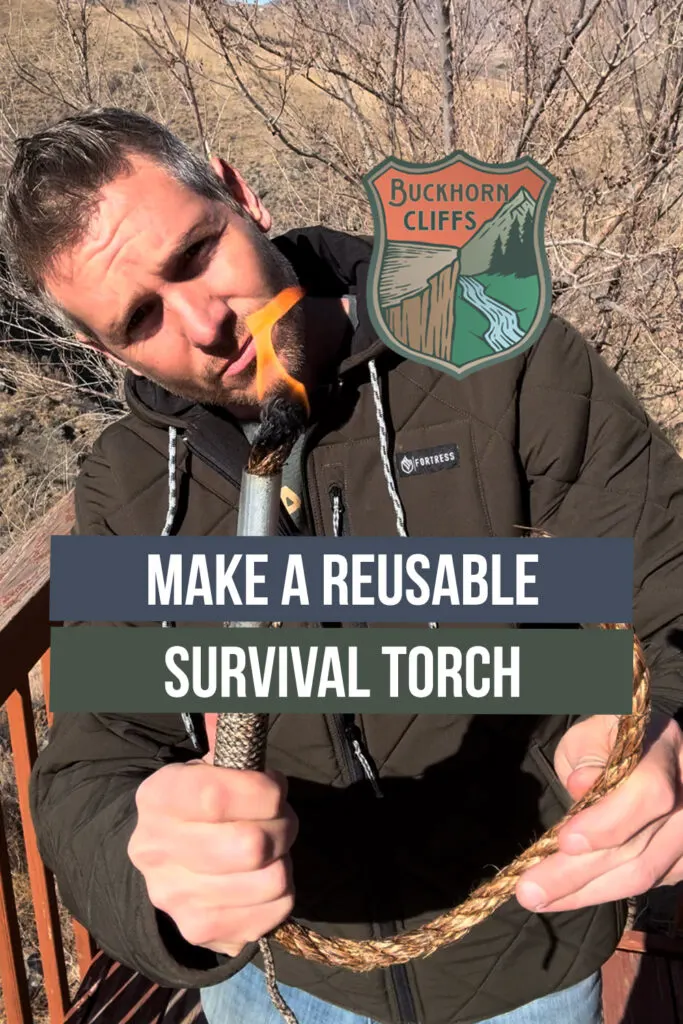
In the realm of outdoor survival and adventure, being equipped with the right tools can make all the difference. Today, we’re diving into a simple yet innovative project that not only enhances your survival kit but also embraces the spirit of self-reliance. Let’s create a long-lasting and reusable torch that’s not only effective but can also be a fun DIY project.

Reusable Torch Materials:
- 1/2″ Metallic Tube Conduit (8″ long): This will serve as the main body of our torch.
- 1/2″ Natural Fiber Rope (2′ long): An important element for the wick.
- 4′ of Paracord: For creating a secure and comfortable grip.
- Petroleum Jelly and Wax: These ingredients will be combined to create a long-burning fuel.
- Tools: A hacksaw for cutting the conduit, a vice for stability, knife or scissors, and a source of heat.
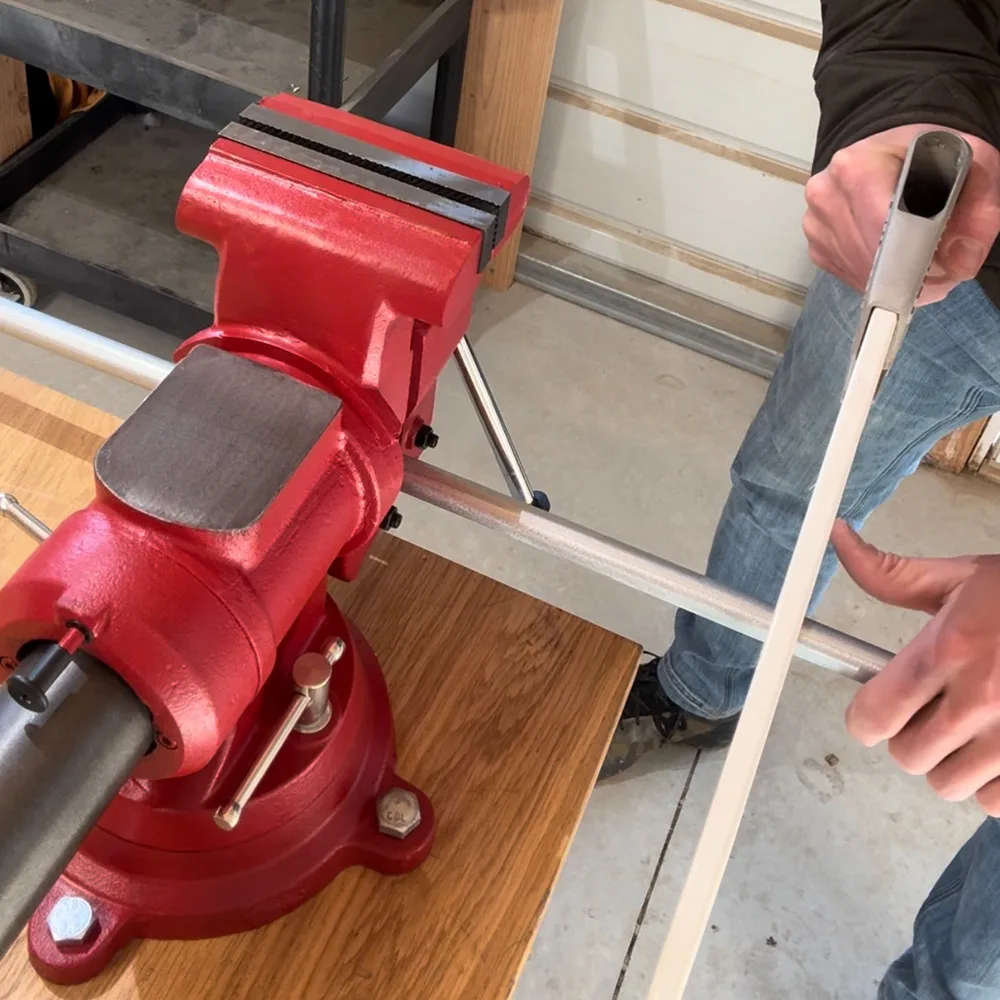
Step 1: Preparing the Conduit
Begin by securing your 1/2 inch metallic tube conduit in a vice. This will ensure stability as you cut it down to an 8-inch length using a hacksaw.

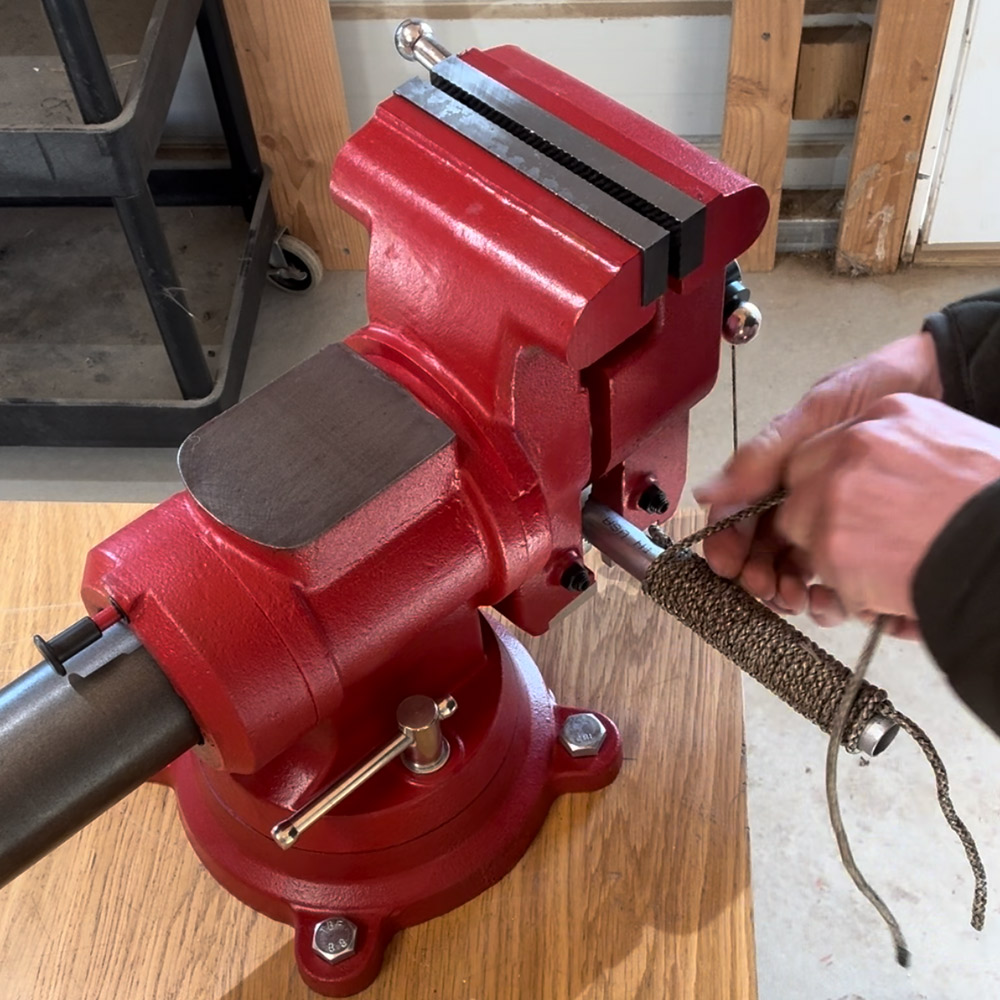
Step 2: Creating a Grip with Paracord
Once your conduit is ready, take approximately 4 feet of paracord to wrap around the conduit. This serves two purposes: providing a sturdy grip and ensuring you have extra paracord for emergency situations. Start by looping the paracord around the top part of the conduit to establish the grip area. Continue wrapping tightly until you reach the desired length. Secure the end by threading it through the last loop. For added durability, apply a little heat to melt the paracord ends into place, ensuring it doesn’t unravel during use.


Don’t forget to melt and finish off both ends of the paracord.
Step 3: Preparing the Fuel
In a heat-safe container, melt equal parts petroleum jelly and wax. This mixture will serve as the fuel for your torch (in addition to the rope), offering a long burn time and reliability, even in wet conditions. Once fully melted, submerge your natural fiber rope into the mixture, allowing it to become thoroughly saturated. This will form the core wick of your torch.


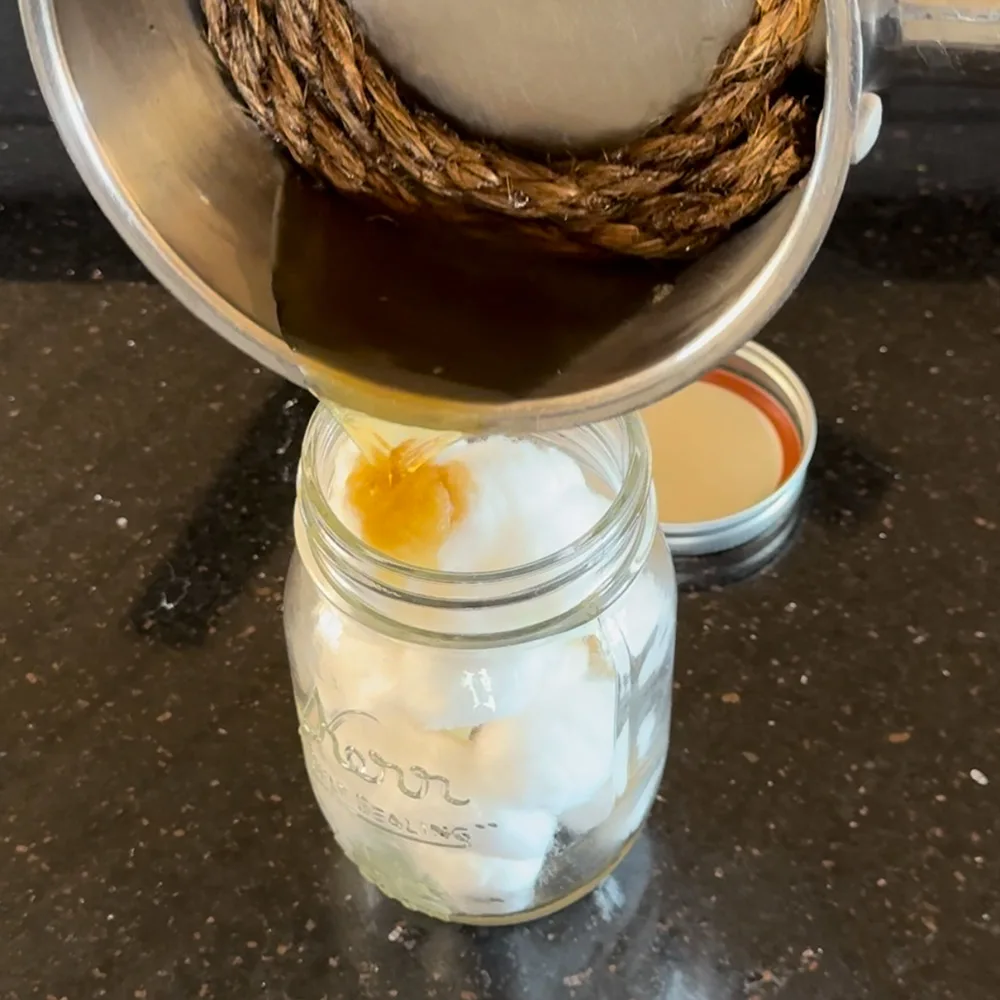
Step 4: Utilizing Excess Mixture for Fire Starters
Don’t let the excess wax and petroleum jelly mixture go to waste. Pour it into a mason jar filled with cotton balls. These soaked cotton balls make excellent fire starters, perfect for igniting wood stoves or campfires quickly and efficiently.

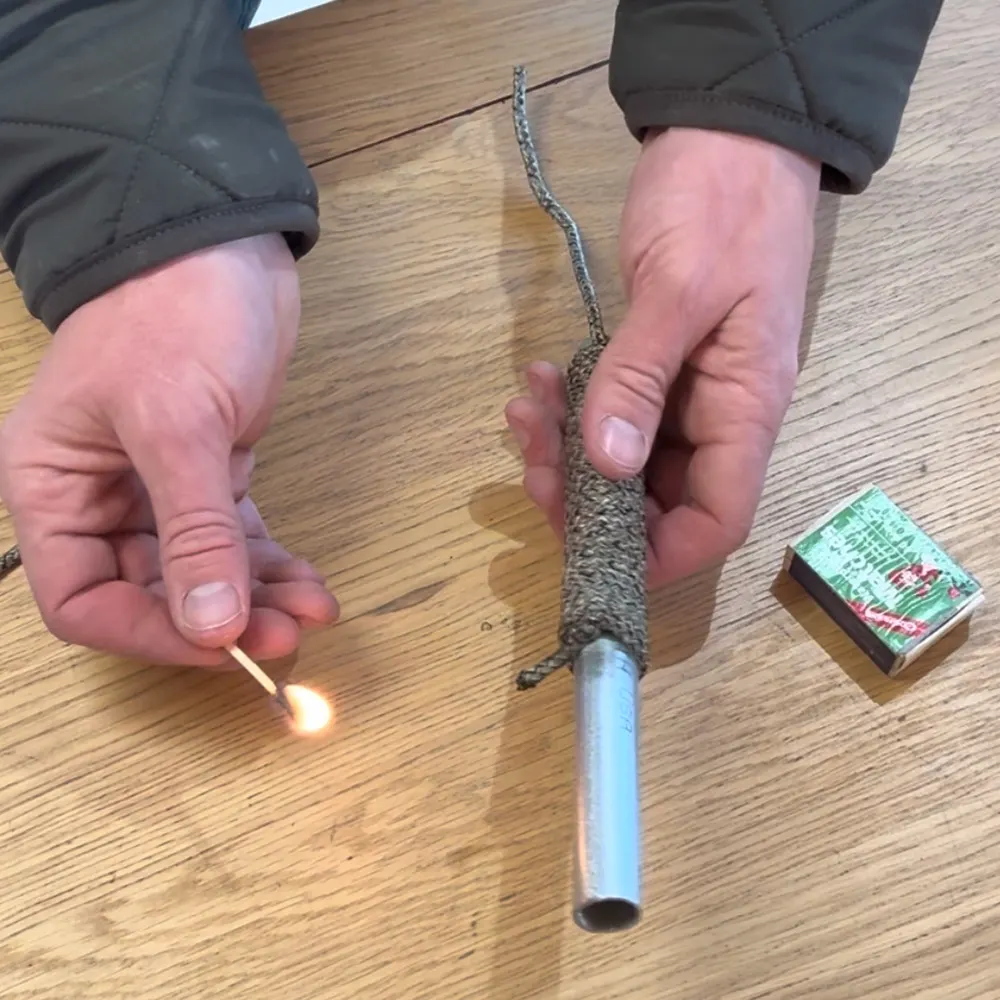
Step 5: Assembling the Torch
After the rope is saturated and has cooled down, feed it through the conduit, ensuring a snug fit. The natural fiber rope, now imbued with your homemade fuel, will act as a long-lasting wick for your torch.

This torch will provide a reliable source of light and can be a useful tool in survival situations. Its waterproof capabilities make it an indispensable item for any outdoor adventure.
Remember, the skills and ingenuity you apply in creating tools like this torch can significantly impact your effectiveness in the wild.
Whether you’re a seasoned adventurer or a beginner in the world of survival skills, this project is a great addition to your toolkit. It demonstrates the importance of being prepared and the value of creating your own equipment.