Quick facts
- Building20'x30' steel barn with two 12'x30' lean-tos
- Barn installed$15,828 (2020 quote)
- Prep plus shell$23,796
- Concrete slab4-5" with rebar, $3,500
- Downpayment17%
- Install schedulingA window of time, typically no more than 1 week notice
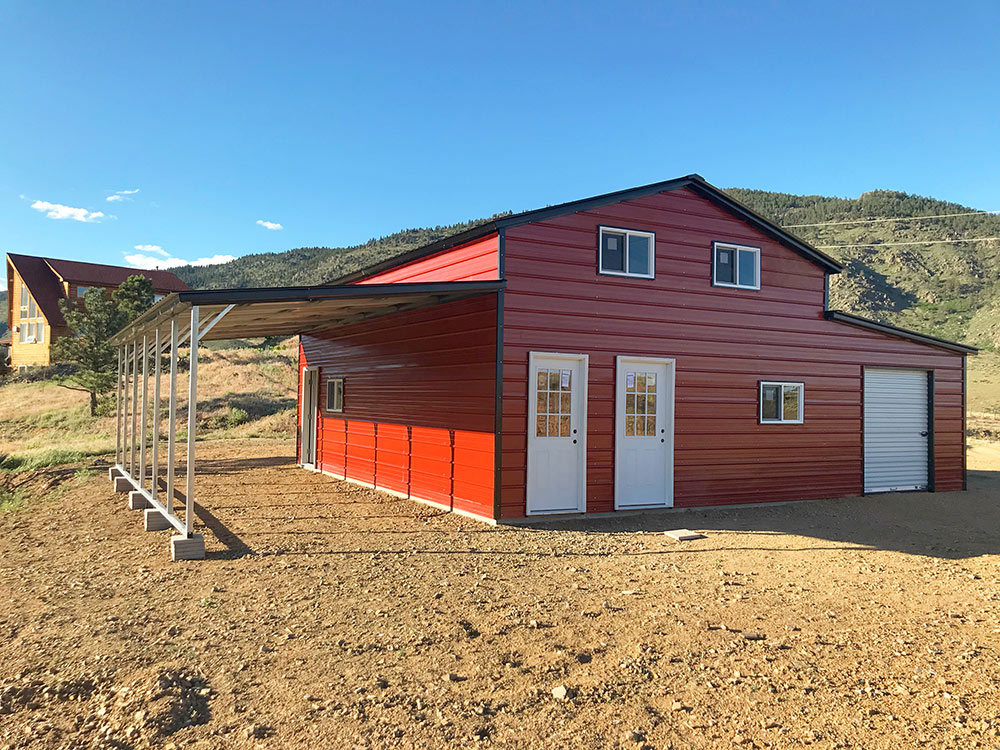
When looking at metal structures like a barn, consider a company that prefabs the building. You'll save time and money - here's my experience and what it cost.
You can also consider this blog post a review of both Big Buildings Direct and Eagle Carports.
Big Buildings Direct & Eagle Carport Reviews
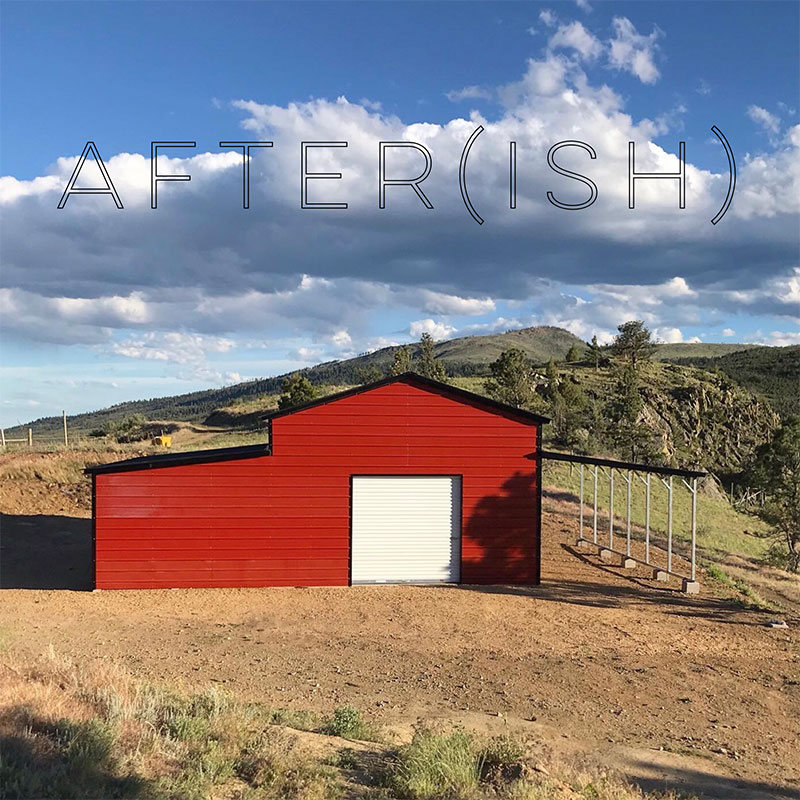
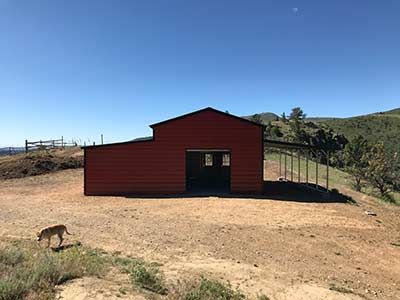
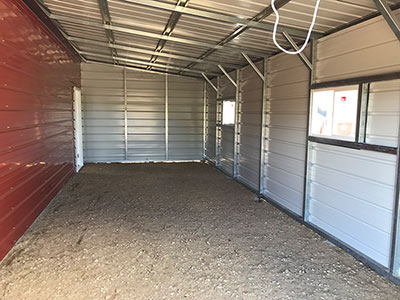
I purchased a 20x30 foot steel barn from Big Buildings Direct ... who... is the reseller for Eagle Carports... who... had an independent crew building my barn in the year 2020. You follow all that? 2020: The year of all things... nope. Luckily this barn is all things... ah heck yes. The main concrete structure (20'x30' also includes 2 lean-to's (one enclosed and the other open). The lean-to's measure 12'X30' feet each - making the entire enclosed area 32'x30' and the entire roofed area 44'X30'.
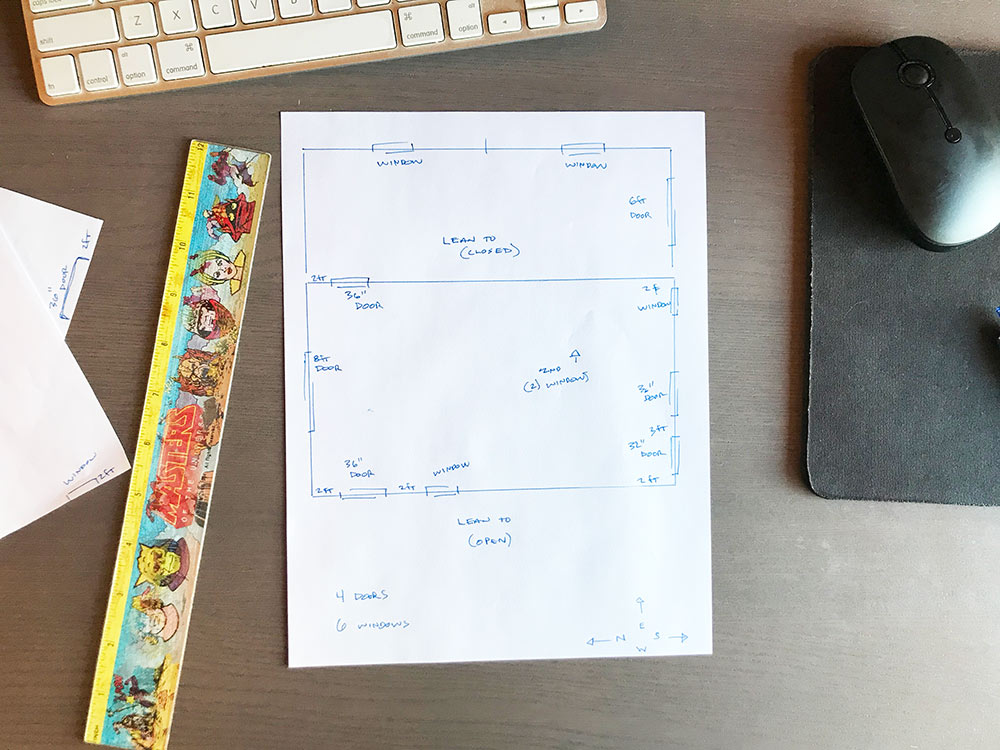
Here's a little sketch of what I wanted (check out that rad Masters of the Universe ruler from when I was in 2nd grade)
How much are metal structures to build?
Every price here comes from an early 2020 quote. Expect today's numbers to be higher and use these as a record of my build, not a current estimate.
The cost of THIS metal structure / barn installed was $15,828. Smokin!
The cost for the prep and all elements going to in to the shell of the metal structure was $23,796.
In this post I'll review everything that went in to this pre-fab barn kit, what I like, and what I don't like. I promise, if you're building a large structure soon (or want to), this post is for you.
Here you'll learn about everything I've done to get to the barn shell stage, including:
- Clearing Debris
- Ground Preparation
- Planning the Space
- Shopping for a Barn
- Prepping the Build
- Barn Features & Quote
- Cost of the Build
- Tips
- What I like and don't like
- Pics
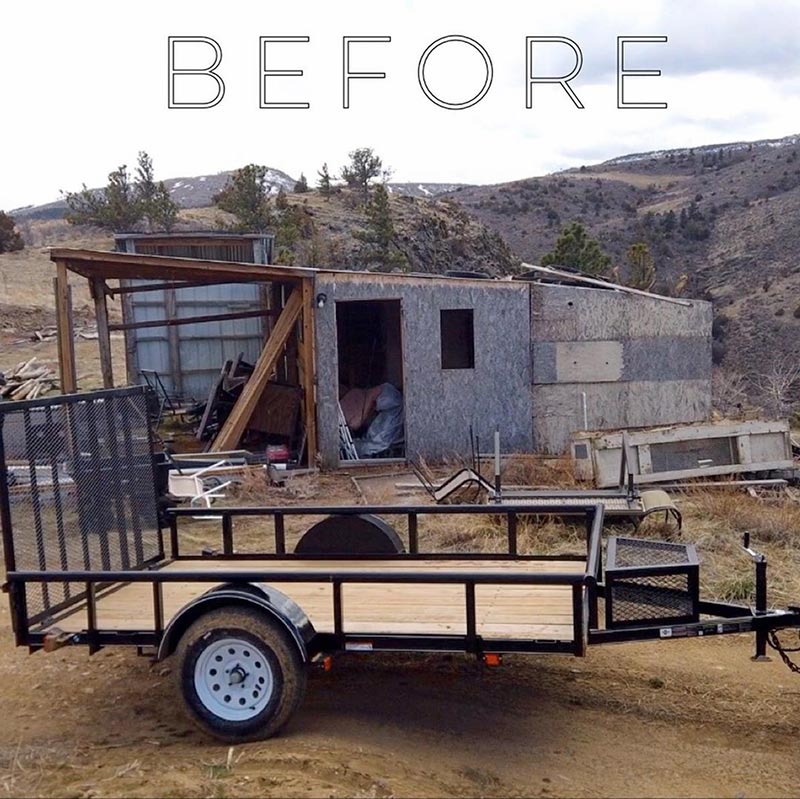
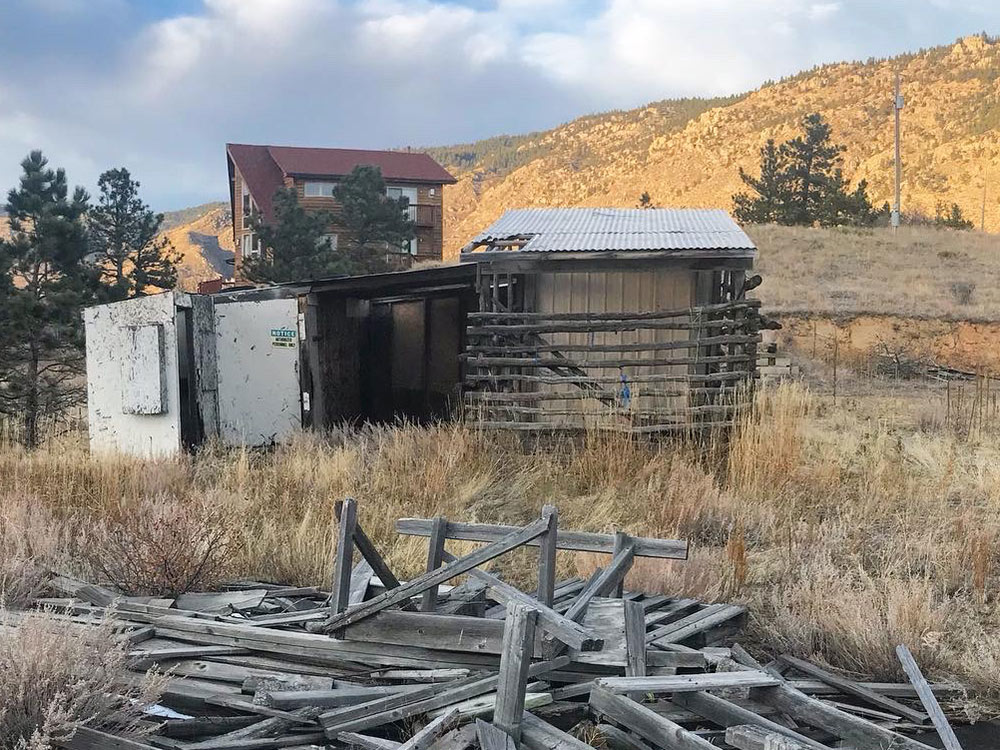
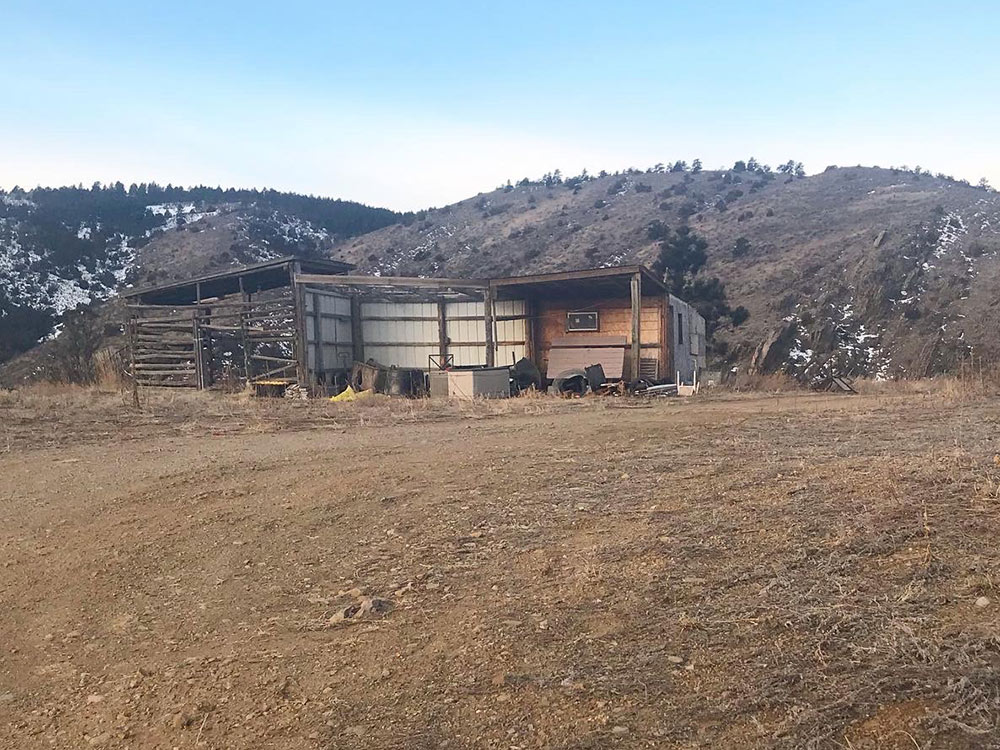
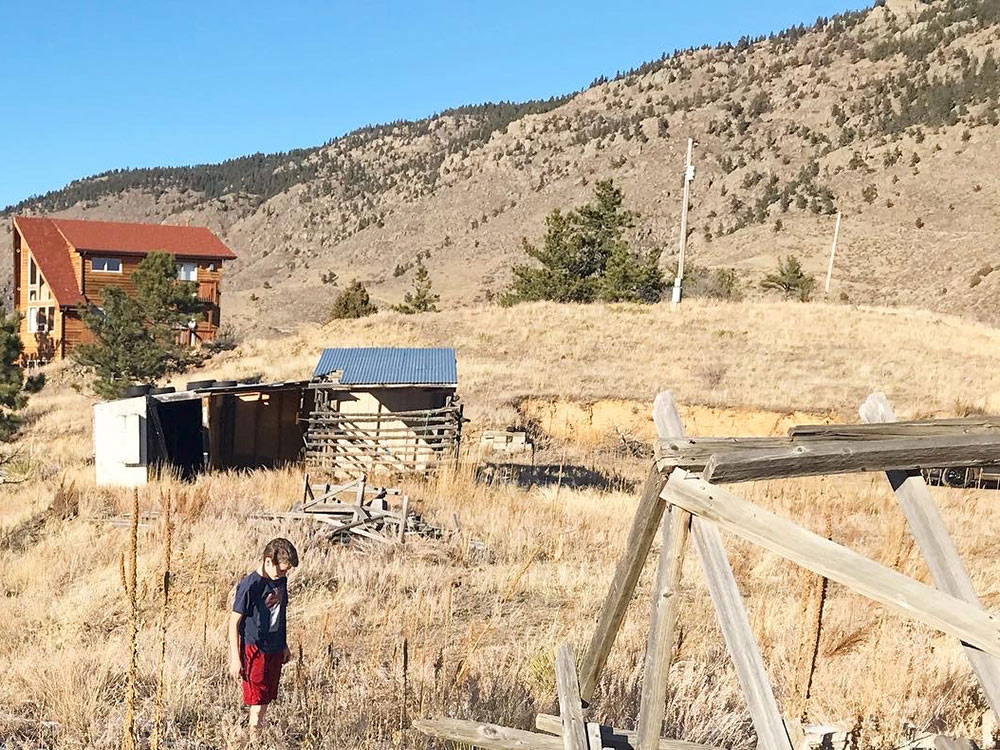
When I purchased the homestead in January of 2019 I knew one thing... tearing down this death chamber was priority. I studied it for days and could never figure out what it was for. Luckily, with the help of some friends, huge biceps, tow straps, trailer, and a truck, I was able to get things rolling.
Clearing Debris
It's fun for the first smashy smash but when it seems like you just keep finding more garbage, cleaning up gets old. This shed(ish) structure was filled with pack rats, poo, mold, and nests. Luckily after a few weeks of help from friends and 6 trips to the dump (fully packed trips) I was ready to bring in the skid steer for ground prep.
Ground Preparation for the Metal Structure Build
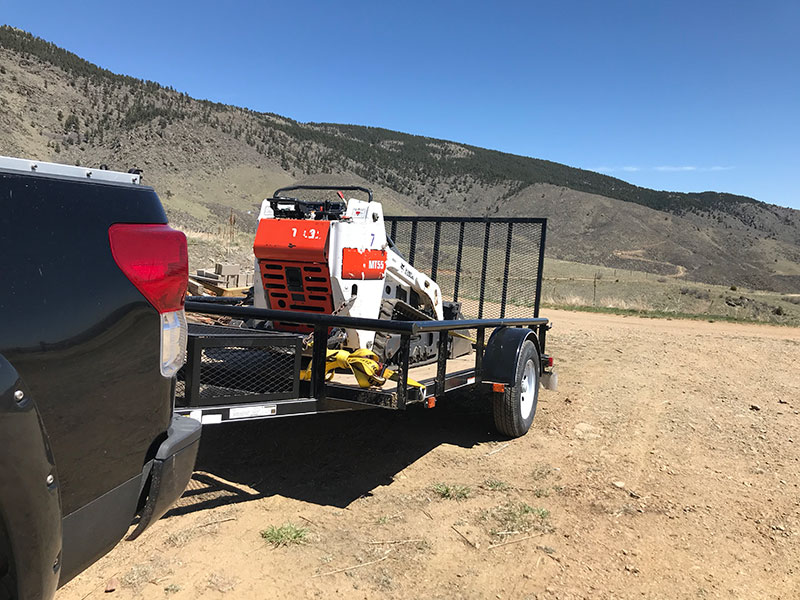
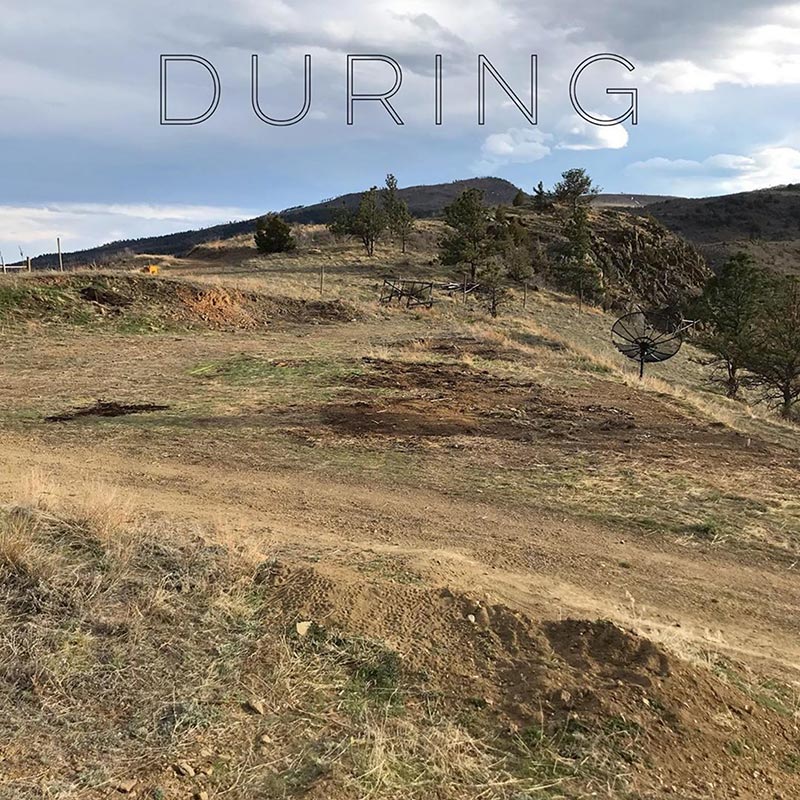
I made a mistake - renting a mini skid when I should have gone full sized. I rented it for a week and my forearms were completely spent... the cramping, jeez.
Because I was doing work not entirely intended for a mini skid and because the tracks on the rental were worn down I had the rental crew come out on 3 occasions to fix the struggling track system. Neat. I would get about an hour in and the track would pop off. Luckily after a final fix, I was good to go (no more issues).
Fast forward to 2021... I purchased a skid steer for the ranch/homestead. Best investment for a property... well, that a long with a dump trailer.
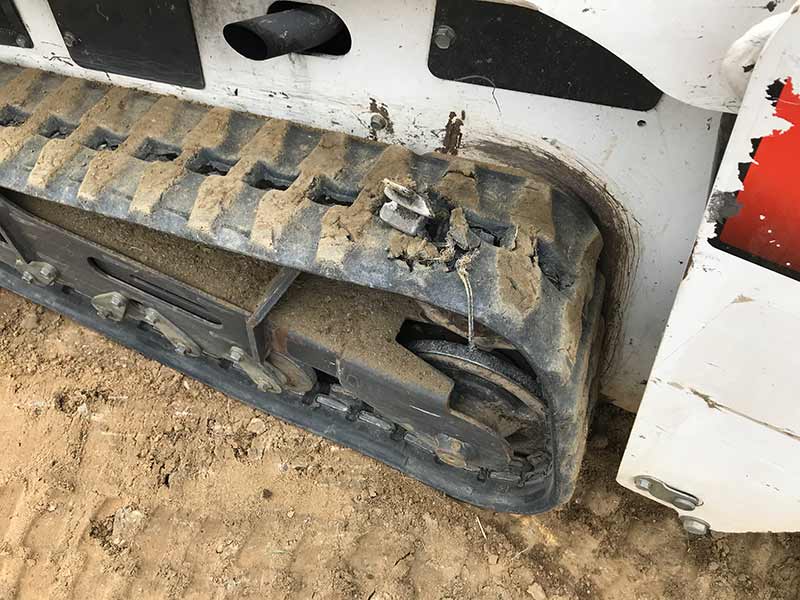
Moving that much rock and heavy material - Get a full sized skid.
The ground here at 6,000ft is FULL of rocks bigger than a house - luckily much of the flattening had been completed years prior to me moving in. But that didn't change the fact that nothing was level... and the top several inches were from years of horses - a subtle mix of gravel and manure with a hint of some kind of organic material (maybe years of hay/straw).
When prepping the ground, get it level. Really level.
Planning the Barn (Metal Structure)
Here's a detailed list of what I wanted in the barn build:
- Steel Structure for durability & longevity
- Quality doors with large windows
- Ample windows for light
- Lean-to with roof - blank slate to create a chicken run
- Layout for internal chicken coop
- Lean-to shelter for rabbit hutch
- Separated garage for outdoor gear & ATV's with internal access and roll up door for external access
- Ample space for a workshop
- Small second story for storage and kid play area
- Dedicated aquaponics location near rainwater system (will be feeding the rabbits and chickens with fodder)
- Ample south facing windows & doors
- Large roll up door in main structure
- (outside) location for rain holding tanks (south facing for winter collection too) - Chickens and rabbits water comes from roof run off.
- Enough height for a rope (getcha rope climbs, son!)
Shopping for a Barn

Turns out... there's not a barn mall. But it didn't take long to dial in on metal structure and not wood structure... unluckily there was nothing local and I had to turn to national options. More on that later...
What are the Benefits of a Metal Structure (Barn)?
Here are 6 reasons why you should consider getting a metal structure rather than a wood structure:
- No need to paint metal structures with metal siding (probably ever) - true with the exception of the doors and window trim.
- Steel is strong and can withstand years of extreme weather
- The building goes up quickly
- Water cannot soak in to steel and rot
- Steel buildings won't bow under the elements
- Limited to no maintenance expense
When pricing out a steel barn online you'll find several cost calculators which are extremely helpful. Most of these calculators allow you to make changes to nearly every aspect of your build. After visiting several sites (and being retargeted at every corner of the internet - nice job advertising brosephs) I ended up contacting a sales rep at Big Buildings Direct.
How to order a PreFab Barn Kit with Big Buildings Direct
- Contact a sales rep
- Provide specific details on dimensions, features, colors
- Approve quote
- Pay a 17% downpayment
I'll stop there for just a second...
When you buy a metal structure from Big Buildings Direct you're actually signing an agreement with Eagle Carports. That's fine, I get it. I'm guessing the 17% downpayment is the sales fee to Big Buildings Direct (as a reseller) and the balance is paid to Eagle Carports and the contractor installing the building.
Alright, moving on to placing the order and getting everything finalized for your build:
Prepping the Build
In retrospect I would have added concrete to both the 20X30 AND the 12x30 enclosed lean to. However, I didn't and just had concrete slab poured on the 20X30 main building. I'll probably get over it. I leveled the enclosed lean-to with road base and will be adding a layer of crushed granite or something similar. So fancy
Concrete Slab for Barn
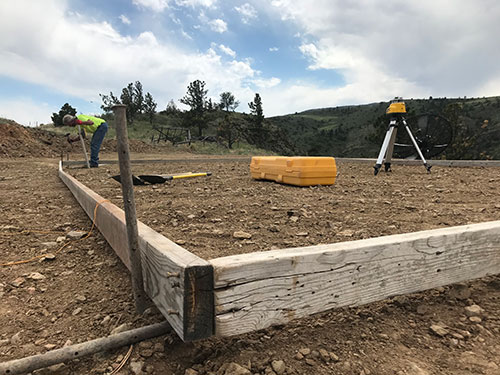
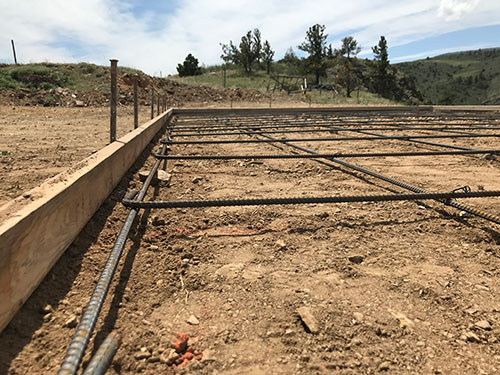
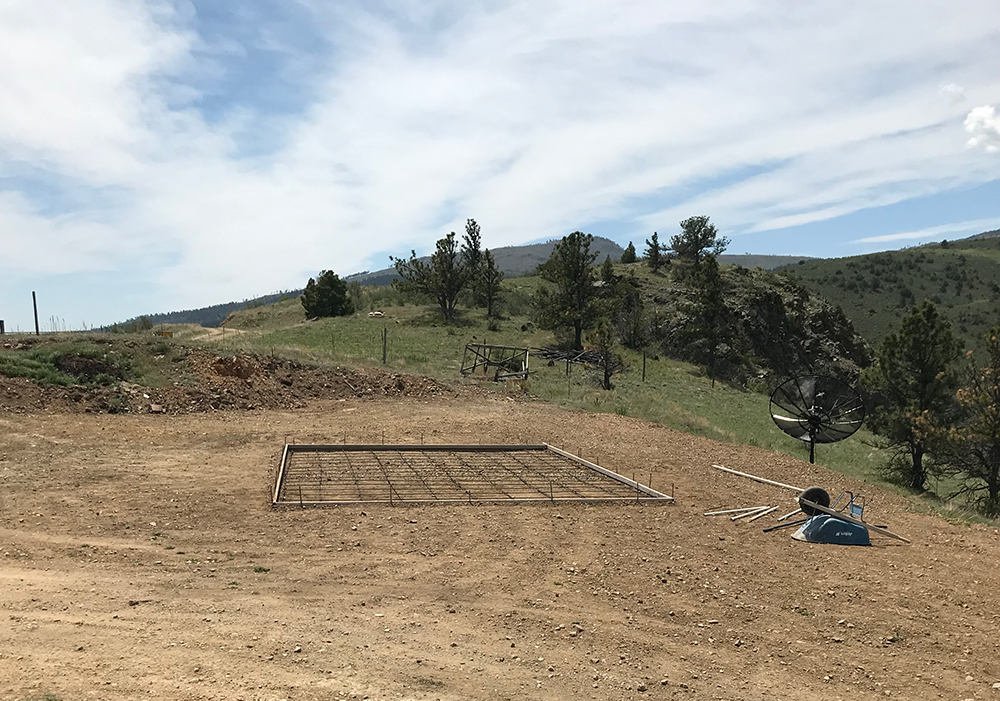
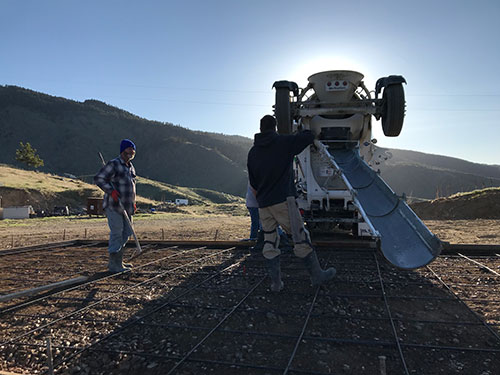
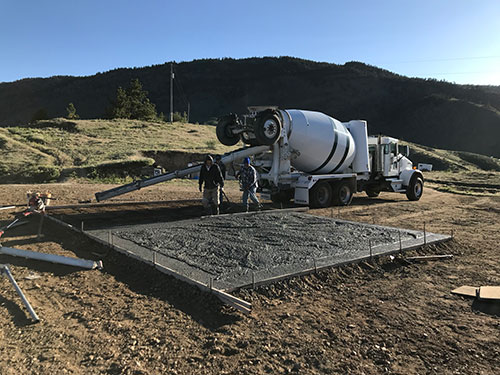
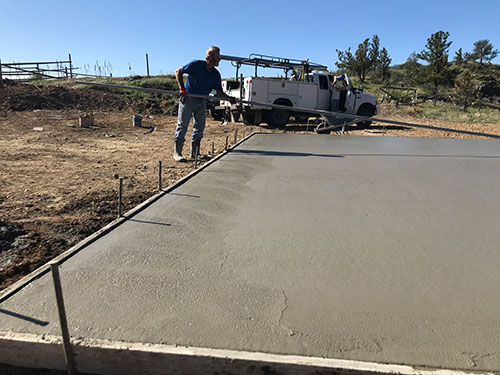
I opted for a 4-5" concrete slab reinforced with ample rebar to improve longevity. I ended up using Miller Concrete in Fort Collins, CO - Orvin has become a good friend after several concrete projects I've hired him for over the years.
Unless you know someone that you trust, plan on getting multiple bids for the job. Most concrete contractors can be a real treat! JK - The price for a concrete slab will vary quite a bit. Demand a quote in-person - don't accept any quotes from companies unwilling to visit your location.
I don't believe a monolithic foundation is necessary, a simple slab will do. At least... that's what I'm telling myself.
Total cost of concrete slab: $3,500
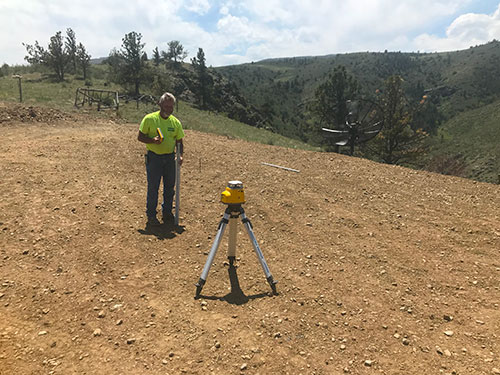
Take a look at Orvin and his mad slab skills:
Road Base Surround
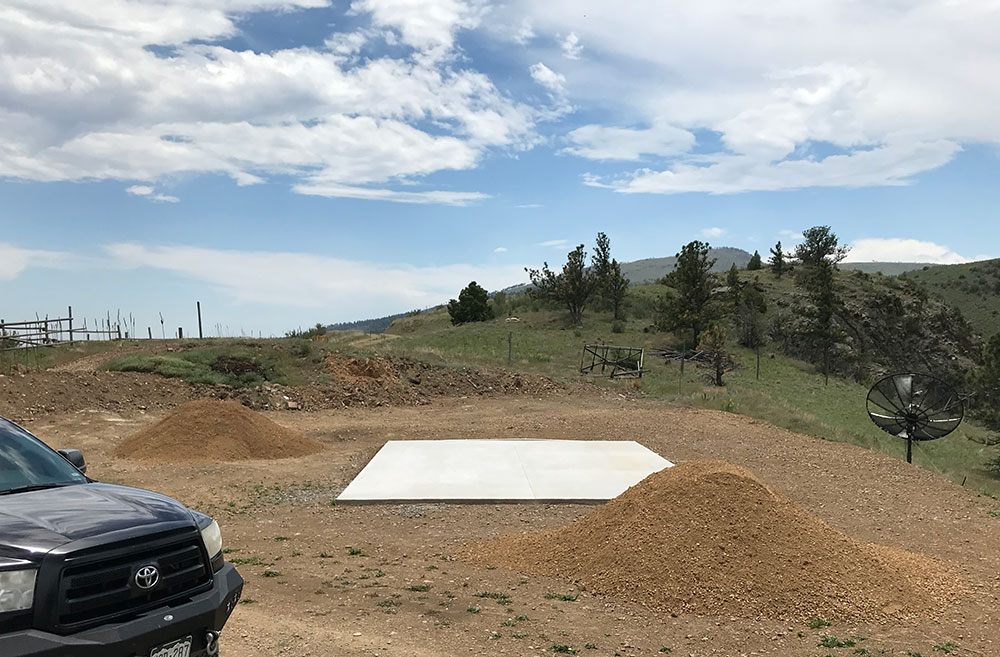
After the concrete slab was set, I brought in several truckloads of road base. Getting large trucks to deliver stuff out of town like I am... GETS SPENSIVE - be prepared!
And again... enough time has passed since I wrote this, I purchased a dump trailer in 2020 to help me with projects like this. A dump trailer is a great investment!
What is road base?
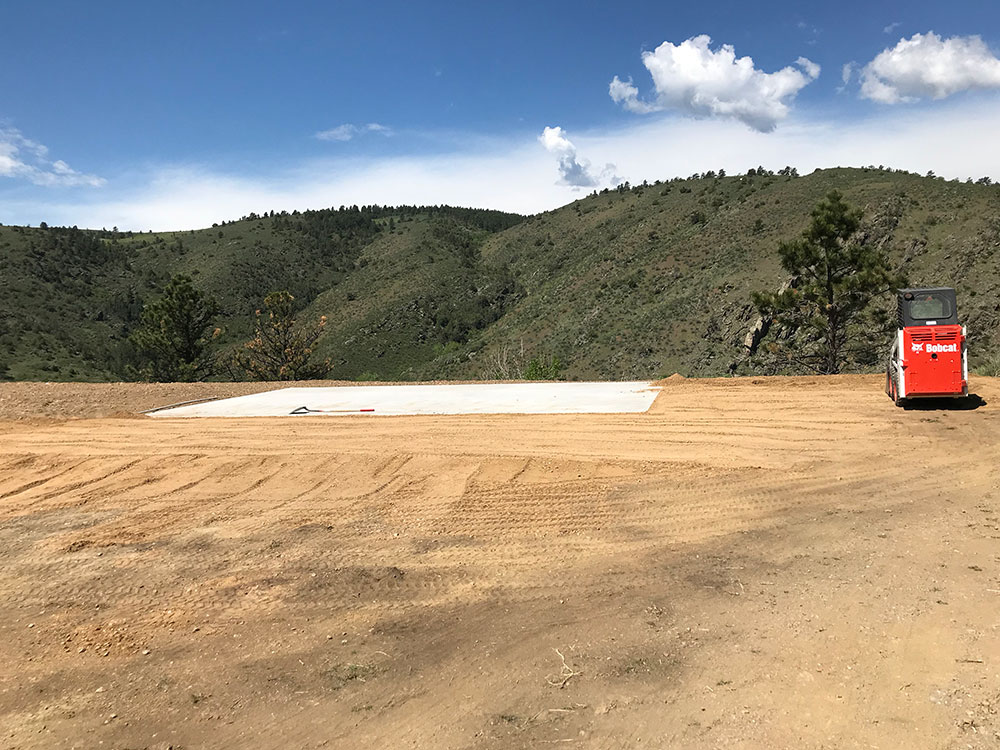
Road base is a mixture of rock and what feels like a sand/dirt mix. Road base compacts after time and becomes VERY hard. I was able to level the area next to the slab for the enclosed 12X30 lean to section of the barn. Two 14 ton loads of road base delivered cost $1,000. I've since bought two more loads, which brings the road base total to $2,000. I really wished I had just concreted the whole thing... I know I said that already (sad face).
Total cost of ALL road base delivered: $2,000
A Mini Skid (either the walk behind or sit in) is a must when leveling and prepping the ground with heavy material like road base. (A standard skid steer is much more preferable) - I have one now, amazing!
Barn Features and Quote
When deciding on features for your build here's a few suggestions:
Don't use their windows or doors
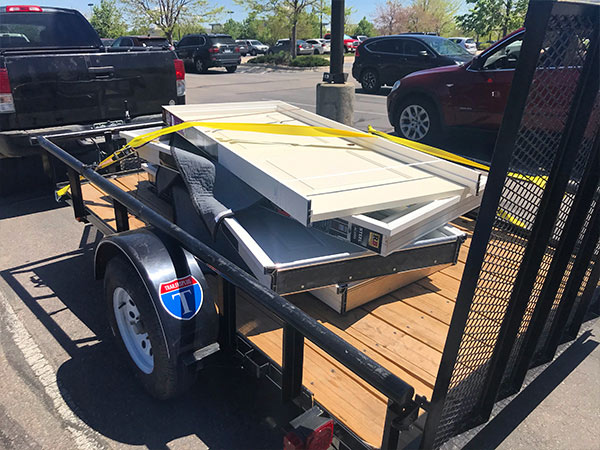
Opt for the window and door framed opening. The windows and doors they offer are cheap. When scheduling your install you'll inform Eagle Carports of the opening size of both your doors and windows. They will in turn ensure you have enough metal and framing material to install a framed opening. This is for the opening only! If you want the installers to install the doors and windows you've purchased you'll pay more (have them do it). My installer wanted $40 per opening (well worth it).
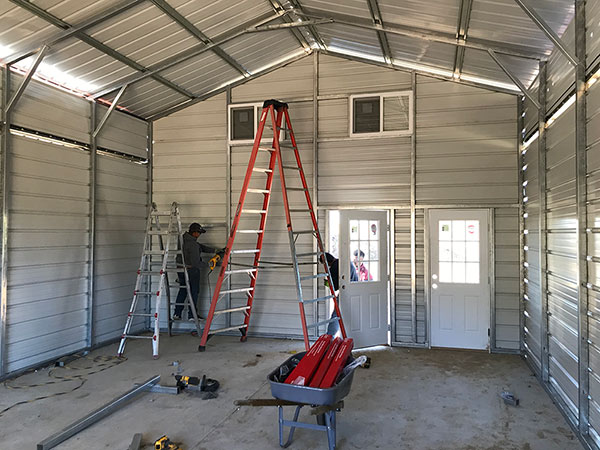
Get More (not less)
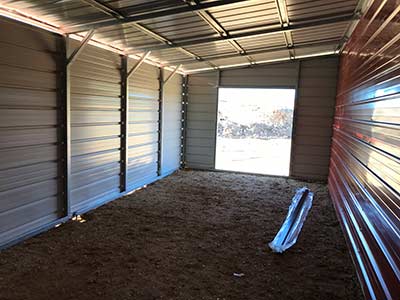
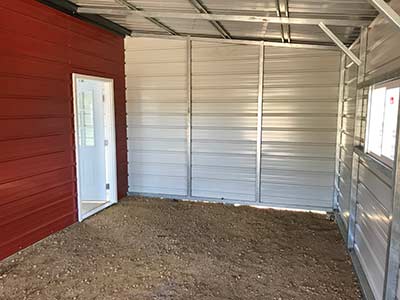
If you're unsure, go for it. You can't easily go back and add more. For example: I originally was going to get a lean to on each side of the main structure - however, I decided to enclose the one side which basically provided another "garage" - and I love it! So rather than having two open lean to's I opted for one open lean to for the chicken run and rabbit area, and one closed lean to that will store all of my outside equipment and wood. The closed lean to has a door from the main barn, two windows, and a roll up door to move equipment in and out.
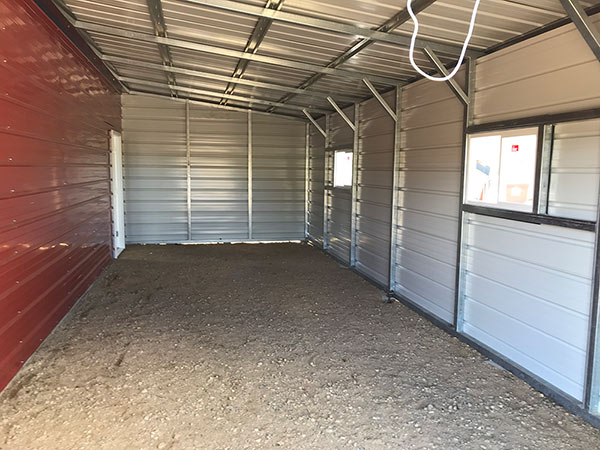
Go Tall
If it makes sense in your setting, go for the 12ft leg height - this will provide you (when you're ready) a second floor for doubling your storage capacity.
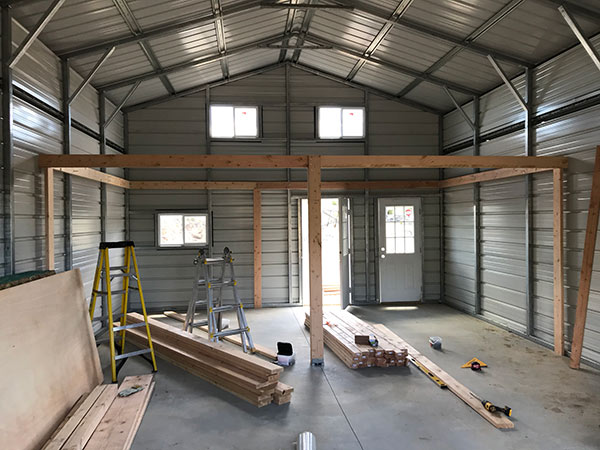
Opt for MORE windows and doors
Ample light and access are important, adding in the future will be more of a headache than you'll like. Really plan for sun placement throughout the year (for light) and how you want to easily access the building.
You'll be provided a mockup of your barn prior to signing the agreement. Note: if the doors and windows aren't in the exact spot you want them on the mockup, it's okay. That mockup is NOT used by Eagle Carports or the installer. However, the count is what's important.
Metal Barn Mockups Provided Prior to Payment
I really love the Eagle Carports mockup generator. This is a great way to see your build and work through concepts that'll allow you to also see the price. I would assume the price you see on the Eagle Carport website is similar to the price you'll get when working with a dealer like Big Buildings Direct.
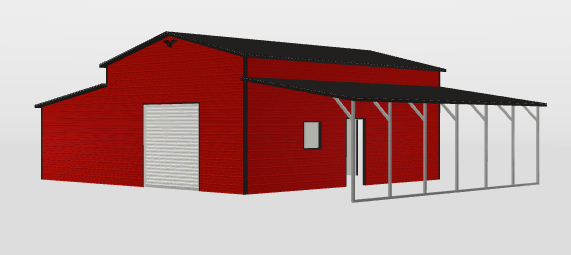
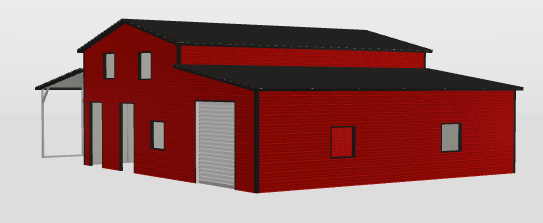
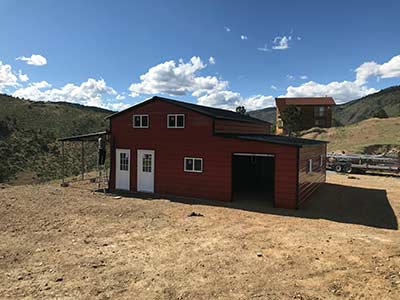
And here's what it actually looked like:
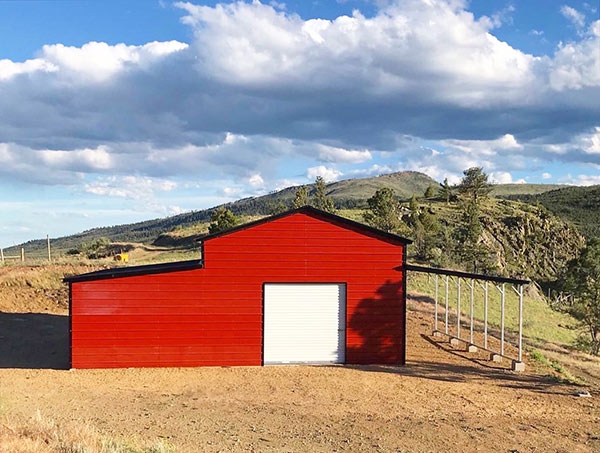
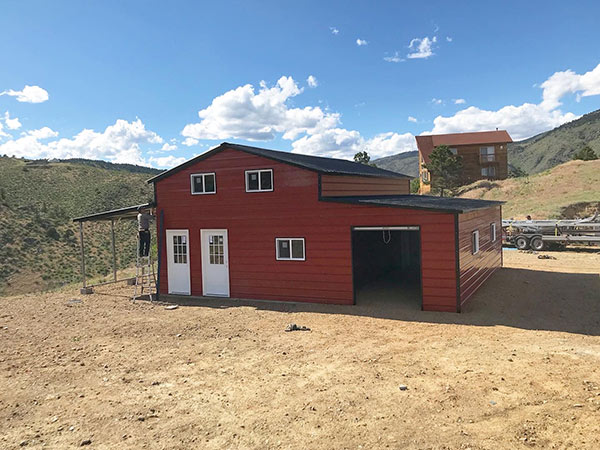
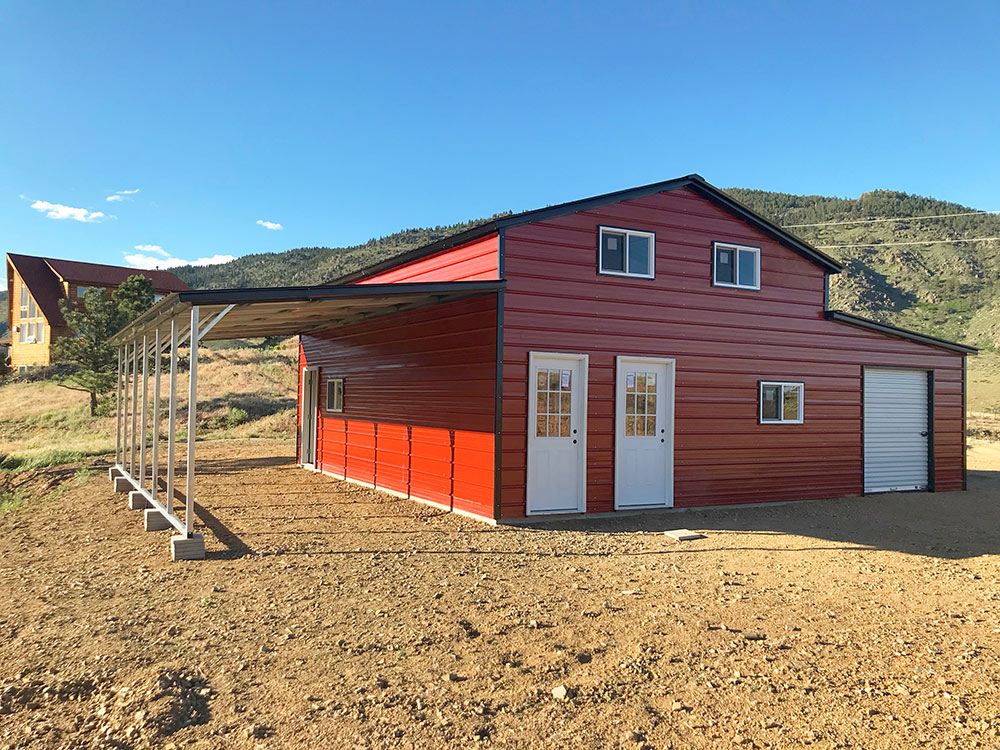
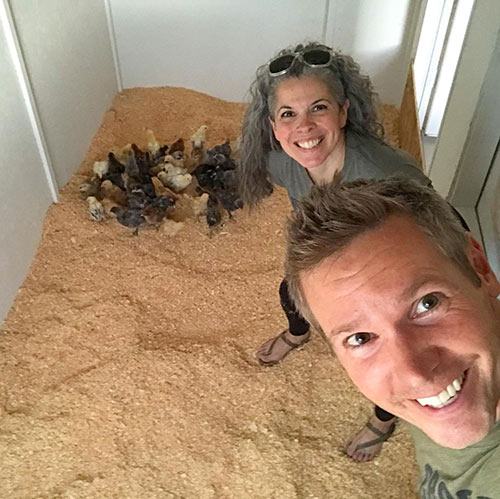
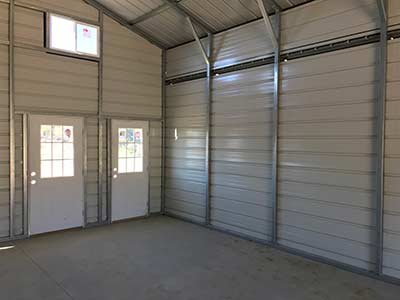
The door on the far left side of the south facing image is for the "built-in" chicken coop. The chicken coop measures about 6x12 ft and includes a small exterior chicken door to the enclosed run under the west facing lean to + a man door on the interior framed out section.
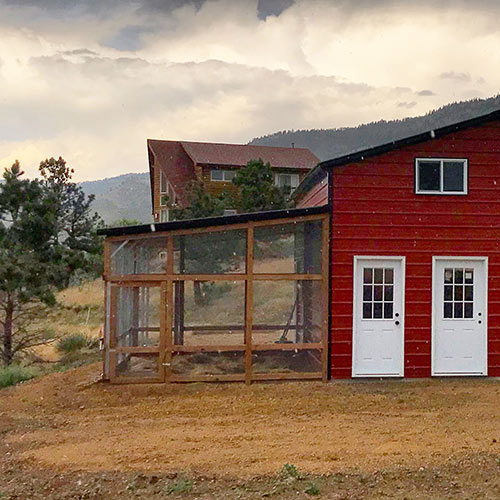
The door next to it is a south facing door to the main structure (where the shop will be). The small roll up door provides access to the enclosed lean to (measures 12x30ft) and will house all "outside" equipment including wood and the four wheelers.
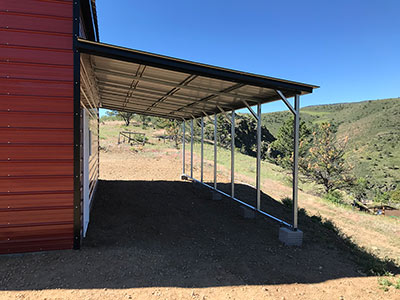
On the north facing mockup, the south side of the lean to is an enclosed chicken run (12x15ft) + space for a large rabbit hutch.
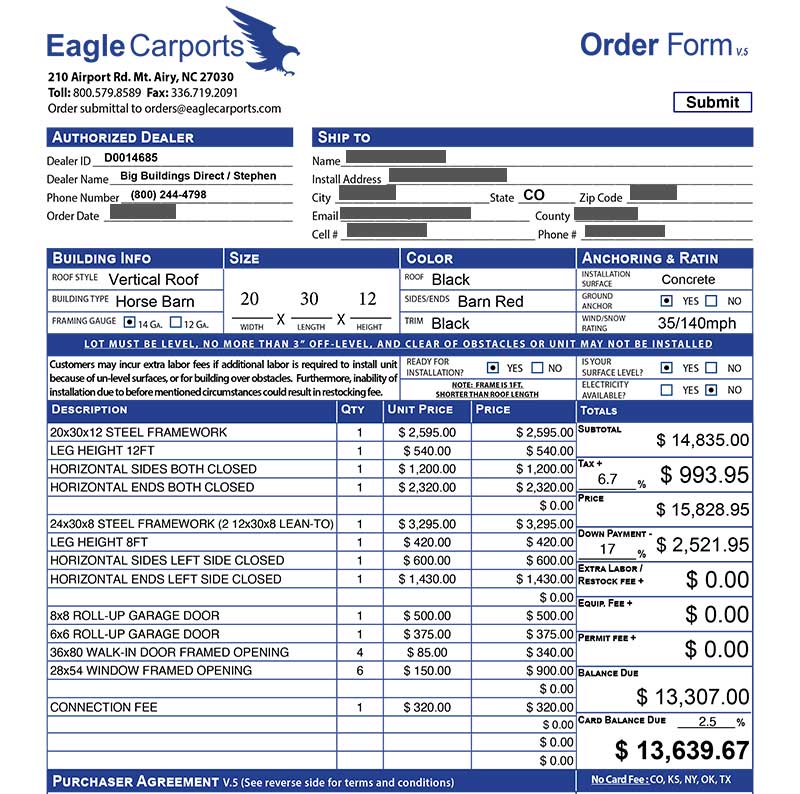
Metal Structures Quote Order Form
When looking at metal structures as pre-fab - consider the cost of the materials and installation. Getting multiple quotes will surprise you (the range of costs). It's difficult to find a lower cost than this. However, there are some elements that you may want that aren't included with these builds.
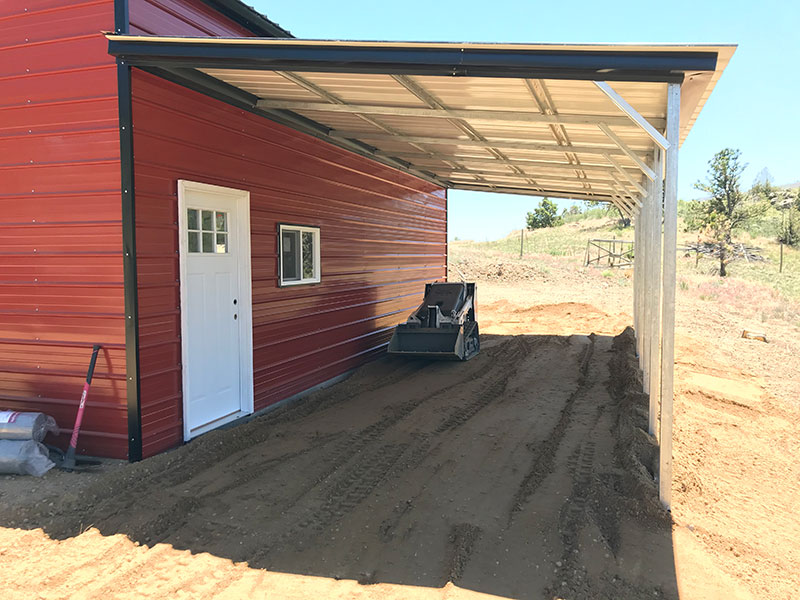
Open Lean-To (during and after the build)
I had to purchase pavers to build and level the sides of the open lean to during construction. The contractors were able to utilize the pavers and still secure the base of the steel to the ground.
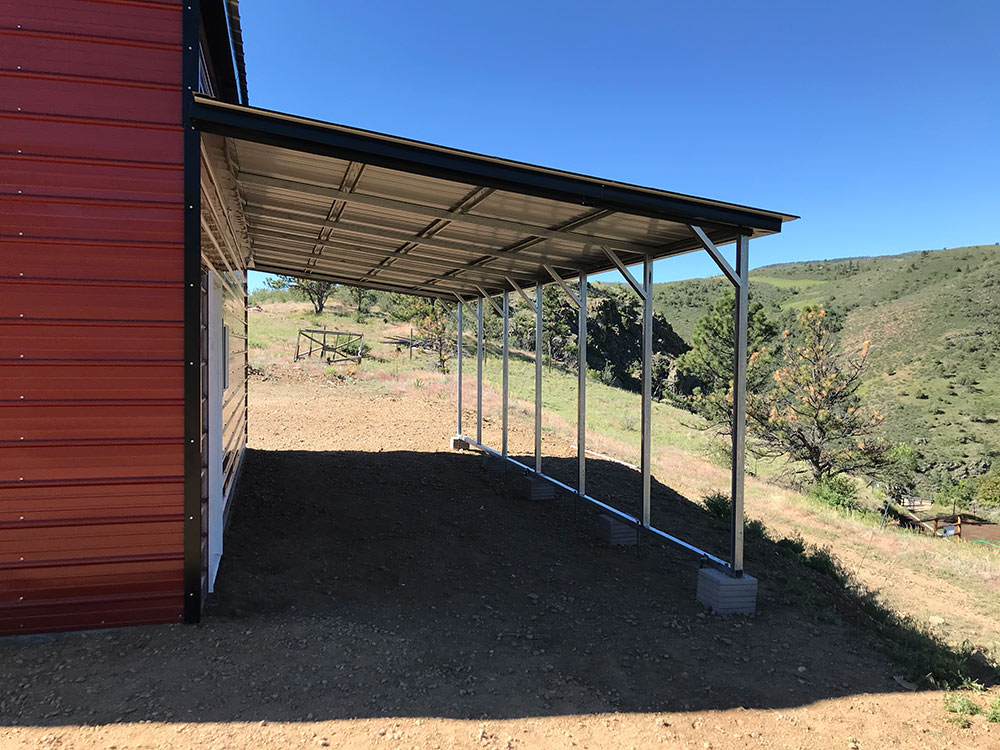
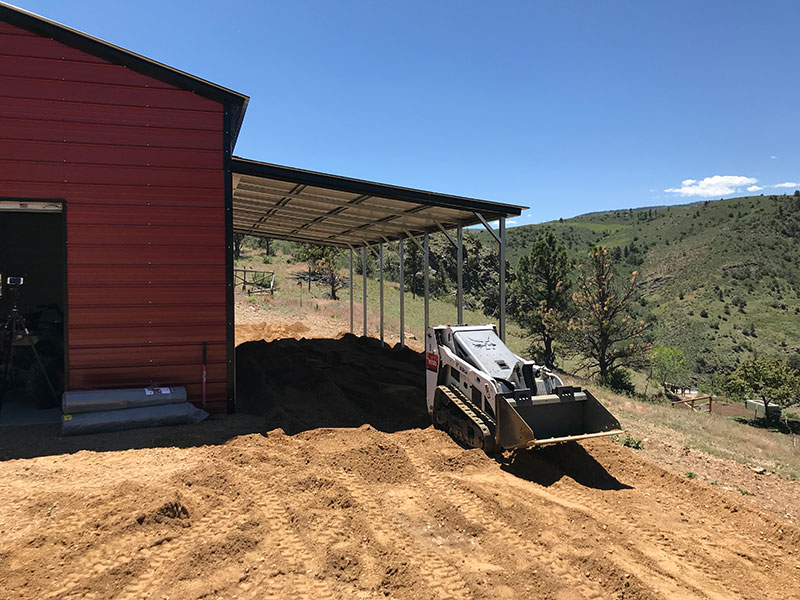
After they completed the build I added road base (as mentioned previously) to level out the lean to area and cover the pavers and anchors.
The mini walk-behind skid steer (dingo) is perfect for moving loose material in a small space.
Total Cost for Steel Barn Build
All of these costs for building metal structures - (for me) included prep work and the total cost of the shell of the metal structure.
- Skid Steer Rental (clear ground, level, and position road base) - $480
- Several Landfill Runs - $228
- Road Base + Delivery - $2,000
- Concrete Slab (prep, concrete, labor, materials) - $3,500
- Doors & Windows (purchased at Lowe's) - $1,160
- Metal Building Materials & Installation - $15,828
- Tip + Door & Window Install $600
Total Cost: $23,796
This does NOT include:
- Materials for second floor
- Materials for coop and run
- Materials for shop layout
- Knobs and locks
- Electricity (panel, outlets, lights, etc)
Tips for Building a Barn (Metal Structure)
- During the installation and setup of your barn - be available, ask questions, tip. This is your structure, you're paying for it. Be there during the construction, don't get in the way or being annoying but ensure everything is just the way you want it (while they're building) - making a fix or change during is much easier than after.
- Go tall, add more, don't use their windows and doors. Getting the basics of the build right up front, it will save you money in the future.
- The enclosed lean-to is similar to adding a second building on to your initial building, I highly recommend this. It's cheap and adds a lot to your build!
- Lean-to's are incredible - one open and one closed - the open lean to may provide you with future expansion or options that may be more expense and difficult to do down the road.
- Really plan the usability and layout of the structure prior to agreeing to the build. Adding windows and doors in the future isn't a good option.
What I don't like about my Metal Barn
- The metal siding looks cheap. The screws to hold on the siding make it indent slightly which isn't an integrity issue but visually, it's not great.
- I wasn't informed there were color-matching screw heads for the siding, I would have added those.
- I don't like how the roof ends - just the metal paneling with no rake/soffit - looks cheap.
- There are open gaps on the corners of the building where the siding attaches to the frame. There is trim added but gaps are still present.
- There are open air gaps between the lean-to roof and main structure siding.
- Drilling screws in to the steel frame can be frustrating.
However, for the cost, I'm happy. A little foam spray, insulation, and interior build out, this structure will be perfect for all of my plans.
Building a Steel Barn in 70 mph Gusts
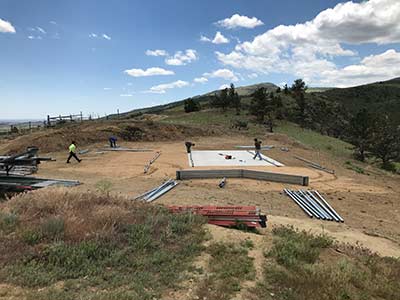
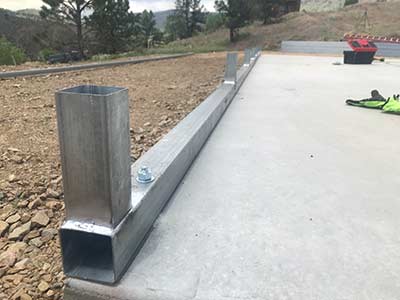
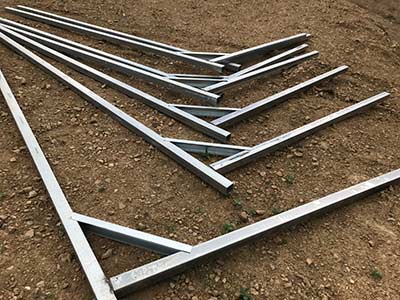
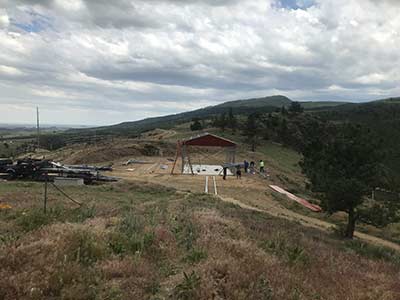
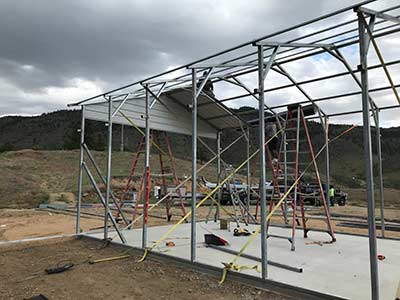
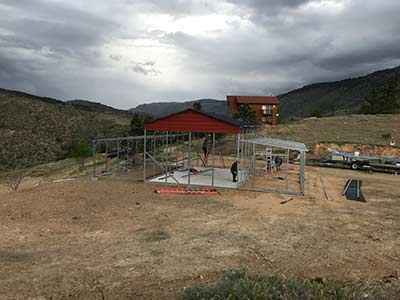
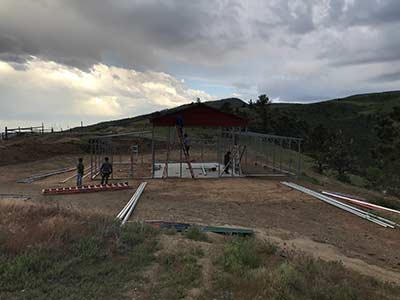
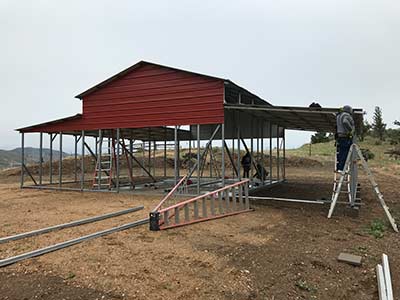
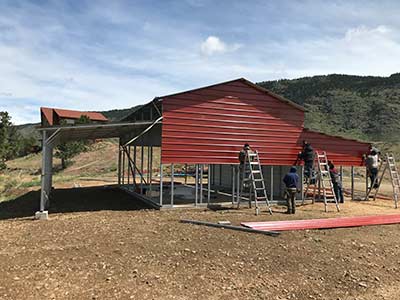
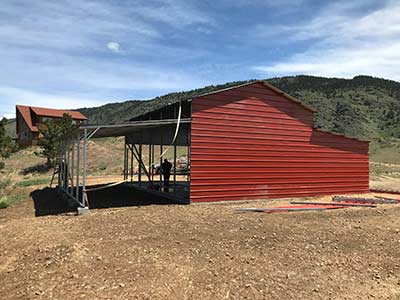
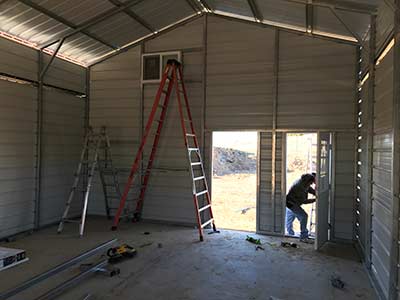
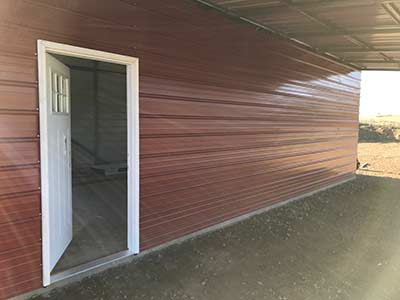
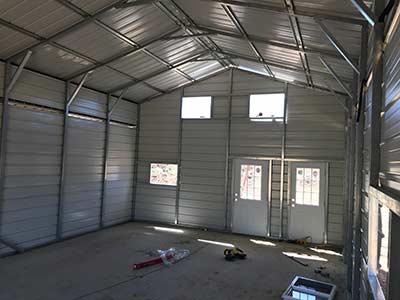
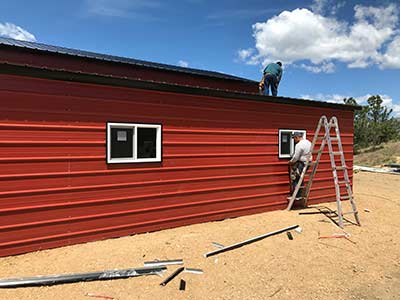
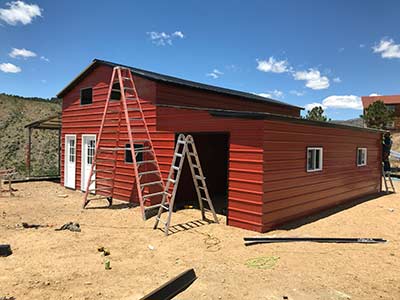
Late on the first day of the build I had 60-70mph gusts... easy (maybe more) and kept on going on day two. Building a metal barn on a windy day isn't a good idea... and it got cold. Luckily the crew called it a day and left, coming back pre-light the next morning. These guys have a schedule to keep! Dang. The lead installer asked me "so you like it here?"
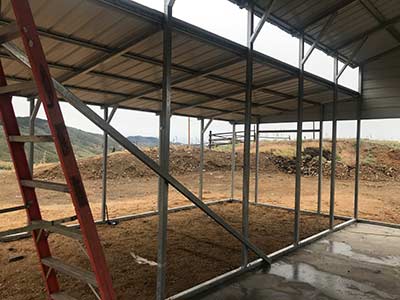
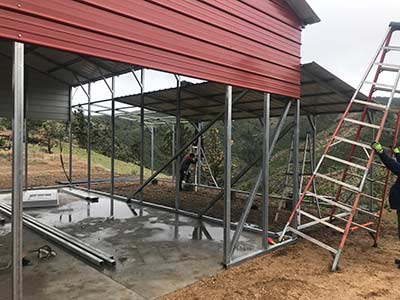
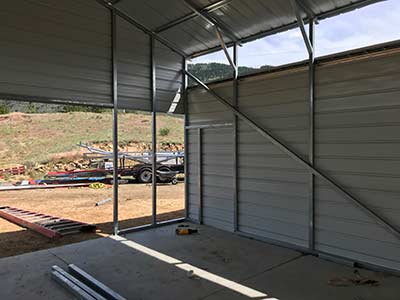
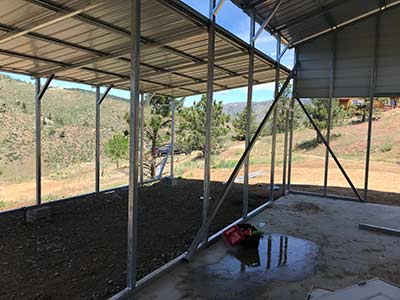
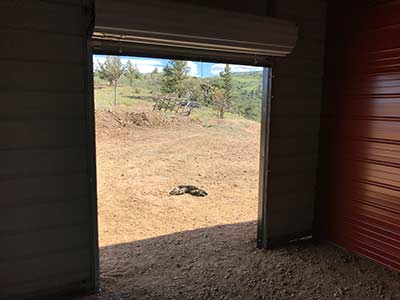
3 Build Days:
Questions this answers
Tap a question for the short answer.
How much does a prefab metal barn cost?
My 20x30 foot steel barn with two 12x30 lean-tos cost $15,828 installed, from a quote given in early 2020. Site prep plus everything that went into the shell came to $23,796, which includes a $3,500 concrete slab. Expect today's numbers to be higher.
How do I order a barn kit from big buildings direct?
Contact a sales rep, give exact dimensions, features, and colors, approve the quote, and pay a 17% downpayment. After that you request building specs, call Eagle Carports to schedule the install, confirm window, door, and color details, and wait, likely 1 to 4 weeks. The agreement you sign is actually with Eagle Carports.
Is eagle carports any good?
I'm very happy with the steel barn Eagle Carports supplied through Big Buildings Direct. Scheduling was the most confusing part: you get an install window instead of a set date, typically with no more than 1 week notice, and the building goes up with an independent contracted crew that may travel from another state.
Do I need a concrete slab for a metal building?
I poured a 4 to 5 inch slab with plenty of rebar under the 20x30 main building for $3,500, and the installer drills into it for anchor points. I don't believe a monolithic foundation is necessary. My enclosed lean-to sits on leveled road base, though in retrospect I would have poured concrete there too.
What are the benefits of a metal barn over a wood barn?
Steel siding probably never needs paint apart from door and window trim, it stands up to years of extreme weather, and the building goes up quickly. Water cannot soak in and rot it, it won't bow under the elements, and maintenance costs are limited to none.
How do I prepare the ground for a metal building?
Clear out the debris, then get the site level, really level. Rent a full sized skid steer instead of a mini skid if you are moving rock and heavy material. After my slab set I brought in several truckloads of road base around it, and I leveled the enclosed lean-to with road base as well.
Keep going
Related to this
Membership · $49.95 per year
There is a lot more behind the lock
Every recipe and resource from the Prepper's Chemical Survival Guide, all six field guides to read here and download, the full audit and logbook, all twelve reference charts, and no ads.
My Manual · included
Build your own field manual
The most useful thing a membership gives you. Save any page on this site, recipes, charts, and whole field guides included. Arrange them in the order you want, name it, and print one manual with a cover and contents, or keep it as a PDF that opens with no signal.
- It works when this site does not
- Only your pages
- Anyone in the house can use it
- One current copy, not a pile of printouts
- The house binder
- A copy for the bug-out bag or truck
- A copy for family
- An offline PDF
Stay Ready
New entries, updates, and useful instruction.
Stay one step ahead on your preparedness journey.