Quick facts
- TimeLess than 10 hours
- Total cost$2,682
- StoveMaster Forge 2500-sq ft Wood Stove, $699 (September 2022)
- Pipe size6" stove pipe
- Double-wall clearance6 inches to a combustible wall, 8 inches to a ceiling
- Roof bracketNeeded when the chimney extends more than 5 feet above the roof, per the DuraPlus instructions
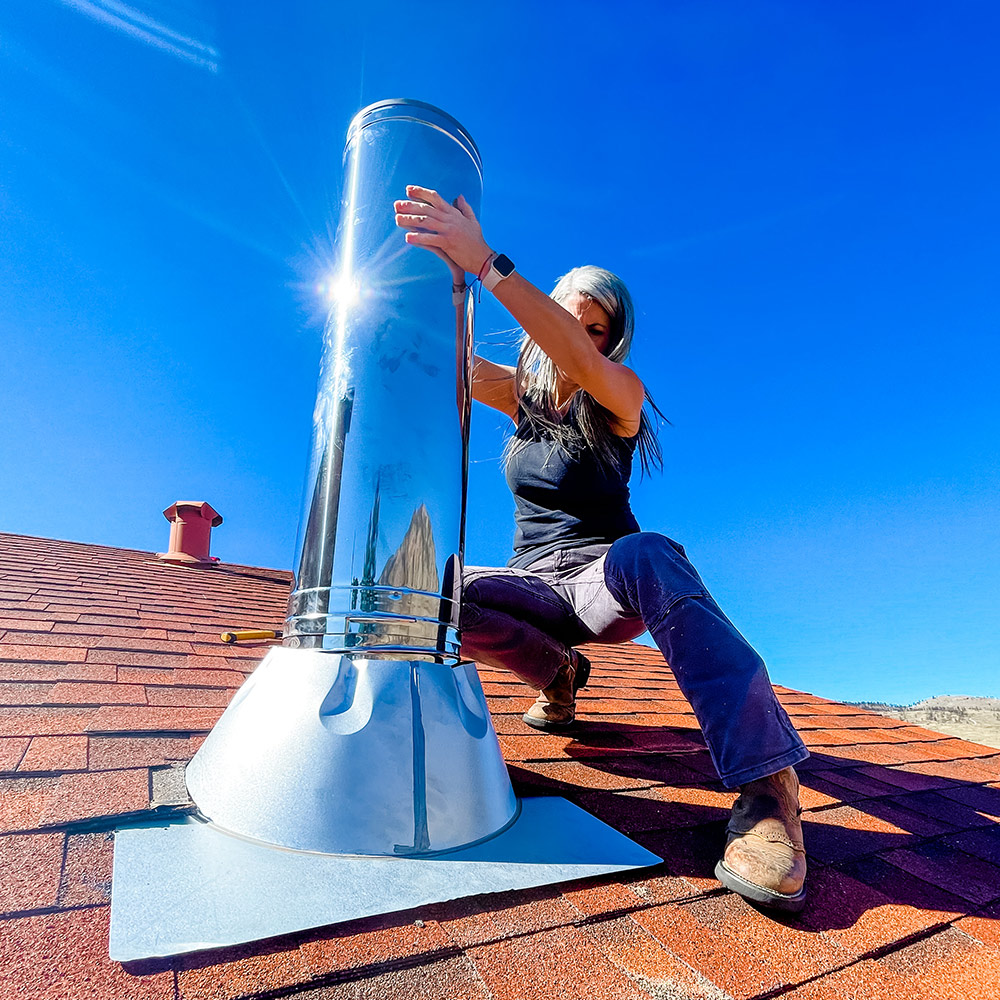
This is a step by step guide to installing a wood stove. I'll review the parts and tools needed and a step by step guide on how to properly install the stove pipe through the ceiling and roof of your home.
This project took less than 10 hours and came in at a total cost of $2,682.
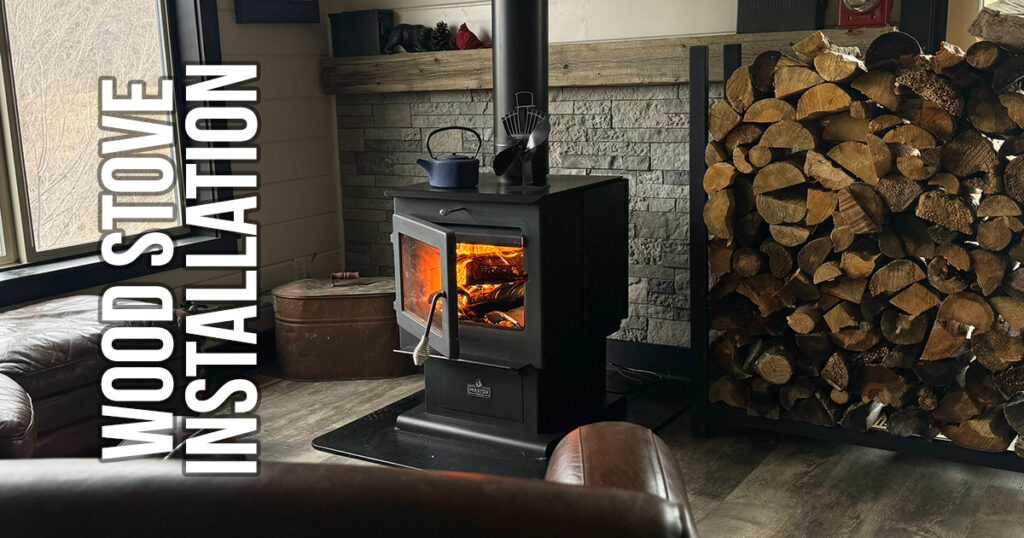
Quick Reference for this DIY Wood Stove Installation:
Selecting a Wood Stove
If you're a DIY'er and are looking to do a wood stove installation on a budget, you'll need to start with selecting the right wood stove. Consider your necessary heated square footage coverage, price, reviews, and style. I opted for an in-stock wood burning stove from Lowe's (one less thing to deal with: shipping).
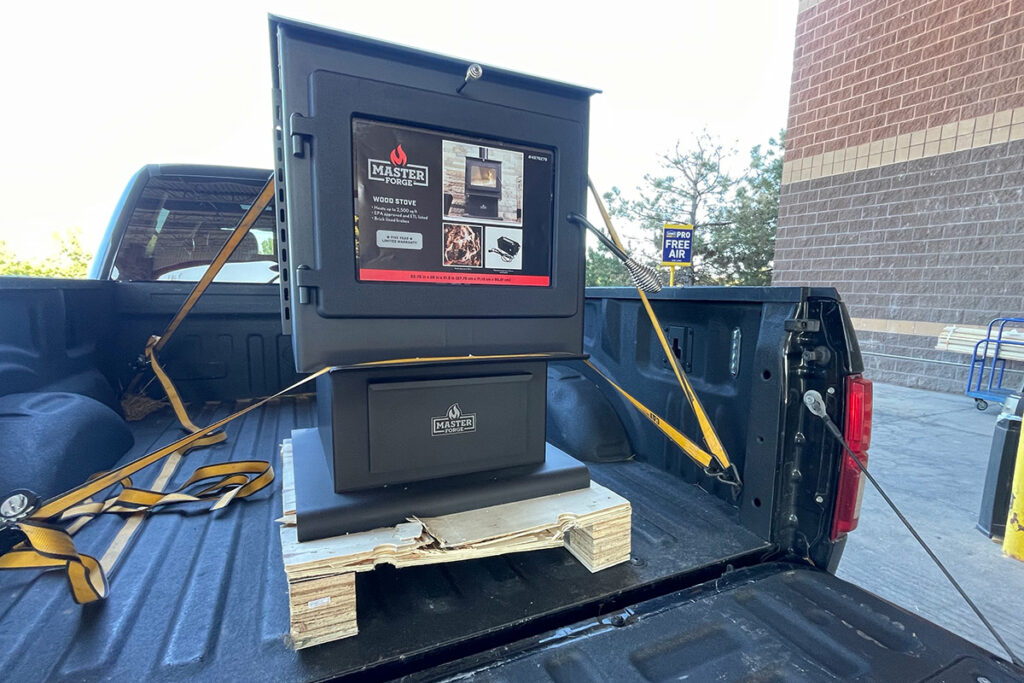
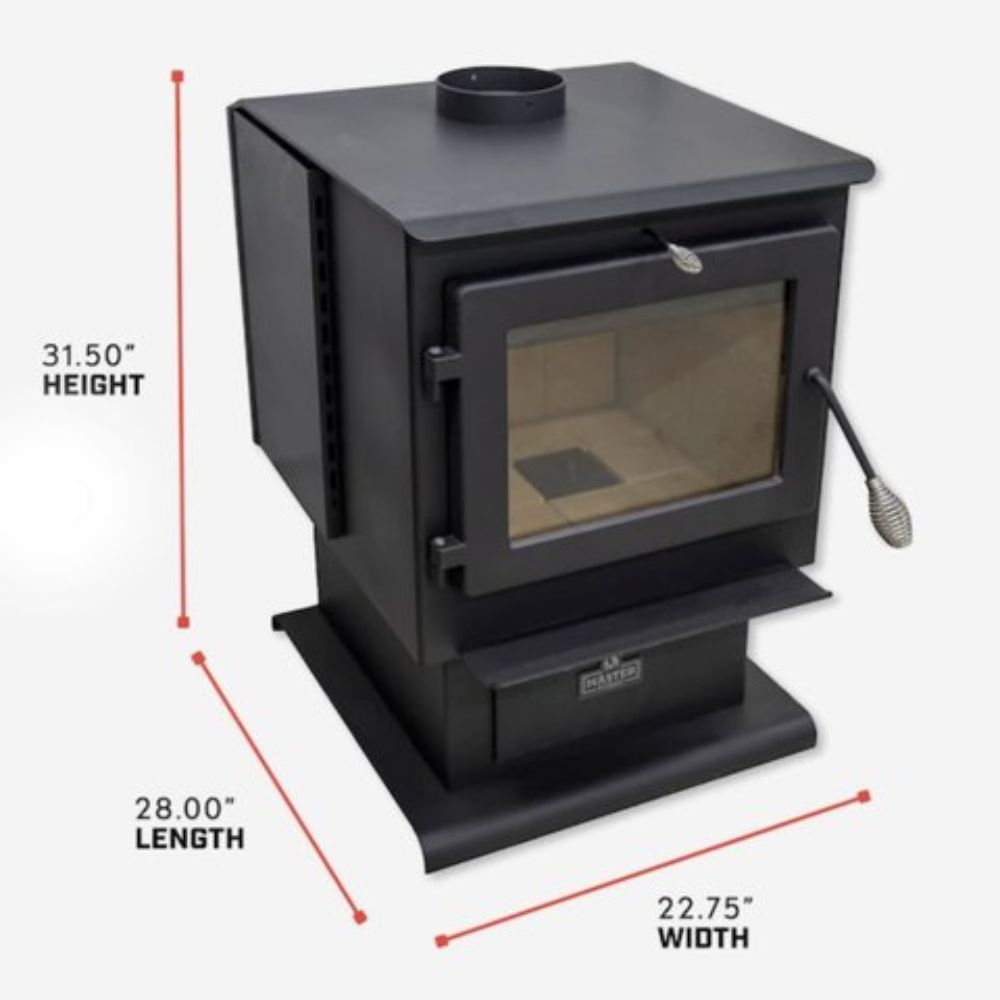
I liked the look (not the best ever), the square footage coverage, and the price of the Master Forge 2500-sq ft Wood Stove. It was fairly compact, had a simple design, and the price was really great ($699) at the time of purchase (September 2022). Because I have a Lowe's CC, I also got 5% back on the purchase which brought the price (excluding tax) to $664.
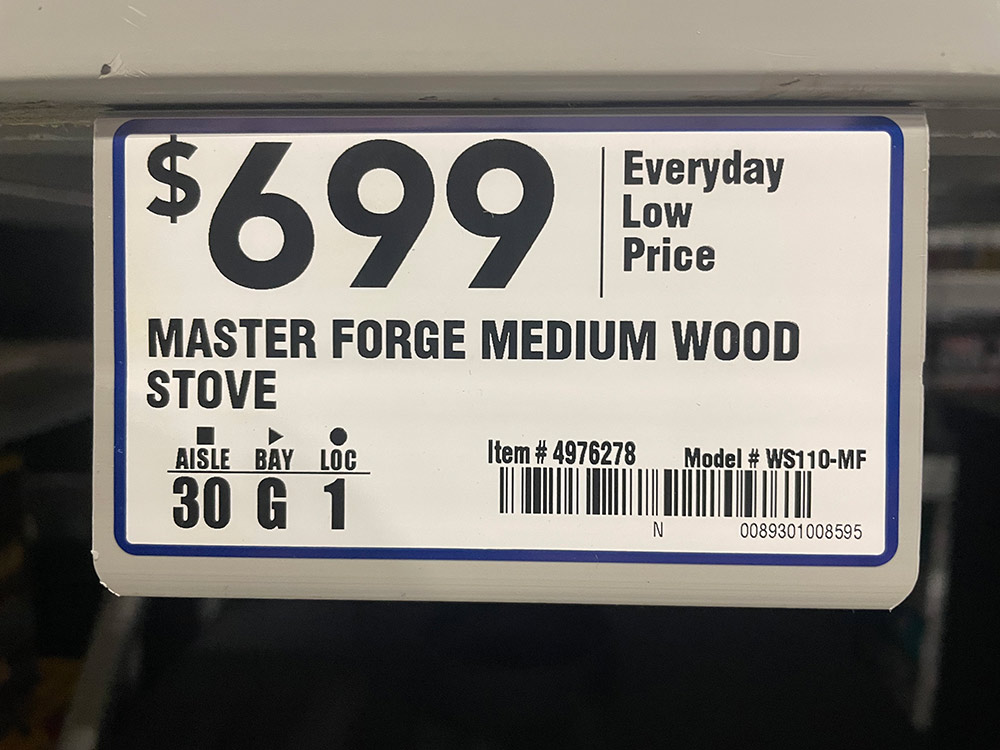
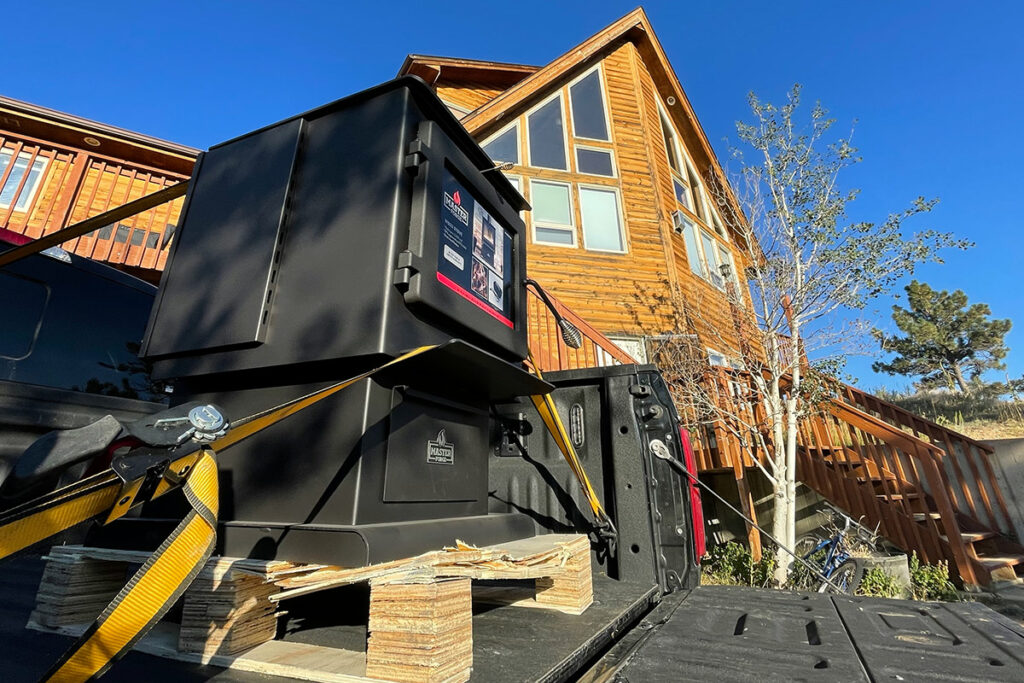
The employees at Lowe's used a forklift to load the Wood Stove into the back of my half ton pickup truck. I used 2 straps to tie down the load and it made it home safely (even on my bumpy dirt road).
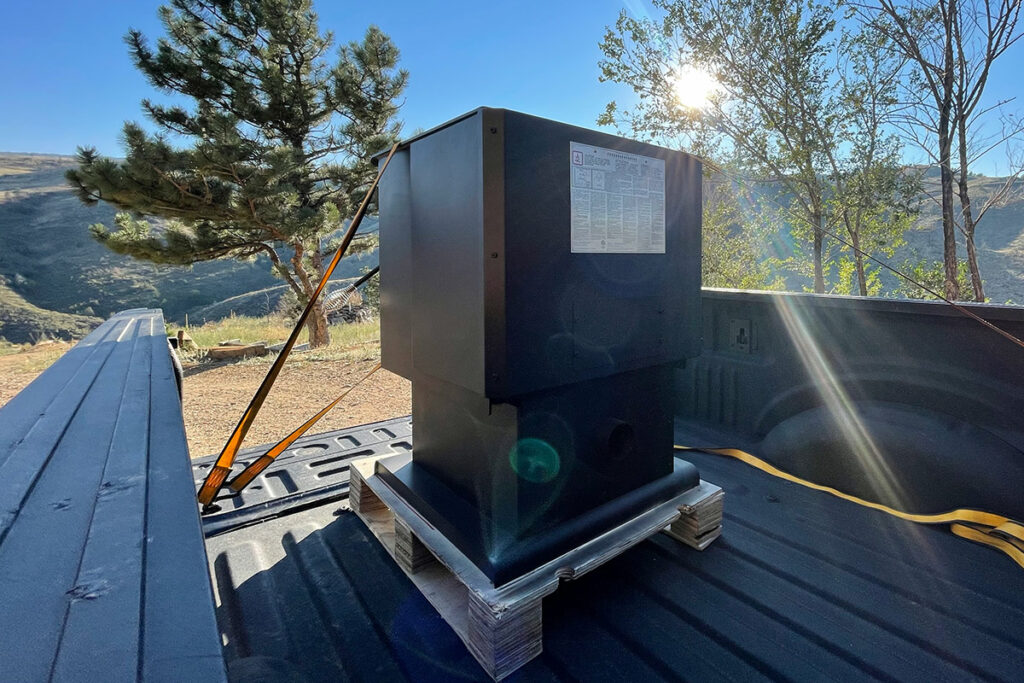
As you can see from the picture below, the "pallet" was pretty weak but it got the job done.
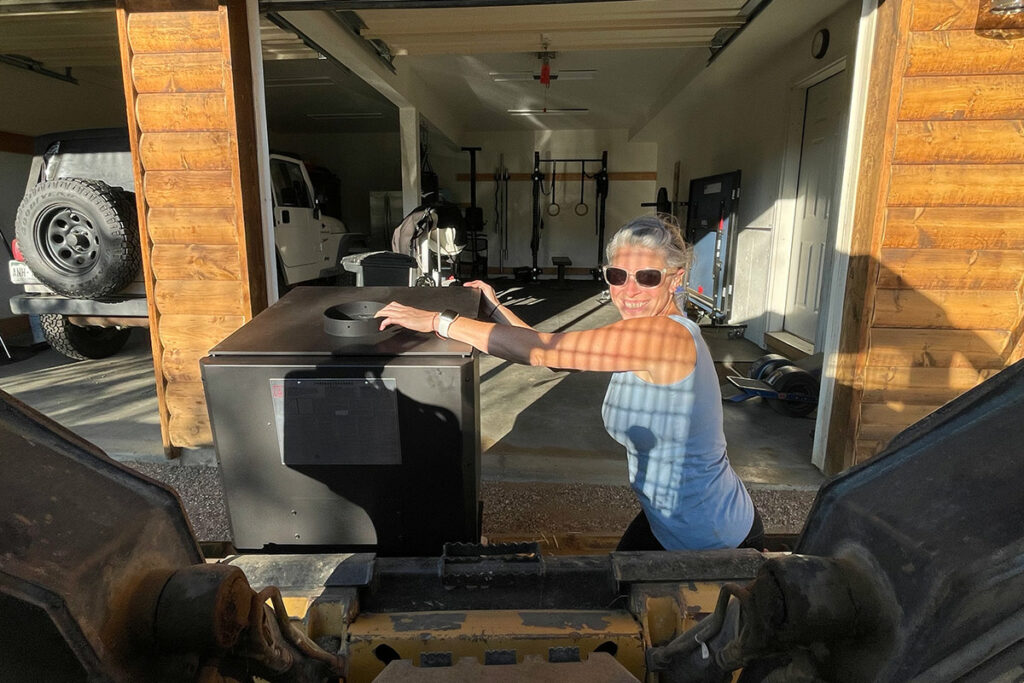
I used my Skid Steer to unload and place in the garage while I figured out the next steps: getting all of the stove pipe and other materials for a successful install.
Everything (besides the stove) Needed to Install a Wood Stove
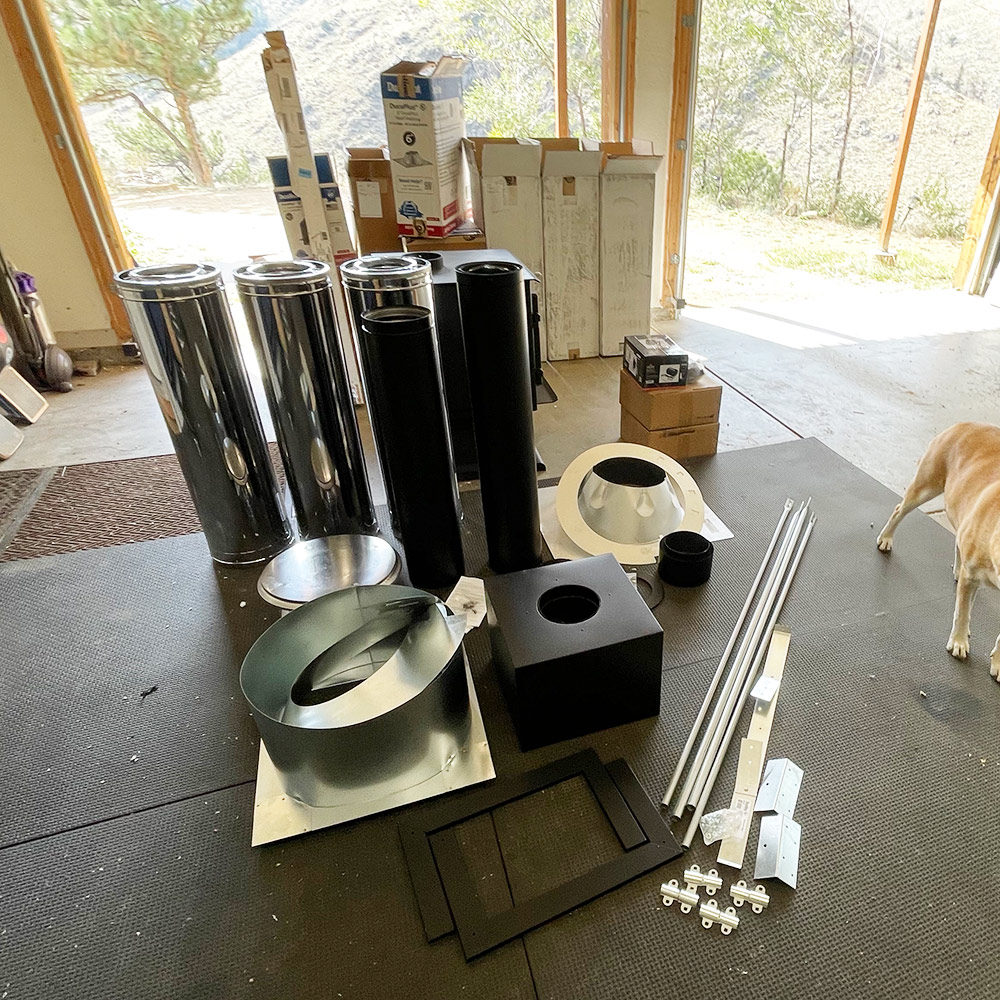
One of the more frustrating elements of preparing for your wood stove installation is finding all of the right pieces you'll need to get the job done. Luckily there are websites that'll help guide you through the "parts needed" process.
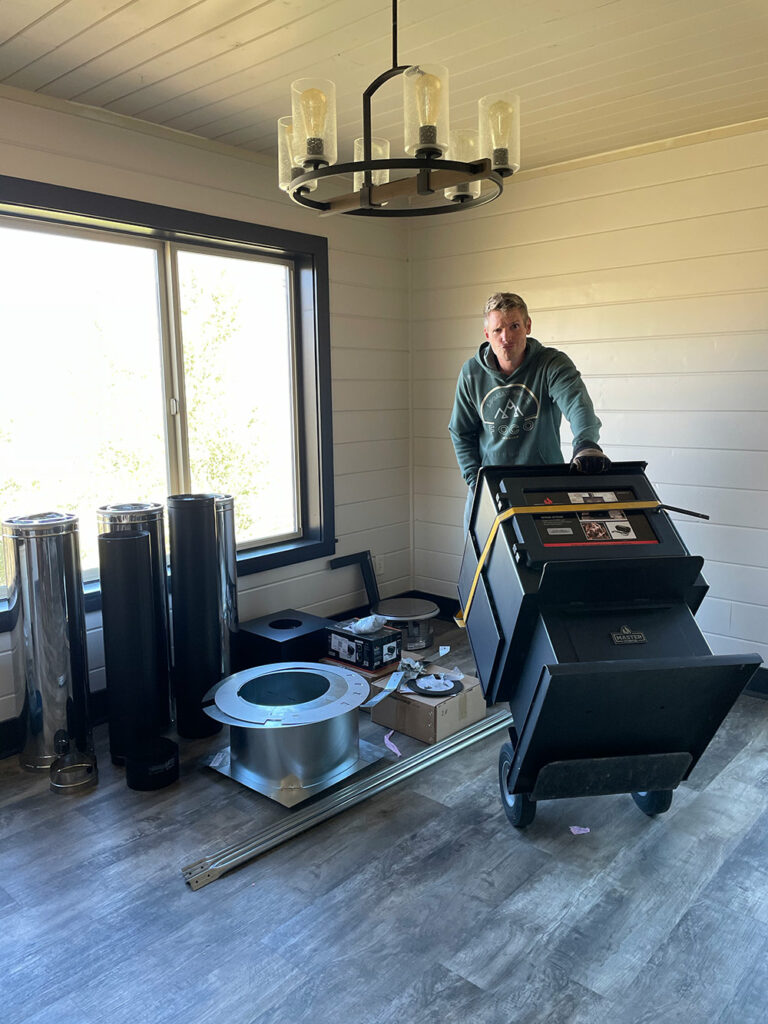
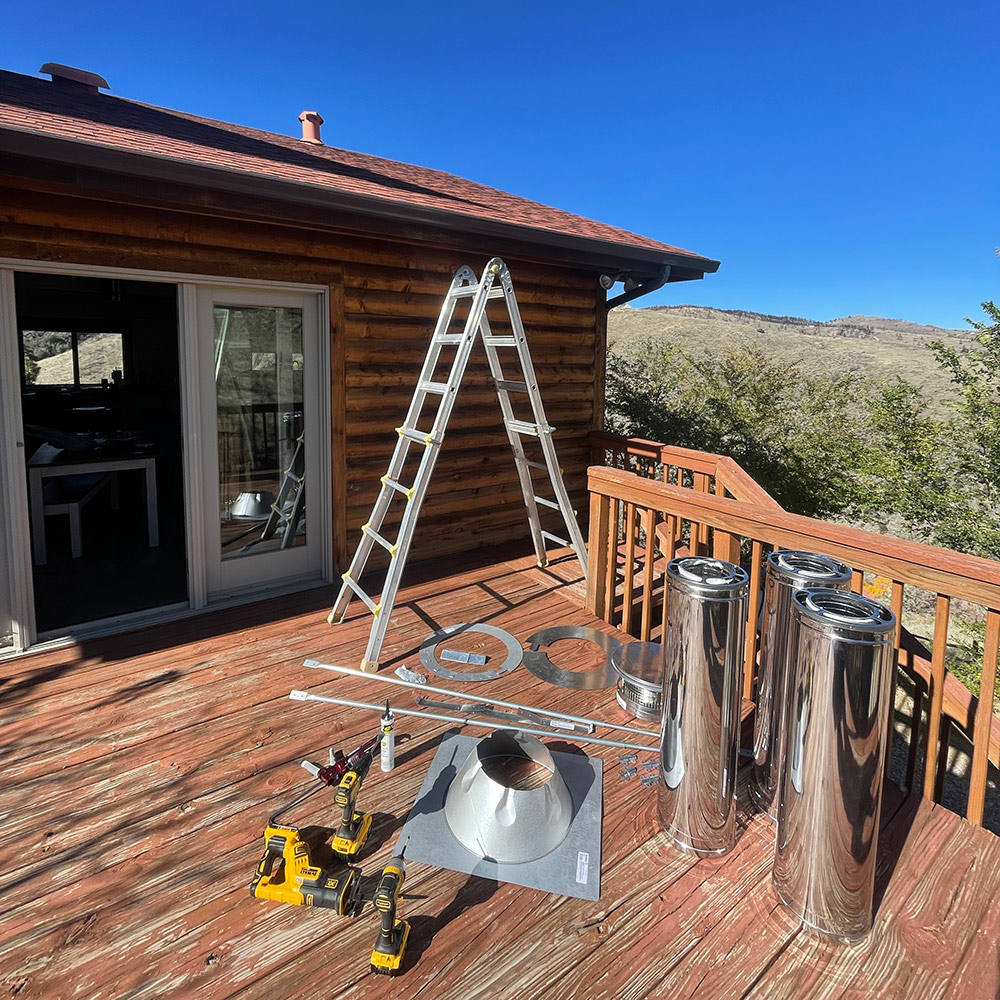
Here's a look at all the pieces needed for this wood stove install:
Parts Needed INSIDE the House for a Wood Stove Installation
The Master Forge Wood Stove that I purchased is properly equipped for a 6" stove pipe.
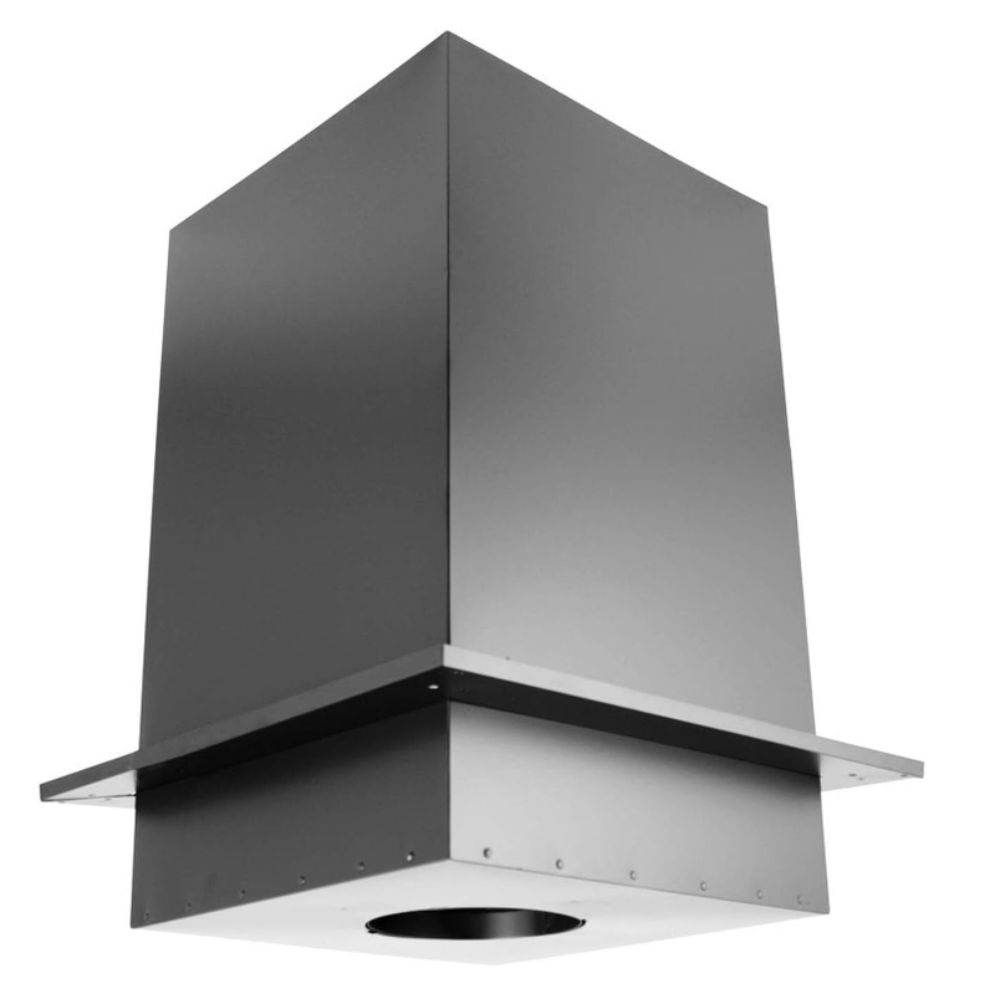
6'' DuraPlus 11'' Square Ceiling Support Box
- Easy Setup: Quick, user-friendly installation.
- Flexible Fit: Adapts to multiple ceiling styles.
- Lasting Durability: Galvanized steel construction.
- Strong Support: Holds extensive pipe lengths.
- All-in-One: Complete kit for wood stove venting.
- VIEW MORE
- Purchase on Amazon
Use with flat, vaulted or cathedral ceilings. This component supports up to 40' of chimney pipe with a built-in starter section. The Square Ceiling Support box features a sleek black finish to add pleasing aesthetics to the fully functional build.
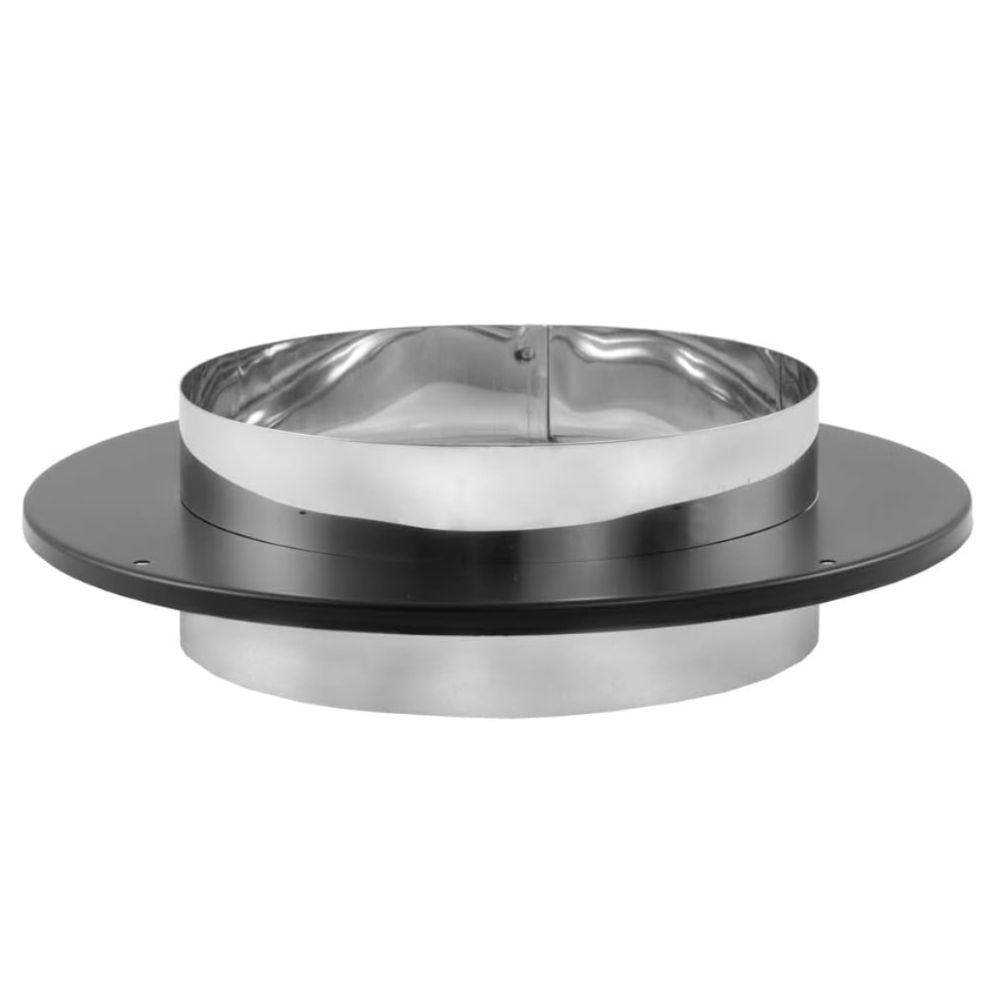
6'' DuraBlack/DVL Chimney Adapter with Trim
- Multi-System Connection: Easy integration with multiple venting systems.
- Safety First: Reduces combustible clearances.
- Performance Booster: Maintains optimal flue gas temperatures.
- Easy Installation: No need for cutting or crimping.
- VIEW MORE
- Purchase on Amazon
DuraVent DVL is a double-wall interior stovepipe for connecting wood stoves to a manufactured chimney.
The DuraBlack Chimney Adaptor is used to connect from double-wall DVL and/or single-wall DuraBlack to DuraTech, DuraPlus, DuraPlus HTC, and DuraLiner for a through the wall or ceiling installation. This adaptor is required for proper connection.
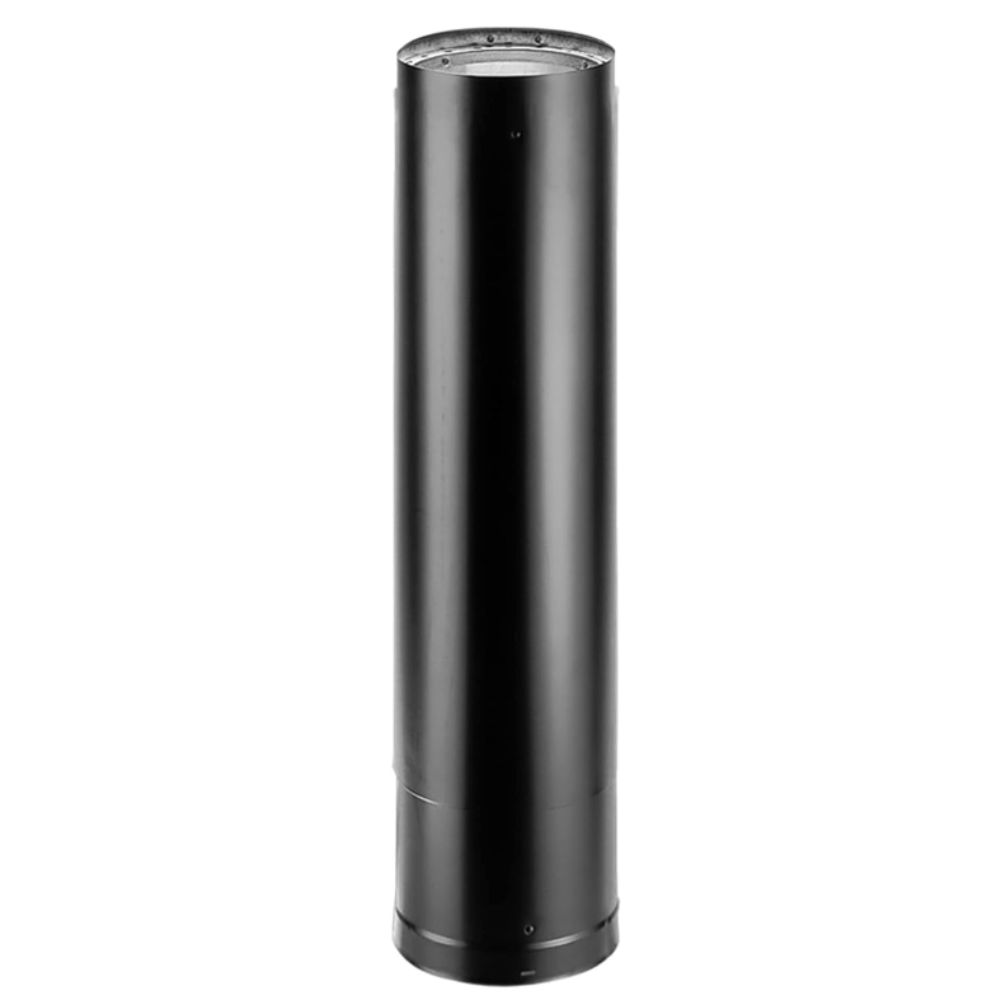
6'' DVL 40'' - 68'' Double-Wall Telescoping Black Stove Pipe
- Multi-System Connection: Easy integration with multiple venting systems.
- Safety First: Reduces combustible clearances.
- Performance Booster: Maintains optimal flue gas temperatures.
- Easy Installation: No need for cutting or crimping.
- VIEW MORE
- Purchase on Amazon
Since the room the wood stove is being installed in is only 8ft tall, I didn't need any more sections than this. If you have high ceilings, you'll probably need a larger telescoping pipe option.
The DVL Telescoping Pipe Length is for use as a two-piece installation from stove to ceiling support box or finishing collar. There is no cutting required and the pipe extends from 40" - 68".
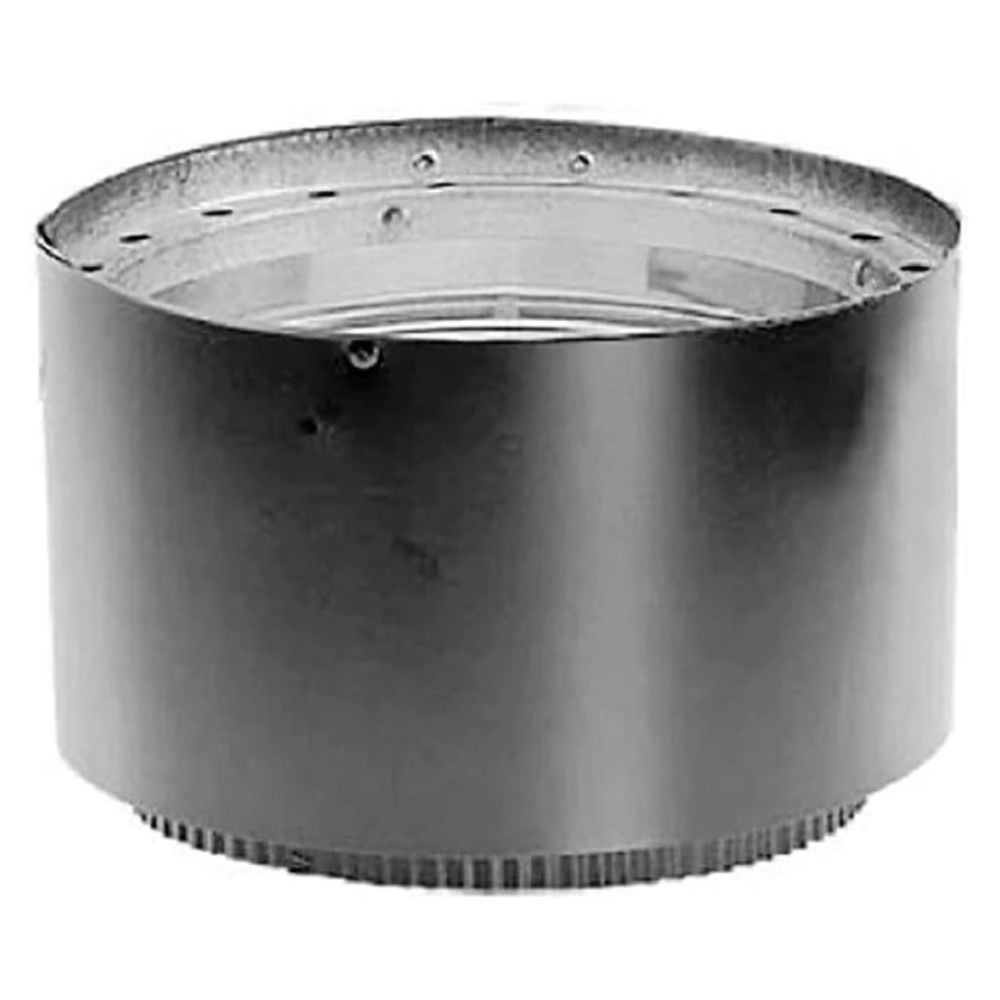
6'' DVL Adapter Section No Damper
- Safety Assurance: Reduces combustible clearances.
- Simple Setup: User-friendly installation.
- Performance Enhancer: Faster and sustained heating.
- Robust Construction: Durable, rust-resistant materials.
- Space-Efficient: Compact and lightweight design.
- VIEW MORE
- Purchase on Amazon
The DVL Adapter Section connects DVL pipe to the appliance flue outlet. Also for use as a stove adapter.
6'' to 8'' DuraPlus Attic Insulation Shield
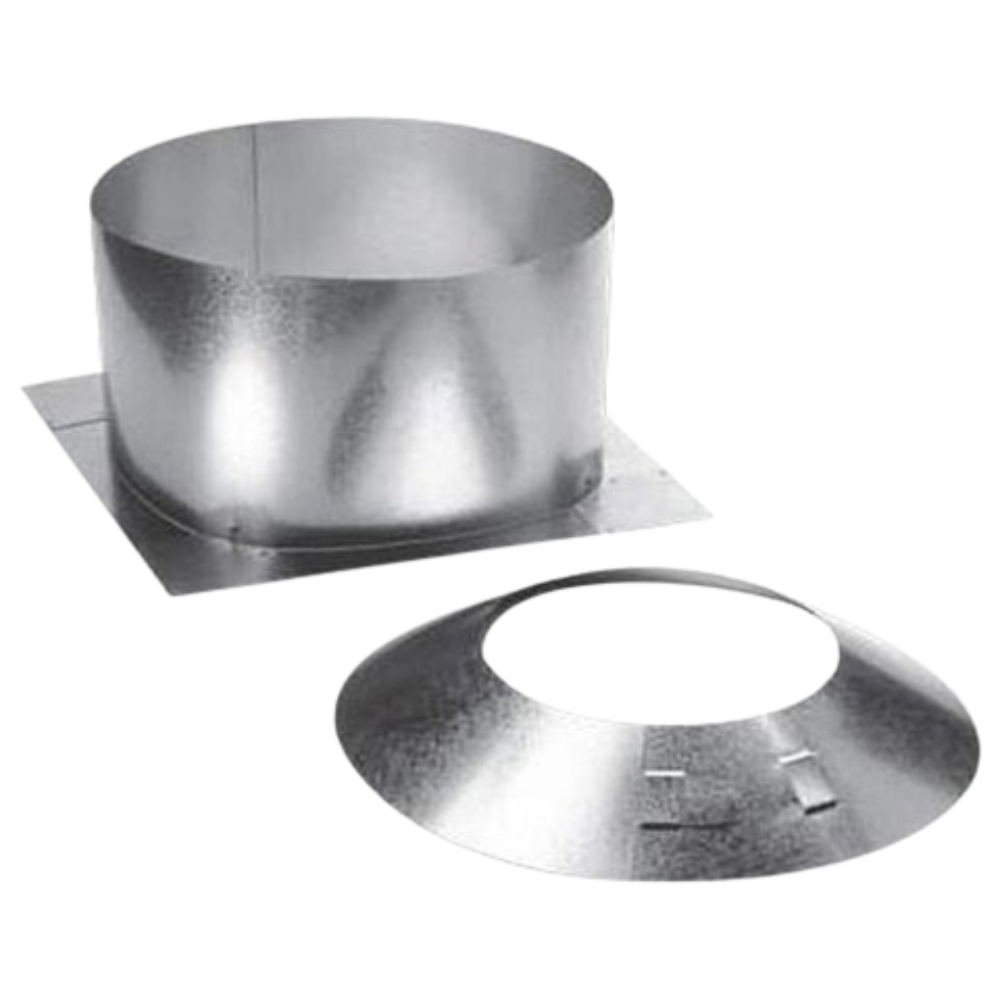
An Attic Insulation Shield is required for installations that pass through an attic to prevent insulation and debris from accumulating near the chimney. The Attic Insulation Shield fits over the Firestop Radiation Shield or a support box.
REVIEW: Inside Items needed for the wood stove install:
- Square Ceiling Support Box (mounted in the ceiling of the room the stove is installed)
- Chimney Adapter with Trim (connects the support box to the telescoping pipe)
- Double-Wall Telescoping Black Stove Pipe (easy adjustable install for visible, inside pipe)
- Adapter Section (connects the telescoping pipe to the wood stove)
- Attic Insulation Shield (in the attic, not visible)
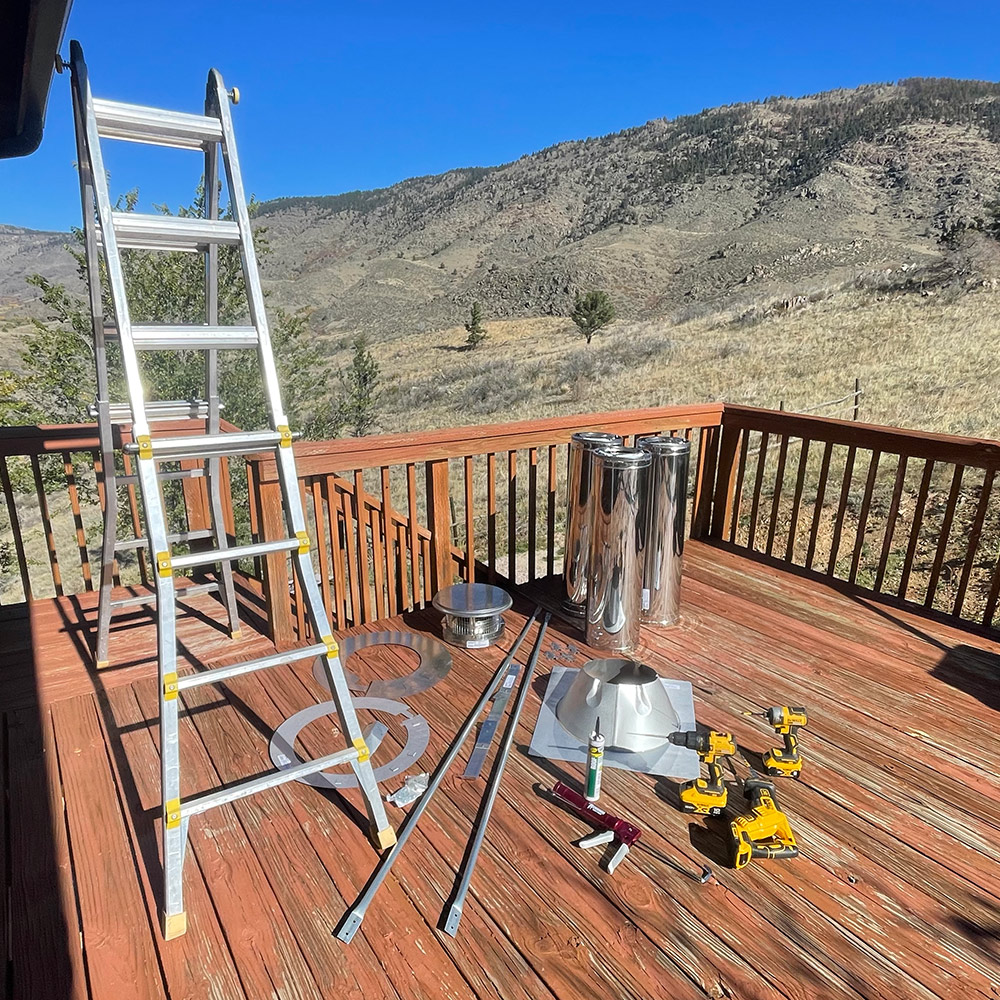
Parts Needed OUTSIDE the House for a Wood Stove Installation
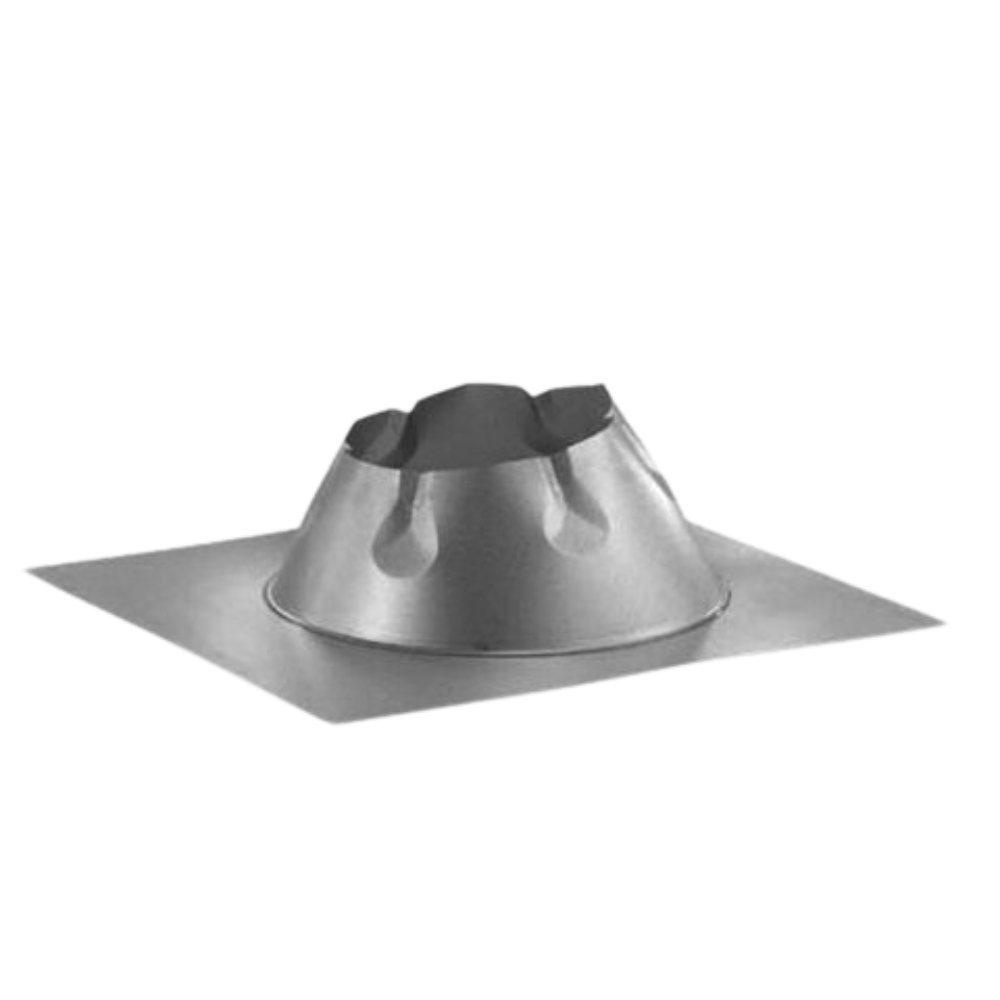
Roof Flashing
- Waterproof Barrier: Effectively seals against water leakage.
- Versatile Design: Suitable for various roof pitches.
- Trusted Brand: Reliable and durable product from DuraVent.
- Simple Installation: User-friendly and efficient setup.
- Structural Safety: Guards chimney and roof from weather damage.
- VIEW MORE
- Purchase on Amazon
Roof flashings provide leak proof roof penetration.
Storm Collar
Required with flashing to create a weather proof penetration through the roof deck
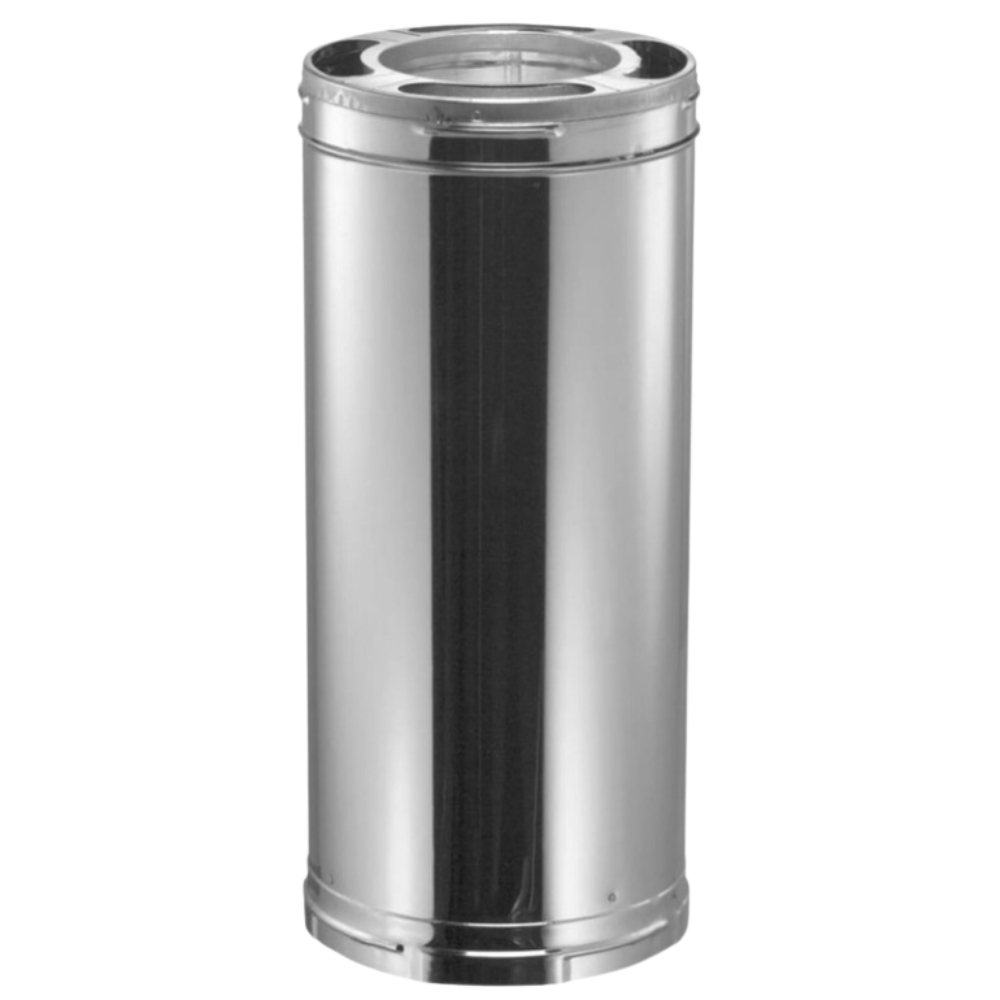
Stainless Steel Chimney Pipe
- Enhanced Safety: Insulated triple-wall design.
- Effective Venting: Efficient smoke and fume expulsion.
- Robust Material: Durable stainless steel build.
- Simple Setup: Easy twist-lock installation.
- Flexible Use: Suitable for various fuel types.
- VIEW MORE
- Purchase on Amazon
The purpose of a chimney pipe is to remove harmful byproducts of the combusted, or burned, fuel from inside your home. If the byproducts are not properly ventilated from inside the home, then you can have a dangerous buildup of carbon monoxide.
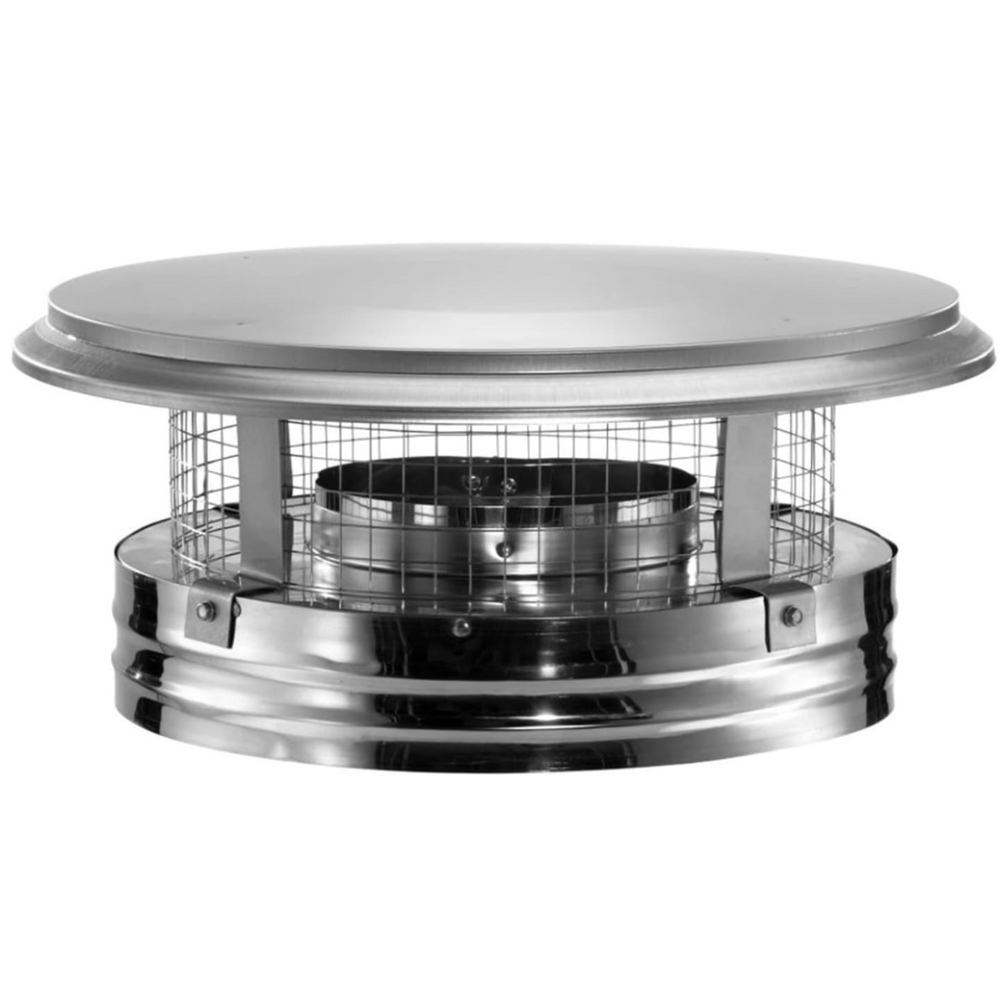
Chimney Cap
- Class A Fit: Perfect for Class A chimneys.
- Removable for Cleaning: Easy cleaning access.
- High Heat Tolerance: Withstands 2100°F.
- Stainless Steel: Durable and rust-resistant.
- VIEW MORE
- Purchase on Amazon
A chimney cap provides protection for your chimney by restricting animals and debris from falling inside the chimney flue causing a dangerous blockage. It also helps to keep rain and snow from your flu which can run down the chimney and into the appliance damaging the appliance itself.
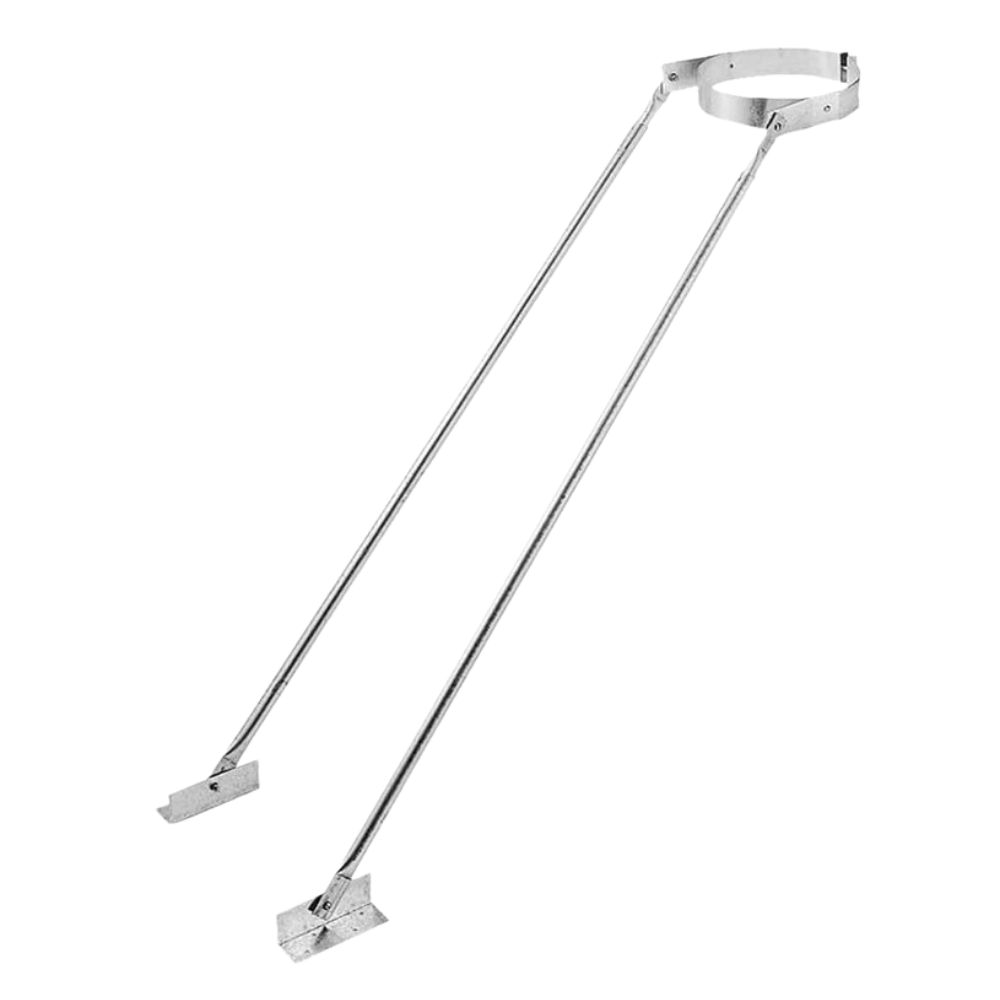
Extended Roof Bracket
- Weather Resilience: Protects against harsh conditions.
- Enhanced Safety: Fire-safe support and stability.
- Chimney Stability: Secures extended pipes firmly.
- Durable Material: Lightweight, corrosion-resistant.
- Installation Simplicity: Easy setup with included parts.
- VIEW MORE
- Purchase on Amazon
DuraPlus instructions call for an Extended Roof Bracket when the chimney extends more than 5 feet above the roof, with additional bracing at the interval the current manual specifies. Read the sheet packed with your pipe, since the numbers change between revisions.
REVIEW: Outside Items needed for the wood stove installation:
- Roof Flashing (to secure the storm pipe and prevent roof damage)
- Storm Collar (creates weather proof barrier along the stove pipe)
- Chimney Pipe (remove harmful smoke created in the stove)
- Chimney Cap (keeps animals and debris from falling into the pipe)
- Roof Bracket (secures the chimney pipe to the structure)
Install Square Ceiling Support Box
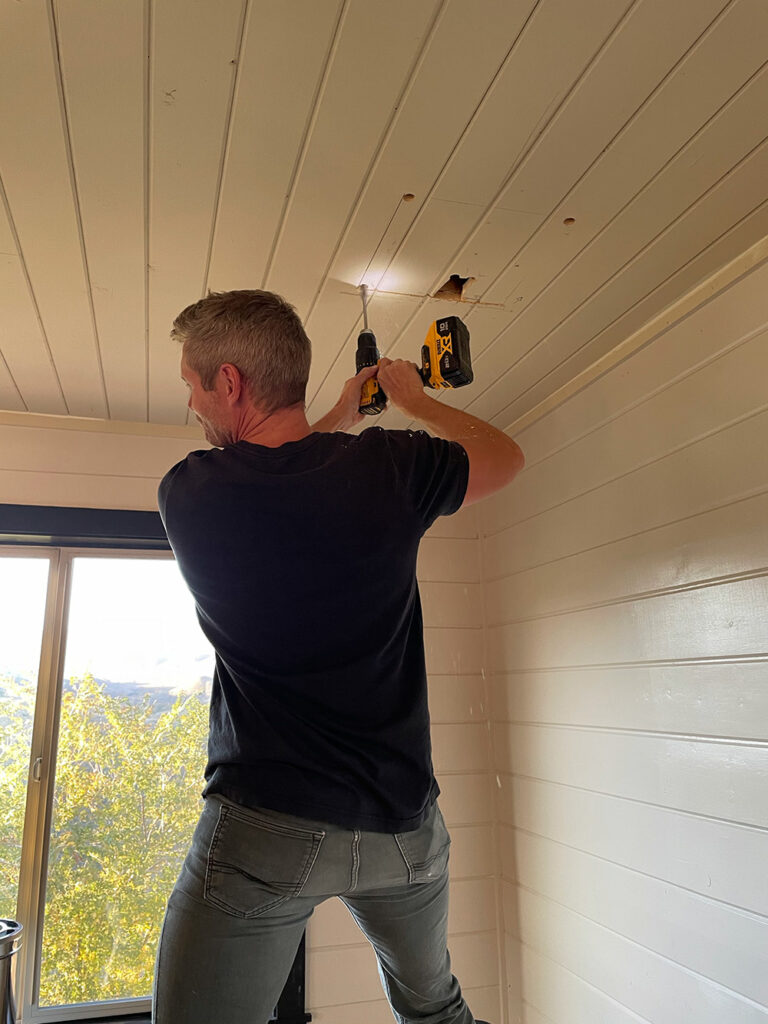
You'll need to measure the distance from the wall to be compliant with applicable codes and ensure enough distance for the rating of your stove pipe and stove.
DVL double-wall stove pipe is listed for 6 inches of clearance to a combustible wall and 8 inches to a ceiling, much closer than single-wall pipe. The stove has its own listed clearances in its manual, and the larger number wins. In this install, I wanted the wood stove to be further away from the wall. In a tight fit, you'll want to find a double-wall pipe solution. Double wall pipe is also mandatory in a mobile home (which this is not).
Your measurement should align perfectly with the beam on the truss. You should never cut into the beam. You'll need to align your ceiling support box to the beam. You'll measure and cut next to the beam, then frame the opening with 2x4s or 2x6s to the size given in the DuraPlus instructions. That framed size keeps the required 2 inches of air space between the chimney pipe and any wood. Never pack that space with insulation or anything else.
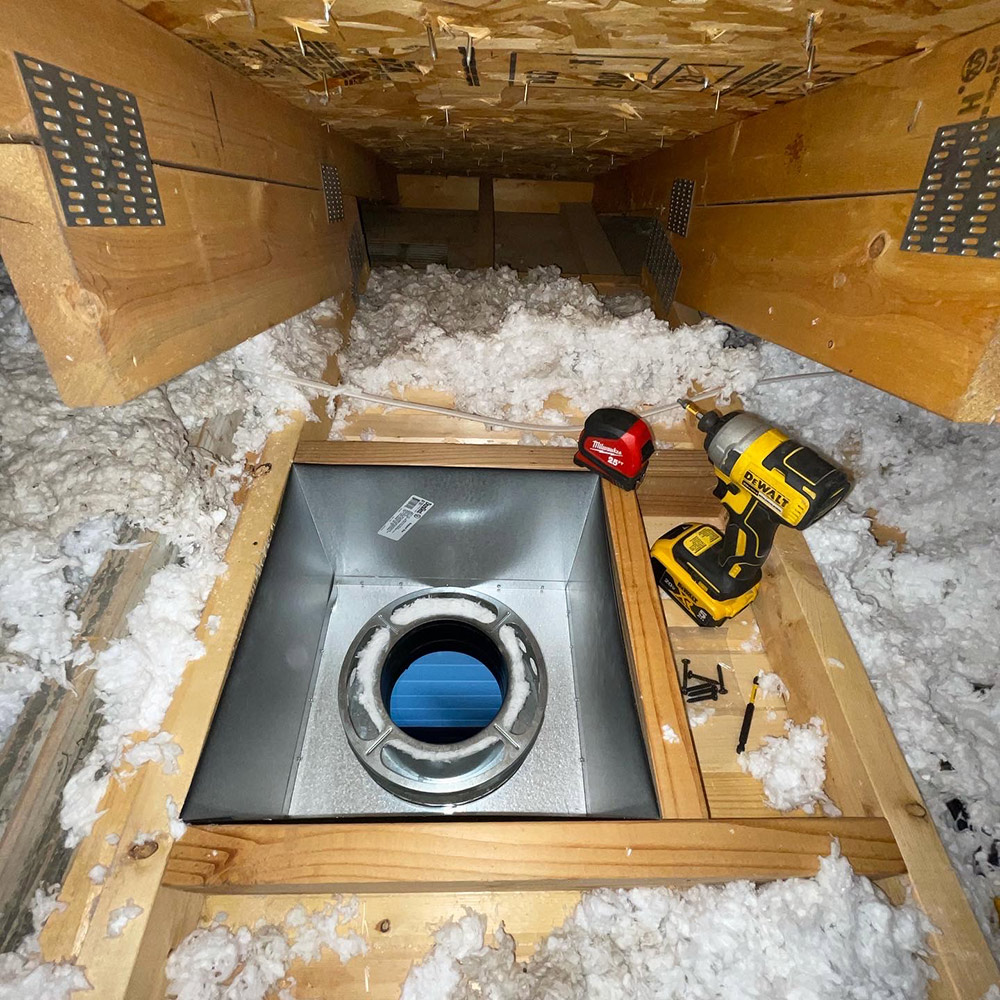
Installing the Square Ceiling Support Box
- Measure placement of the support box with ample distance from the wall to the stove pipe.
- Hold the stove box up to your location and mark with a sharpie or pencil.
- Ensure the stove box side is aligned on one side with the beam in the ceiling.
- Drill holes in the corners of your stove box markings on the ceiling.
- Cut square opening using a reciprocating saw (Sawzall).
- Fit ceiling support box into the cut opening. Continue cutting ceiling area until the ceiling support box fits perfectly.
- Frame out opening via the attic connecting your 2x4's to the beams while perfectly squaring out your opening.
- Use screws to support the framed opening you've created. Use 2 wood construction screws at least 2.5" long on each side of your frame.
- Move your ceiling support box into place and use (2) 8 penny nails on each interior side of your support box (8 in total).
- Ensure the ceiling support box is at least 2 inches below the ceiling (in the room).
General rule: Before cutting anything, call the local building or fire official about permits and an installation inspection, and tell your home insurer. Follow the clearances and floor protection in the stove manual and the chimney instructions, and put a smoke alarm and a carbon monoxide alarm in the room.
Install Attic Insulation Shield
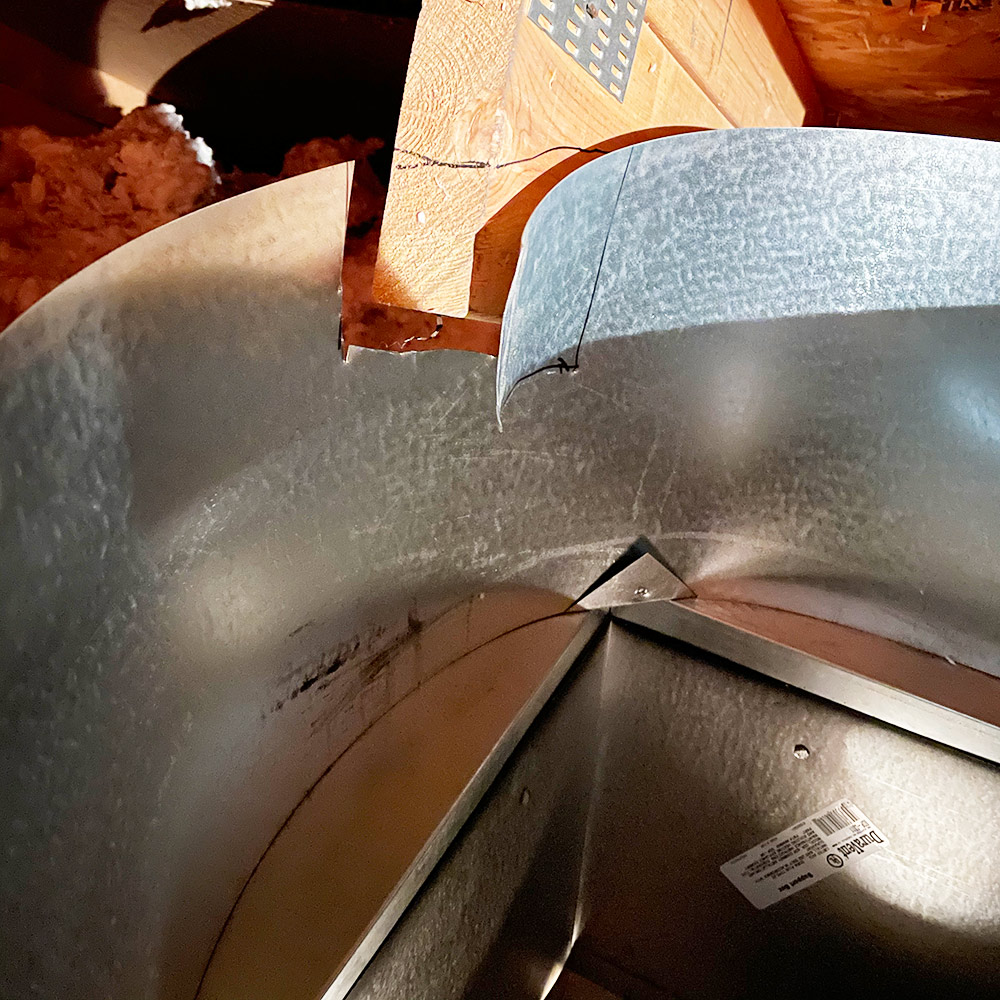
After your ceiling support box is installed you can fit the Attic Insulation Shield into place on top of the ceiling support box. In my case, I had to cut a small section of the insulation shield to fit around the roof truss.
Plumb Line (level pipe installation)
Now that you've got the ceiling support box in place, you need to ensure the stove pipe will be perfectly plumb (straight up and down) from the roof, through the attic, down to the wood stove.
In order to do that and now that you've got your ceiling support in place with correct distance away from the wall, you'll use a plumb line.
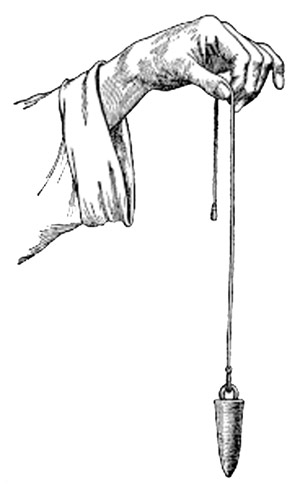
For your plumb line: you can use just about any small, relatively heavy object and a string.
HOW TO PLUMB THE STOVE PIPE:
- Ensure proper installation of the ceiling support box (done).
- Above the round opening in the ceiling support box, drop the heavy end of the plumb object through the hole in the ceiling support box. Move the string into place in the attic touching the wood of the roof (on the inside) and move that point, aligning the string in the center of the ceiling support box hole. Mark the centered and plumb stove pipe location with a sharpie.
- (WHEN YOU'RE READY TO WORK ON THE ROOF ENTRY) - Using a screw: on your centered and plumb sharpie mark >>> Drive the screw through the roof, this will be your mark while working on the roof.
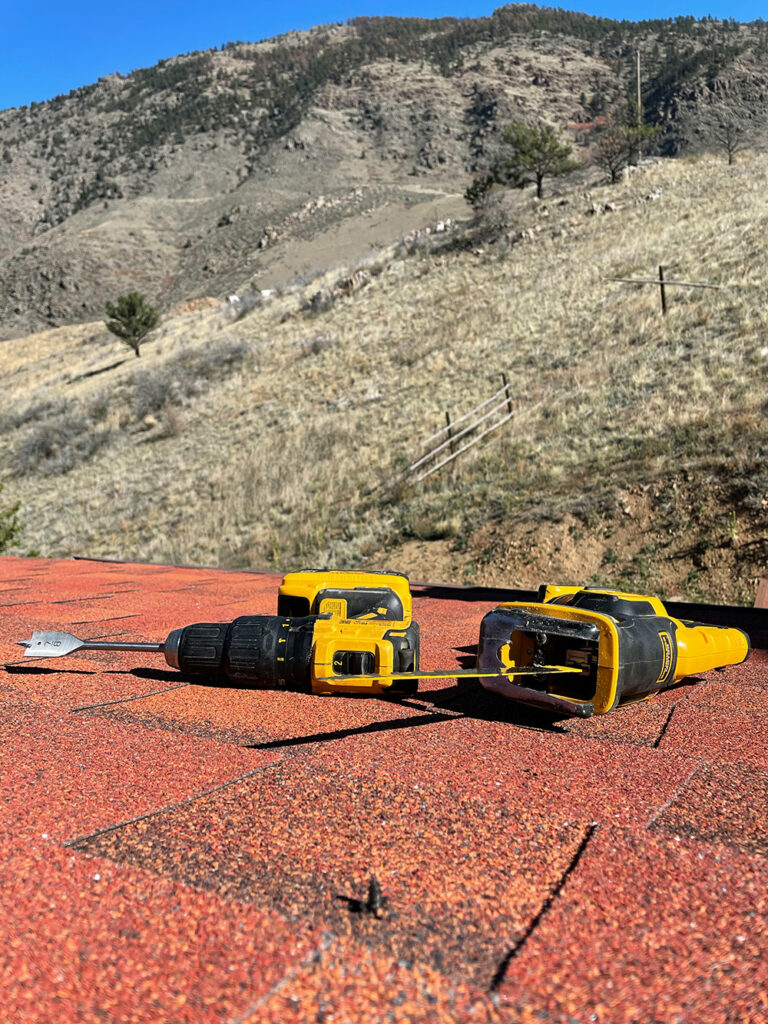
Once you push a screw through the roof you'll want to immediately begin work on the exterior portion of the wood stove pipe installation (more on that below).
But first, review the interior stove pipe installation process:
Interior Stove Pipe Installation
This step can be completed before or after the roof portion of the install.
Now that you've got your support box installed, it's time to properly place and secure your stove and interior stove pipe. You'll also want to add the visible finish pieces around the stove box to finalize the interior portion of the wood stove installation.
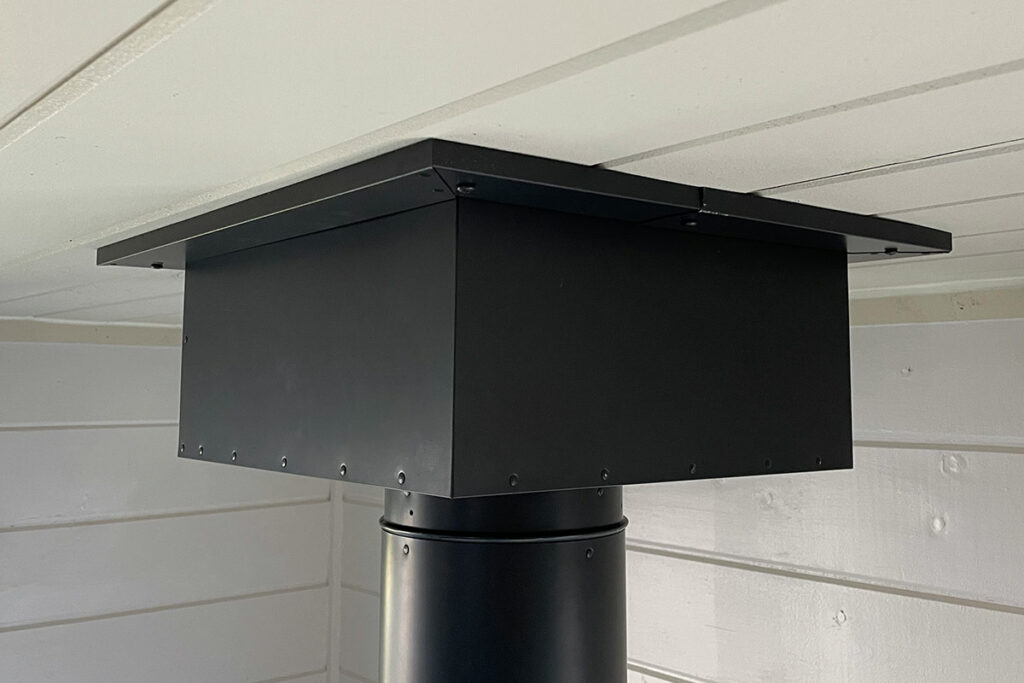
Attach the Chimney Adapter with Trim to the ceiling support box.
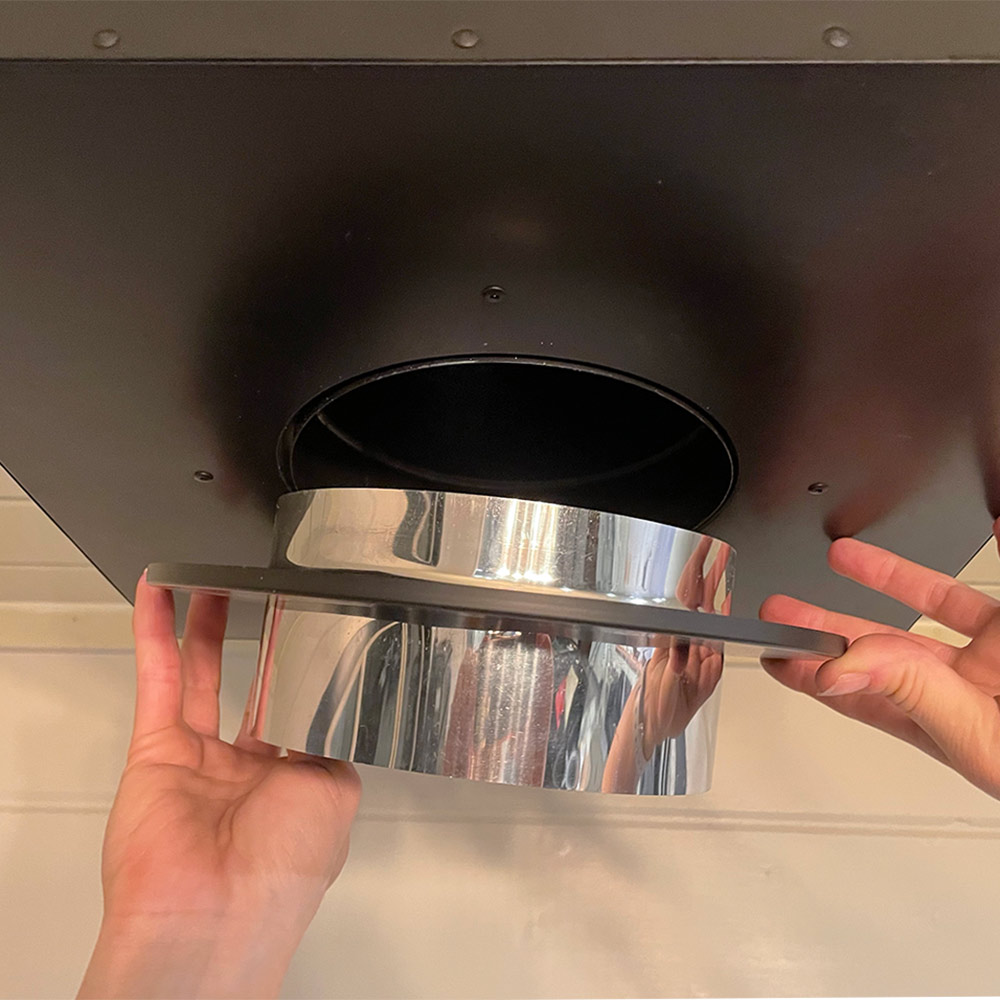
You'll use the provided screws to attach the trim to the support box, this will stabilize and connect the pipe adapter.
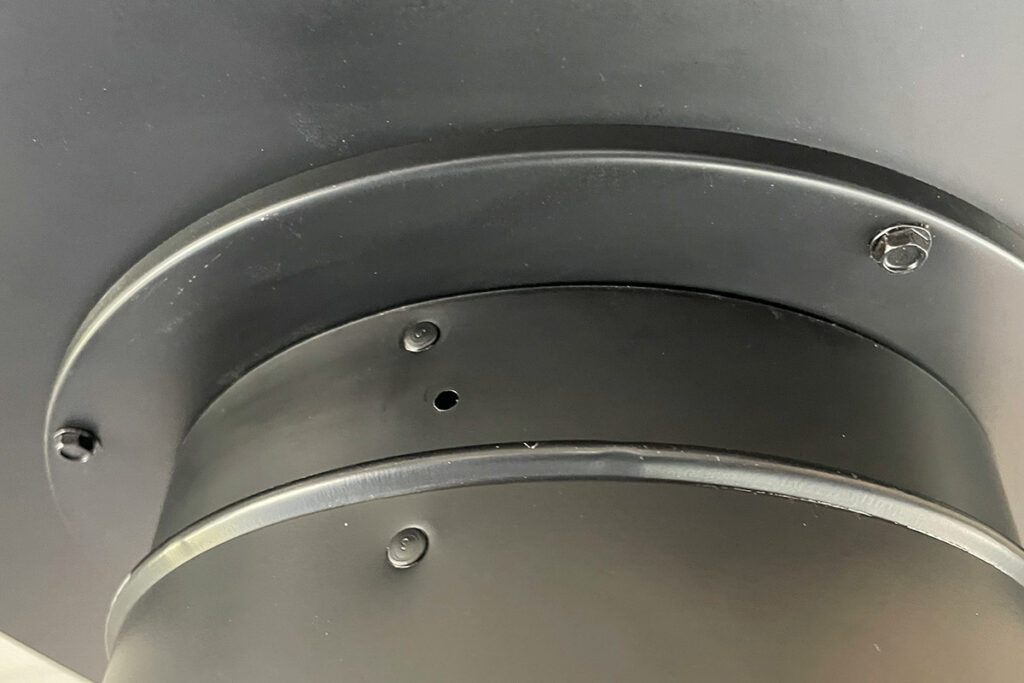
The image below shows the screws used to secure the stove pipe after connecting the telescoping pipe to its proper height.
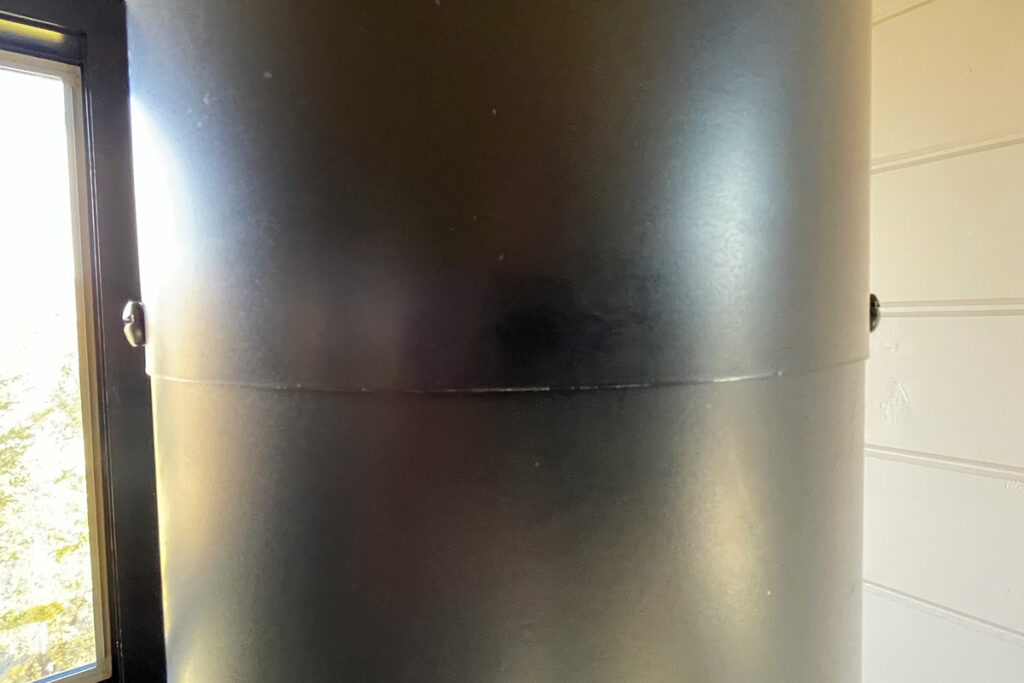
All of the Double-Wall Telescoping Black Stove Pipe sections should have a sticker showing the direction of flow so you can avoid being confused as to which end should connect.
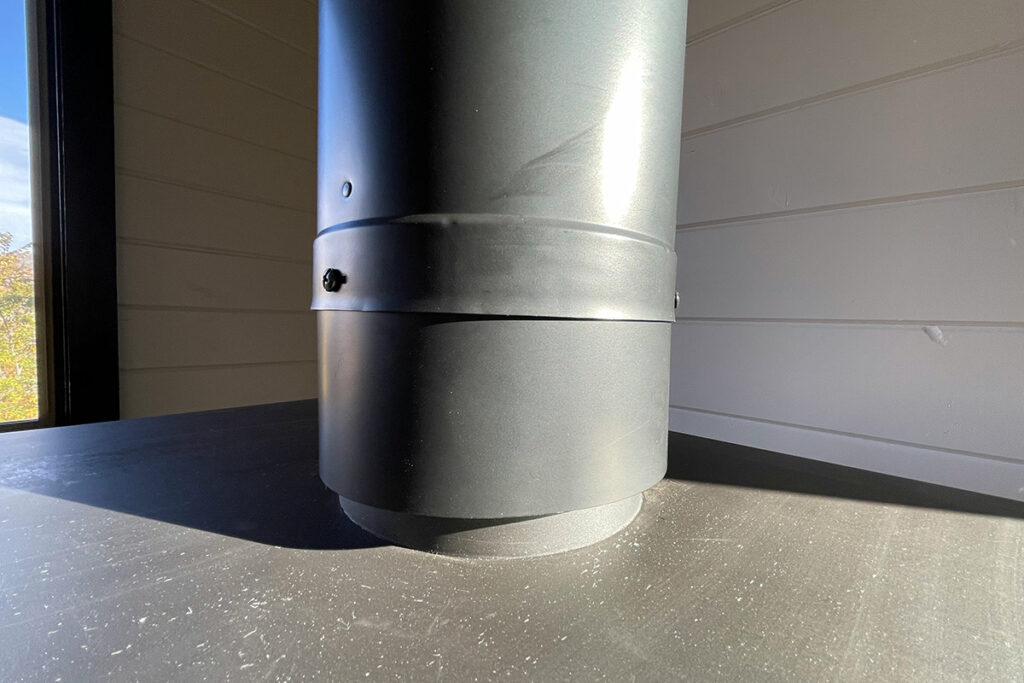
This Adapter Section shown above is what connects direct to the wood stove and the Double-Wall Telescoping Black Stove Pipe.
Most wood stoves will have holes for you to drill in your Adapter Section. DuraVent calls for three screws at each DVL pipe connection. Also fasten the adapter to the stove's flue collar where the stove manual calls for it, so the pipe cannot lift off the stove.
Interior Stove Pipe Installation Review
Here are the steps to installing the interior wood stove pipe from the ceiling support box to the stove:
- Connect the chimney adapter with trim to the ceiling support box with the provided screws.
- Put together the pieces of the stove pipe and extend the telescoping pipe from the ceiling support box down to the stove adapter to ensure the length is sufficient.
- Place the stove adapter piece securely on the stove.
- With the telescoping pipe in hand: fit it properly, snug, and tight between the support box adapter (ceiling mount) and the stove adapter.
- Use screws to secure the telescoping pipe tightly into position.
Rooftop Stove Pipe Installation
With your penetrating screw mark, you're ready to properly align and cut to install the Roof Flashing.
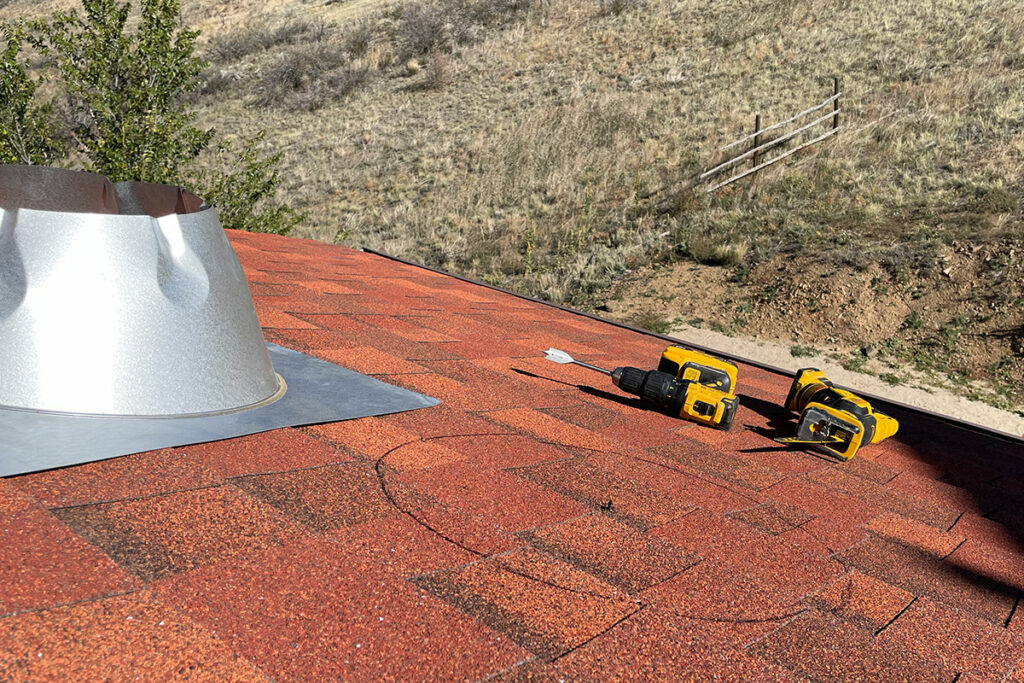
Place the roof flashing directly over the screw mark - center the flashing hole over the screw tip.
Take care to align and mark parallel to the shingles. Meaning: the straight edge of the roof flashing should be straight and parallel with the shingles.
On the inside of the roof flashing mark a circle around the opening. NOTE: You can probably get away with a smaller hole, I opted to cut the entire opening.
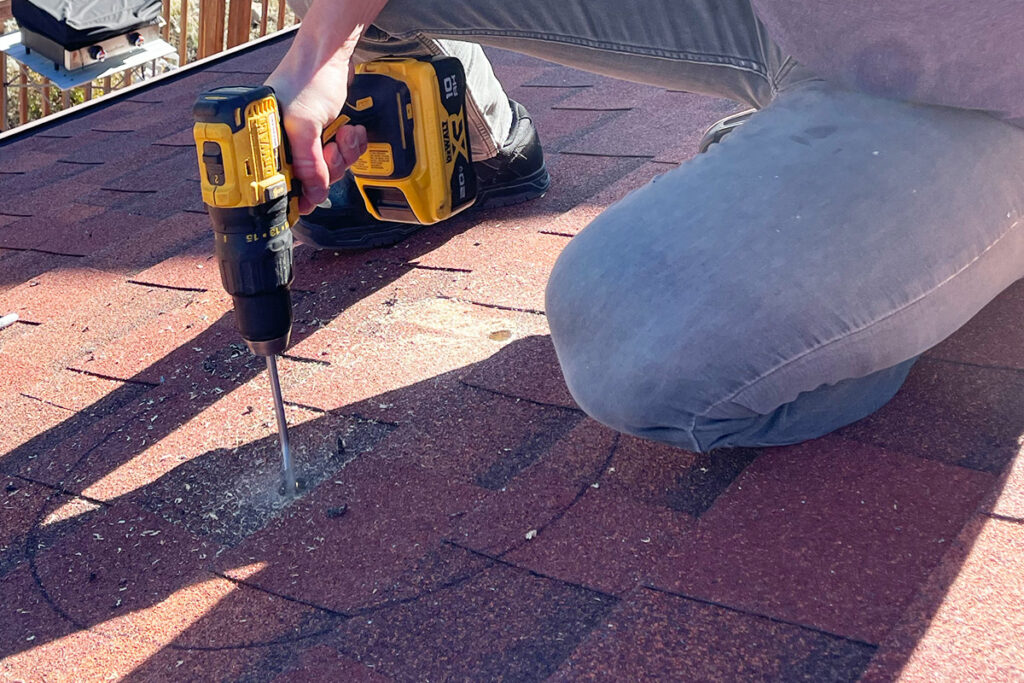
Using a drill with a large enough opening to fit the blade of your reciprocating saw, drill a few holes inside of the marked area to begin your cut.
In the attic: place a garbage bag over your attic insulation shield to prevent debris from going through to your shield box, support box, and interior pipe.
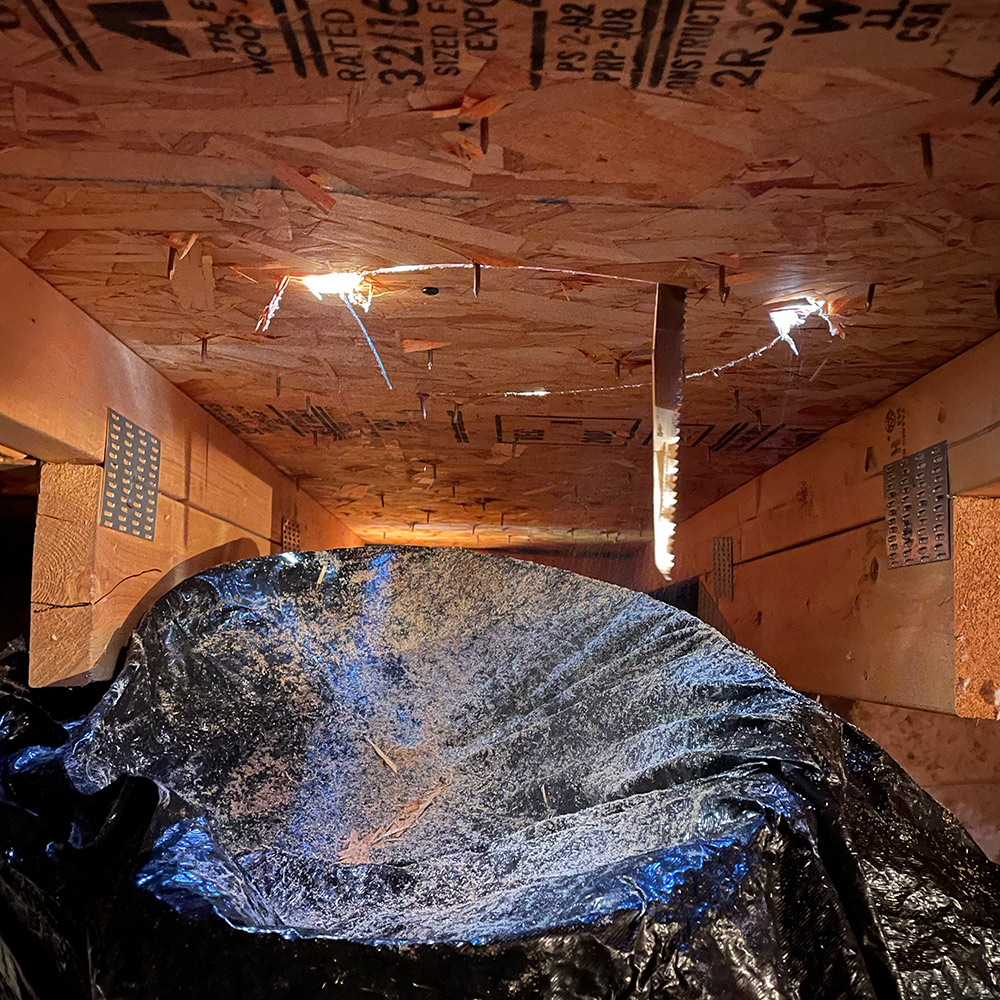
TIP: Have someone inside while you're cutting the roof with the sawzall. Go slow and communicate with the person inside that you aren't hitting any structural wood on the truss OR wires (if applicable).
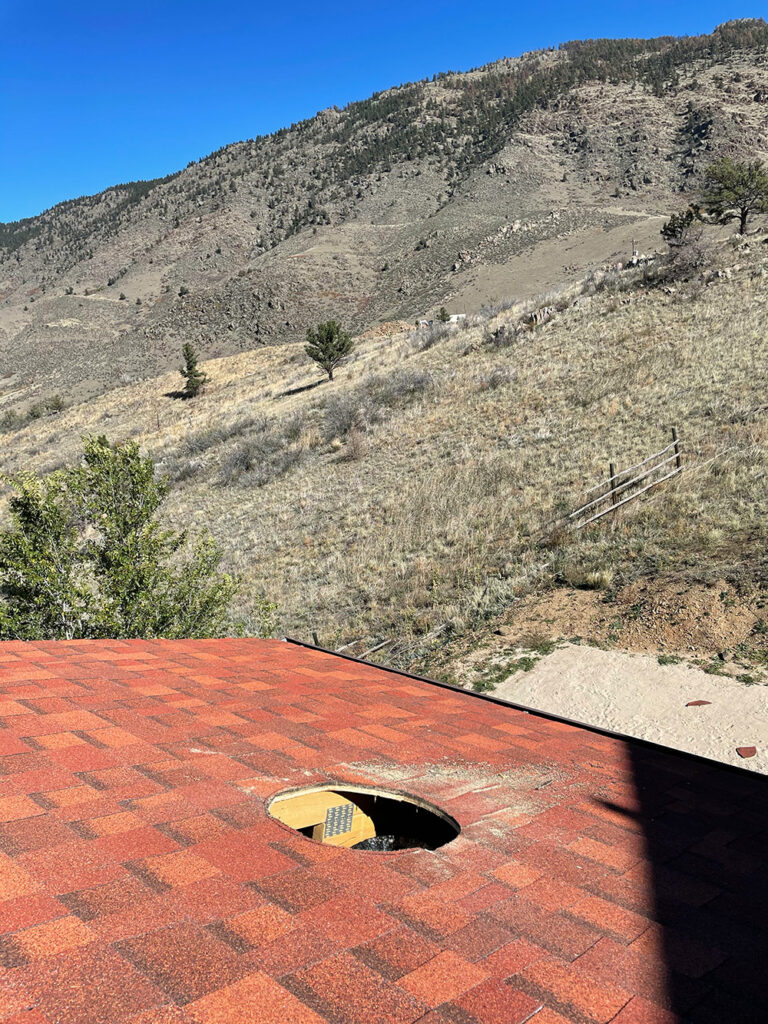
Now that you've got your hole cut, it's time to carefully lift shingles and remove the nails connecting that section of shingles so you can properly install the roof flashing.
You'll want to attempt to bring as many shingle rows over the flashing as you can. Meaning: the least amount of metal you can see on the roof flashing the better.
You'll need to pull up the shingles with pry bar and remove each nail one by one without ripping the shingles.
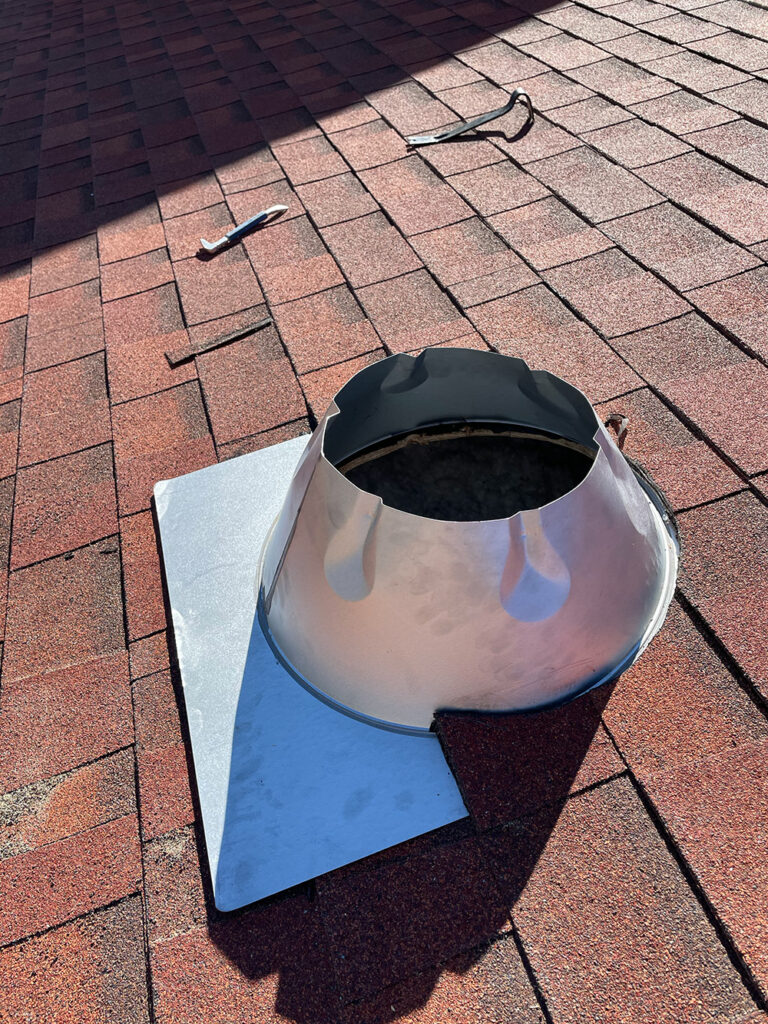
Trim the shingles with a sharp blade to fit around the opening of the roof flashing as needed.
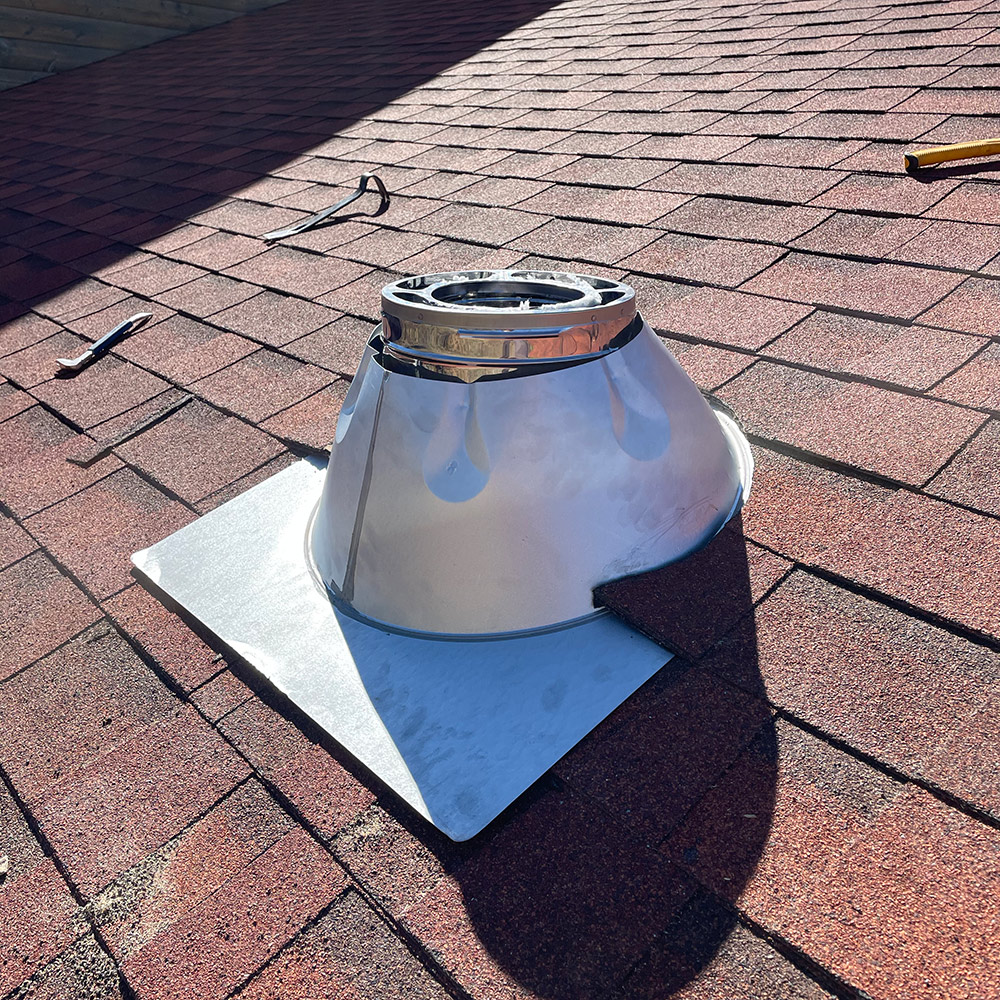
Prior to attaching the flashing to the roof, you'll want to check your placement by installing the Stainless Steel Chimney Pipe and checking the fit and alignment.
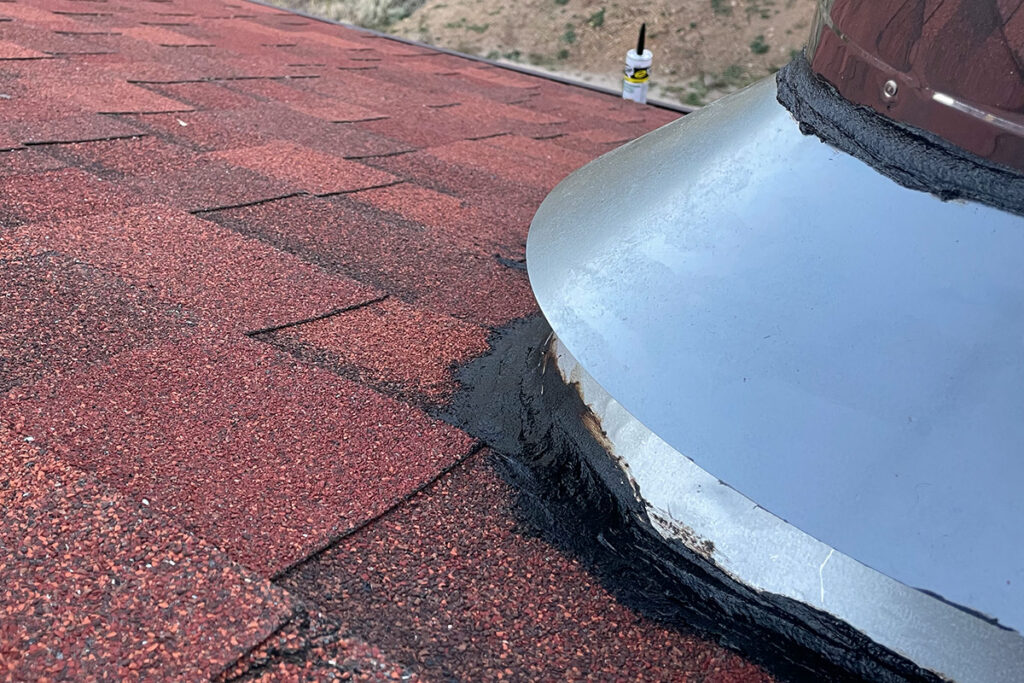
Now that you know everything fits as it should, remove the stove pipe and start prepping the roof flashing with Asphalt Filler & Sealant. I opted to NOT seal with silicon, I believe proper asphalt sealant is a better option.
NOTE: I secured the pipe brackets PRIOR to securing the roof flashing. Jump ahead on this blog post to see the roof bracket installation step.
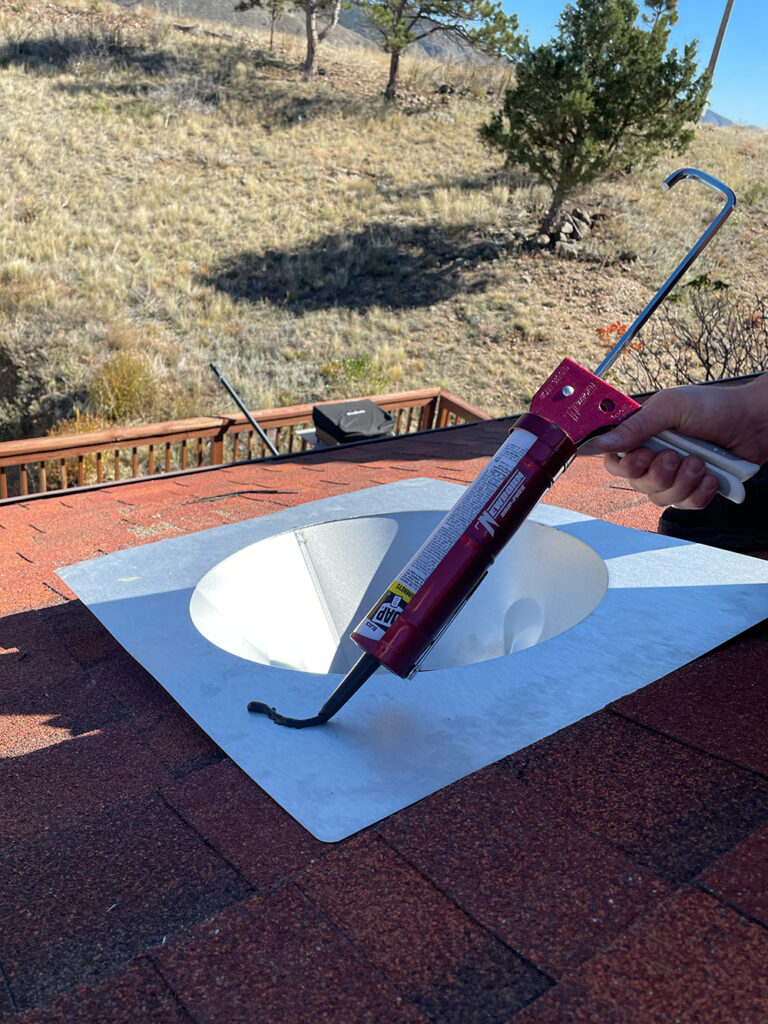
Apply the asphalt sealant generously around the entire roof flashing.
Oops: I didn't get a picture of a lot of black stripes all around the bottom of the roof flashing. Also not pictured: Using 8 penny nails under a few of the shingles: secure the roof flashing into place.
A review of what's not pictured:
- Add a lot of asphalt filler and sealant on the bottom of the roof flashing.
- Move the roof flashing into place securely around your opening.
- Tap 8 penny nails under a few shingles + (3) 8 penny nails on the lower (exposed) section of the roof flashing.
Exterior Chimney Pipe Install
Also not pictured: To lock the chimney pipe into place apply one pipe at a time: lift and drop into position, fit it with its lower attachment. Move the pipe into place, push down, and twist till tight. No glue or nails are needed with most fit and lock systems (like you see here).
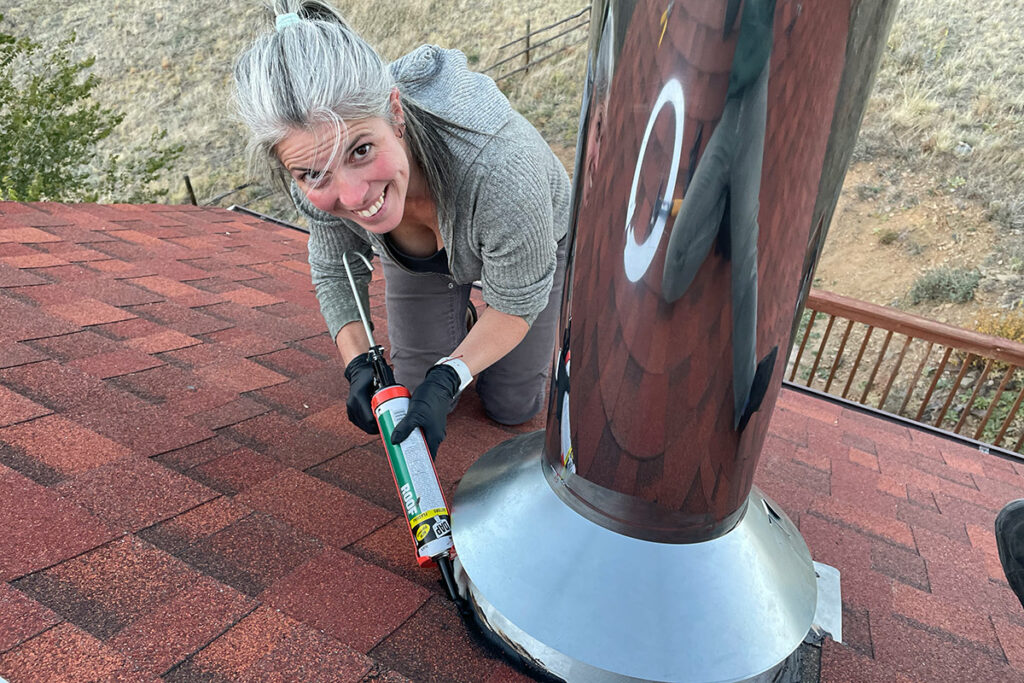
After your roof flashing is properly installed and the stove pipe secured and locked into place, you'll apply the storm collar and generously apply sealant around the exposed areas and nails.
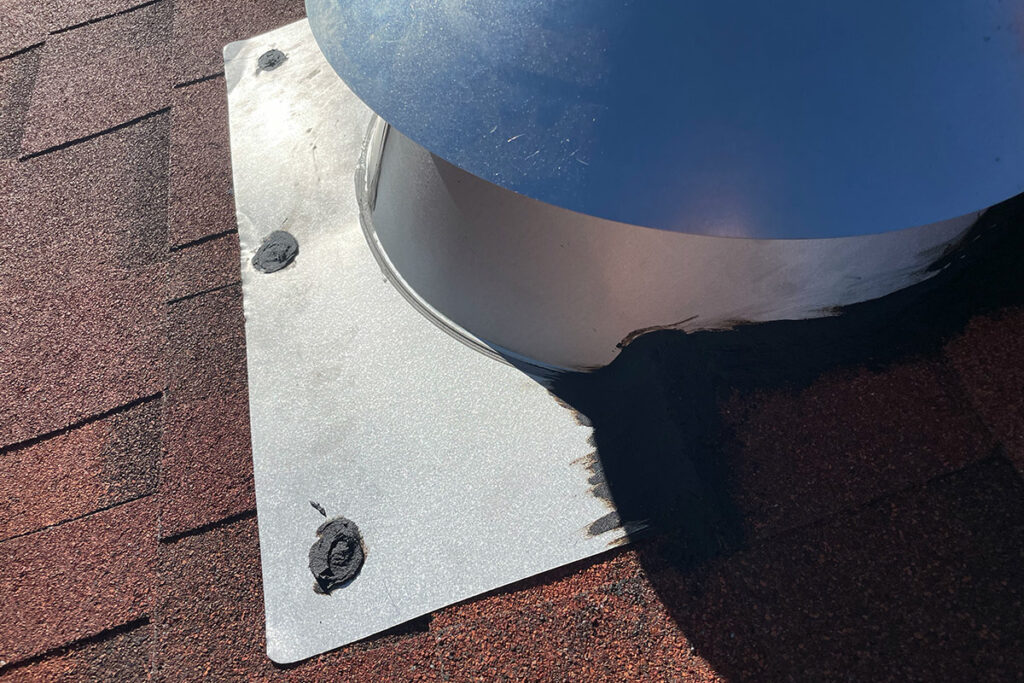
Apply the asphalt-based sealant around the storm collar after tightening it into place as low as it'll sit on the roof flashing.
Not pictured: pull the storm collar tight around the stove pipe and push down to a secure fit as close as you can get on the roof flashing. Position the exposed tab through the opening and crimp back to secure.
Next, check the height before capping. The chimney must end at least 3 feet above the point where it passes through the roof and at least 2 feet higher than any part of the building within 10 feet. Then put the chimney cap on. Similar to the exterior stove pipe installation - there are no screws and no glues are needed. Just push down and tighten to secure.
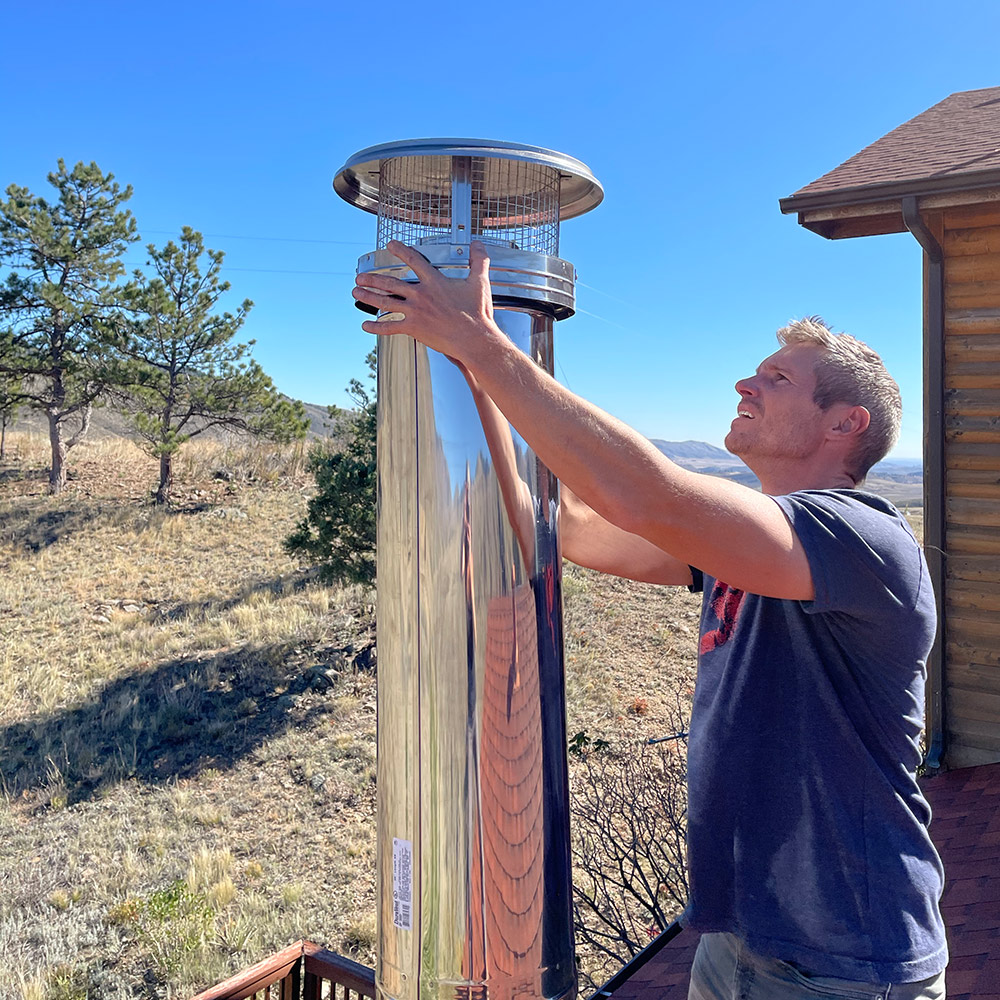
At this point you'll notice that the chimney pipe is loose, you'll need to secure the pipe using a roof bracket system.
Roof Bracket Support Installation
Unless your exposed pipe is very short (and near the roof peak) you're going to NEED a roof bracket support.
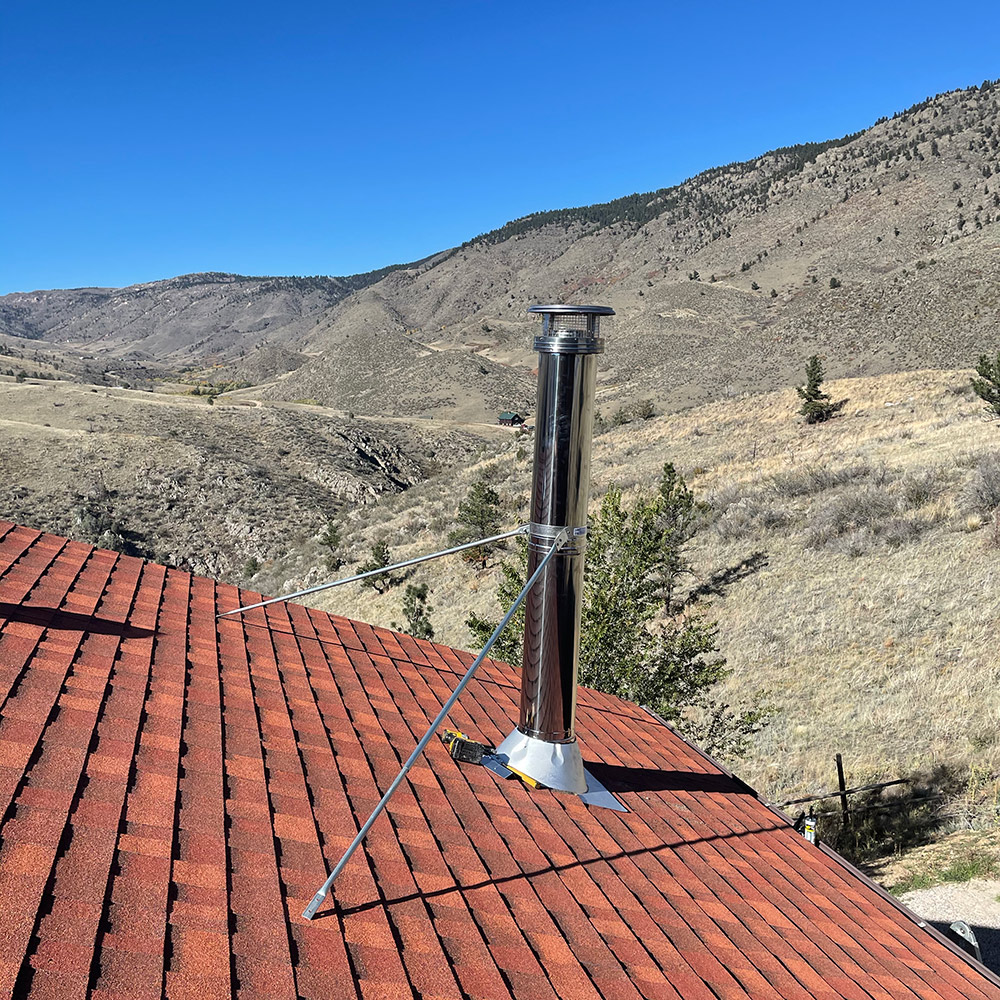
As you can see from the picture above, I started securing the bracket prior to finalizing the placement of the roof flashing.
- You'll first want to attach the pipe support collar to the pipe and tighten with the provided hardware. I opted to put this as low as I could go on the third/top section of pipe.
- Attach the support bars to the pipe support collar and extend the telescoping pipe(s) to the ideal location(s). Ideal: where you believe the position is best to secure the pipe.
- Loosely connect the pole hardware that connects the two telescoping pipes. Make sure the pole hardware is just tight enough for you to move the telescoping pipes into place (with a little bit of struggle/tightness).
- Connect the pole to roof hardware to the poles. (not too tight yet)
- One person levels the stove pipe while the other person moves the poles into place.
- Make sure the roof hardware is slightly angled to drain water to one direction and use the 8 penny nails to connect the hardware to the roof. LEAVE A LITTLE SPACE - Don't pound the nails all the way down. Do this on both sides.
- Generously apply the roof sealant under the roof hardware and around the nails.
- Pound the nails in and with a rubber glove apply the sealant all around the edges and over the nails on both sides.
- With one person leveling the pipe, the other person will tighten the pole hardware using a properly sized socket.
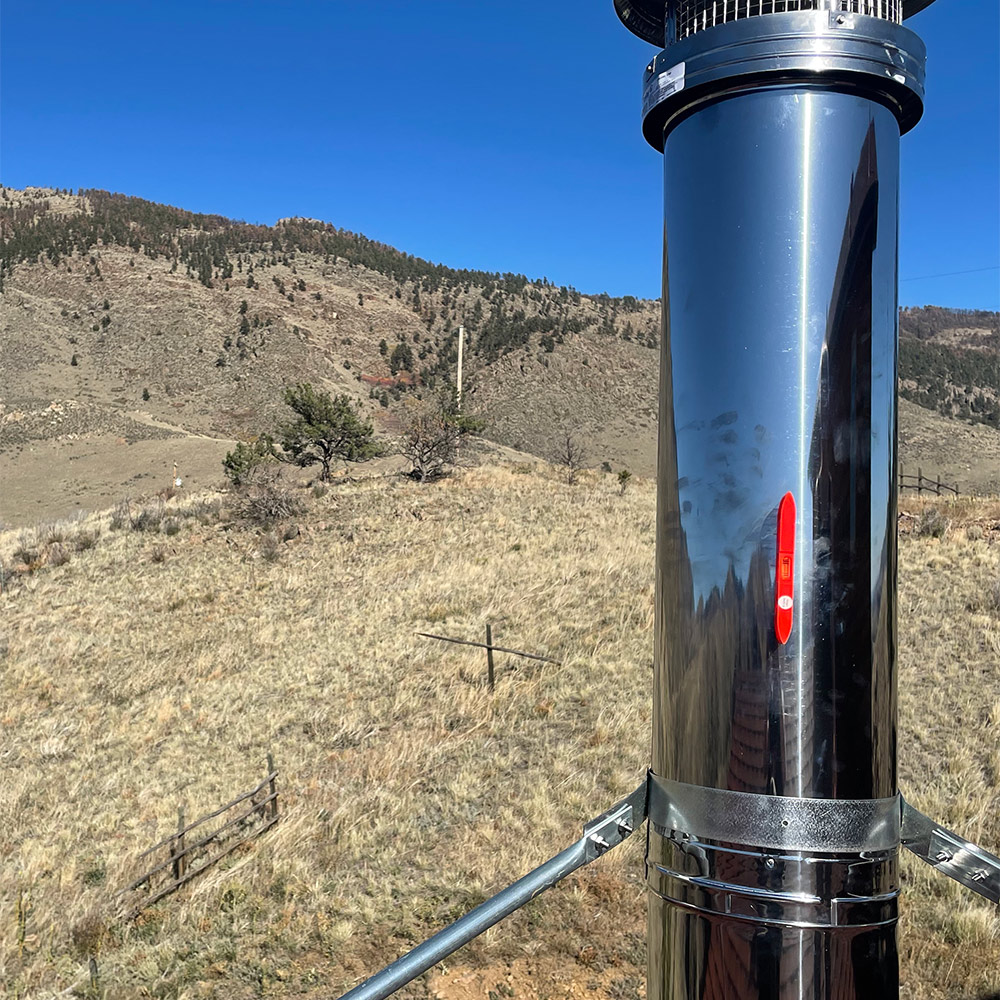
Ensure through the installation process of the brackets that your pipe is perfectly level.
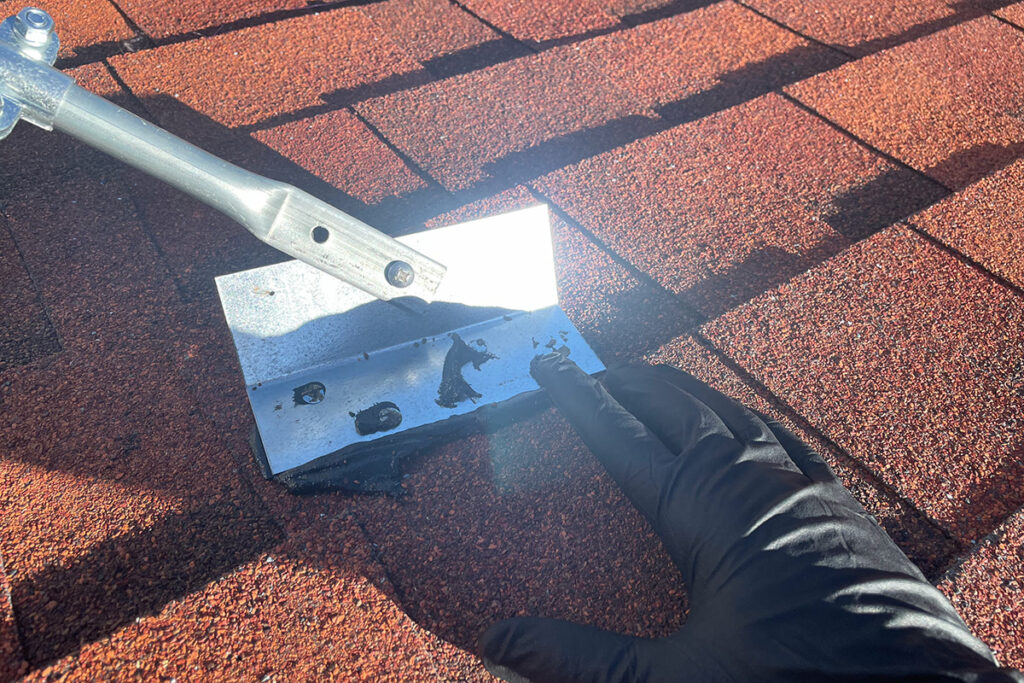
Using a rubber glove, make sure there is ample sealant under the hardware and around the nails and edges.
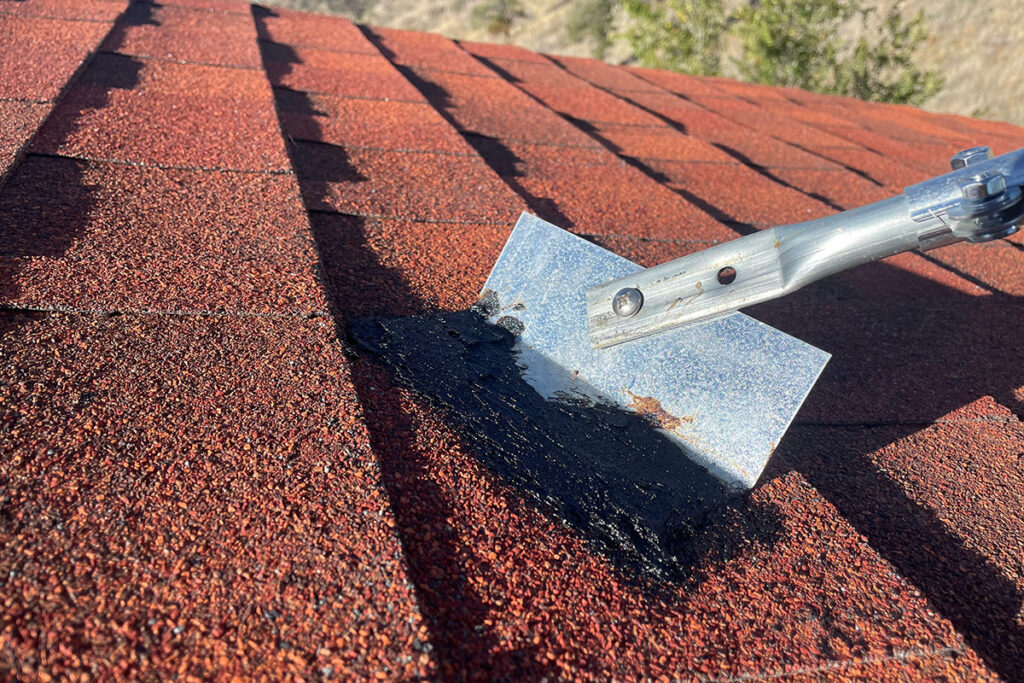
A generous sealant covering will help you avoid leaks.
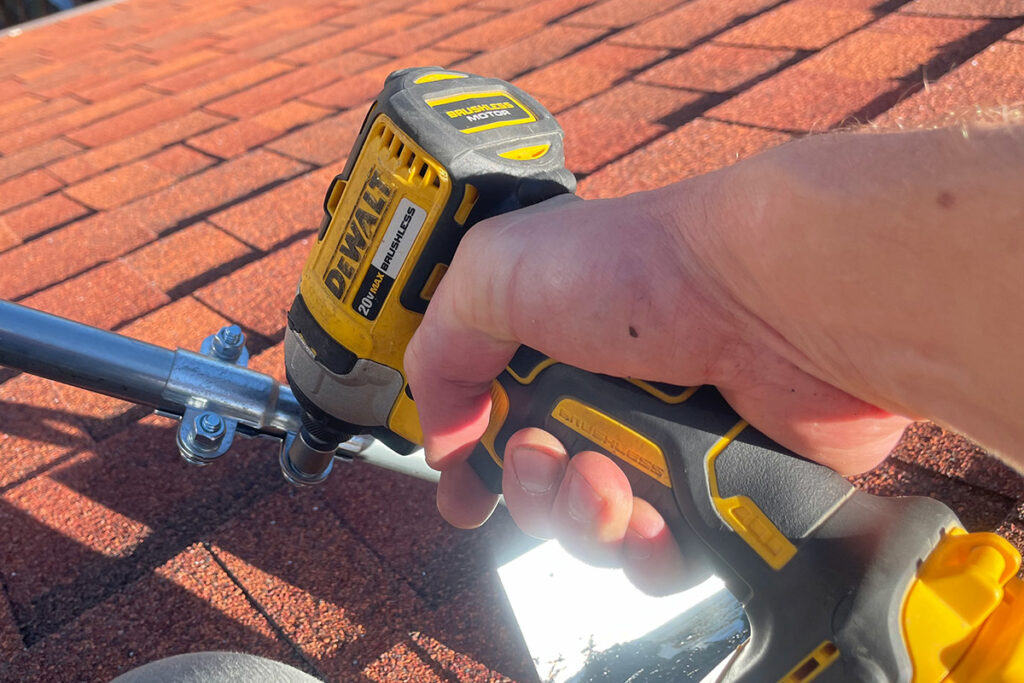
With one person leveling the pipe, the other person will finally tighten the telescoping pole hardware to secure the stove pipe.
- The chimney cap will help keep out debris and water. Once the stove is in use, inspect the chimney at least once a month during the heating season for creosote and soot, and clean it when there is buildup.
- The roof flashing helps to provide a secure and water tight opening on the roof for the chimney pipe.
- The storm collar helps to keep water from coming down the pipe through the storm color opening.
- The roof bracket helps to secure and level the chimney pipe.
- The asphalt filler & sealant keeps water out of the shingle penetrated openings.
Tools & Hardware Needed for Installing a Wood Stove & Pipe
Now I'll review all the tools that I used for this wood stove installation project.
- Impact Driver
- Screw Bit
- Drill
- Drill Bit (larger than reciprocating blade size)
- Reciprocating Saw (Sawzall)
- Reciprocating Saw Blade
- Hammer
- Socket for Impact Driver
- Ratchet Socket Wrench & Socket
- Pry Bar
- Straight-Cut Aviation Snips
- Pliers Wrench
- Sharpie
- Plumb Line
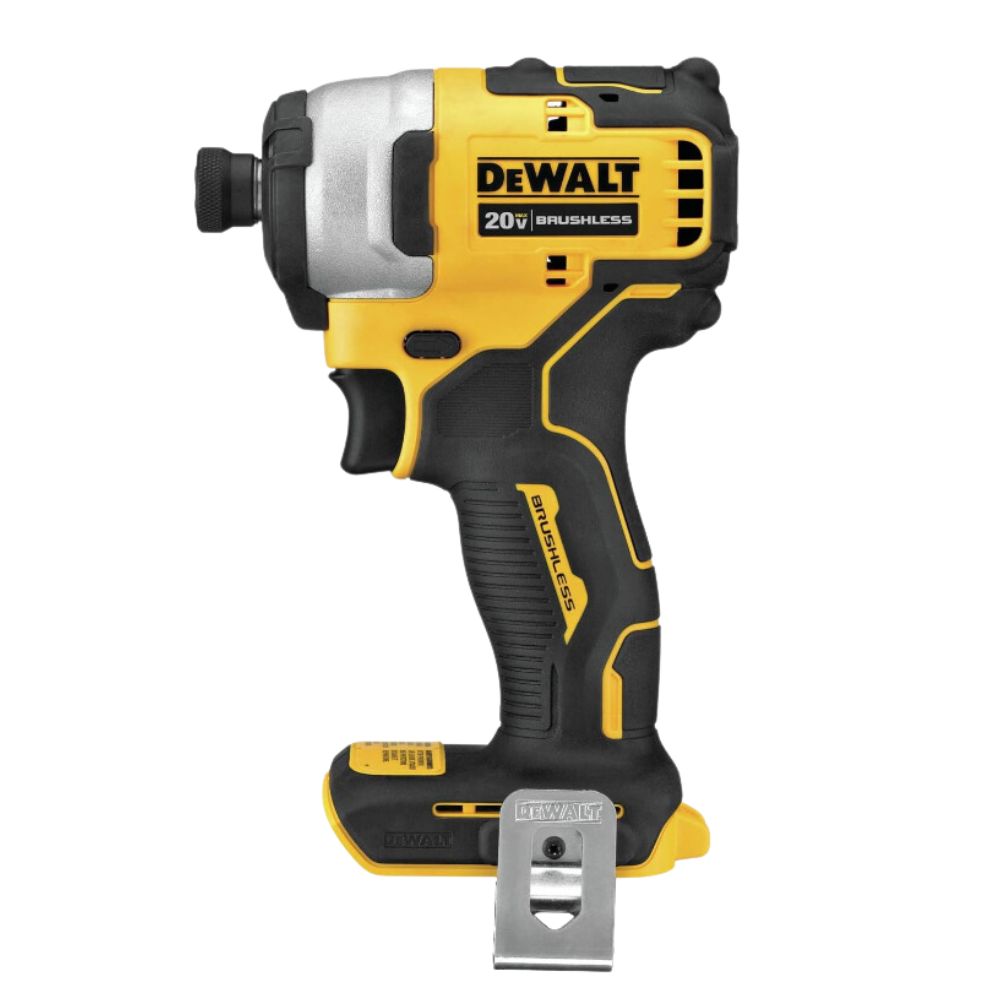
- Powerful Torque: Effective for various tasks.
- Controlled Operation: Precision on delicate jobs.
- Brushless Motor: Efficient and long-lasting.
- LED Illumination: Clear visibility in low light.
- VIEW MORE
- Purchase on Amazon
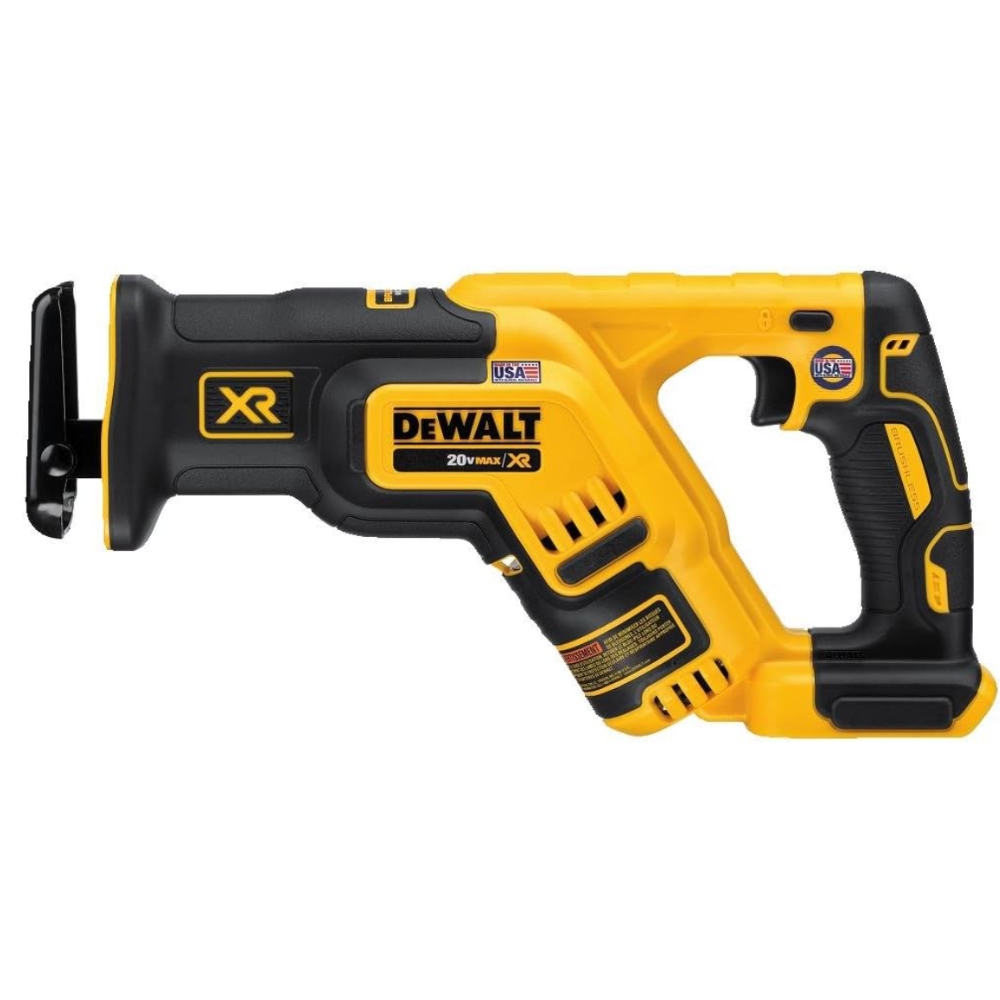
- Increased Runtime: Longer battery life.
- Space-Efficient: Ideal for tight spots.
- User Comfort: Lightweight for easy handling.
- Blade Versatility: Easy blade changes.
- Efficient Cutting: Effective stroke length.
- Precise Speed: Adjustable SPM control.
- Enhanced Visibility: LED light for dark areas.
- VIEW MORE
- Purchase on Amazon
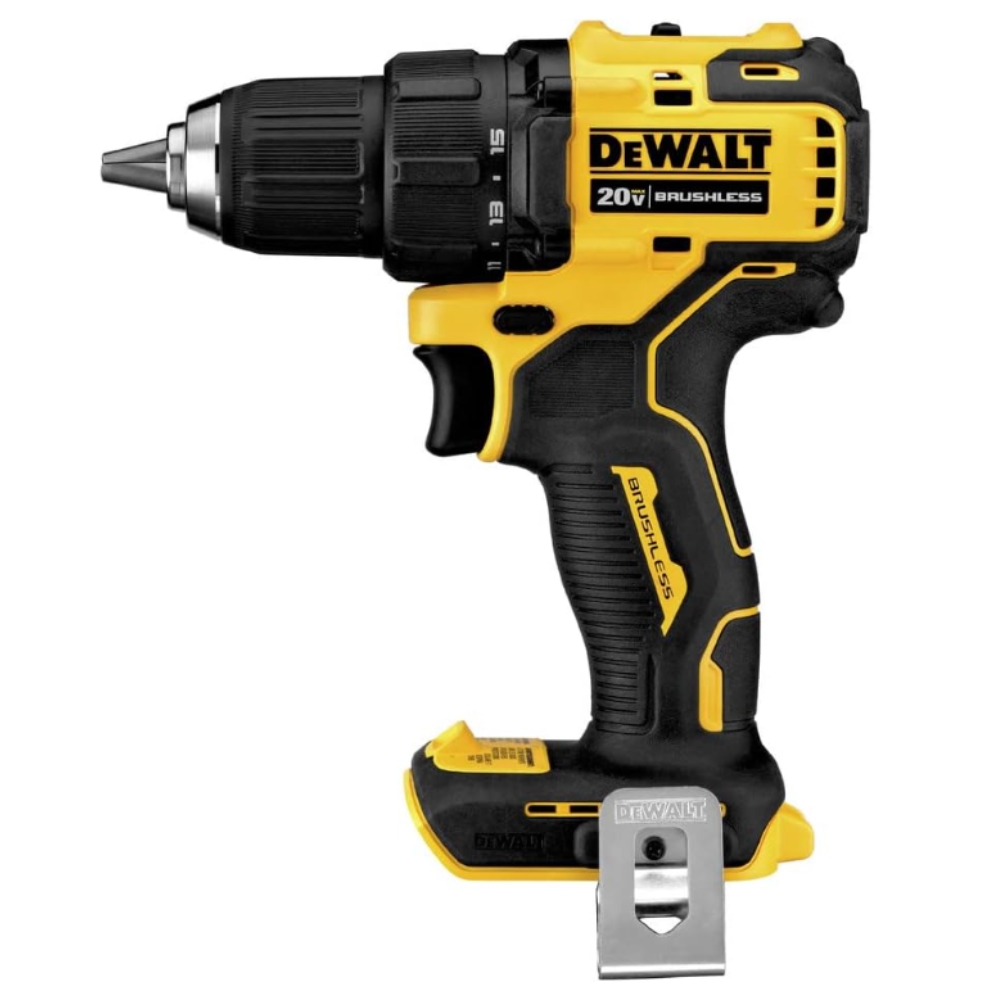
- Space-Efficient: Ideal for tight spaces.
- Controlled Operation: Precision for delicate work.
- Efficient Motor: Longer runtime, less maintenance.
- User-Friendly Weight: Easy to handle.
- Powerful Performance: Suitable for various tasks.
- Visibility Feature: LED for better sight.
- Strong Bit Hold: Reliable chuck grip.
- VIEW MORE
- Purchase on Amazon
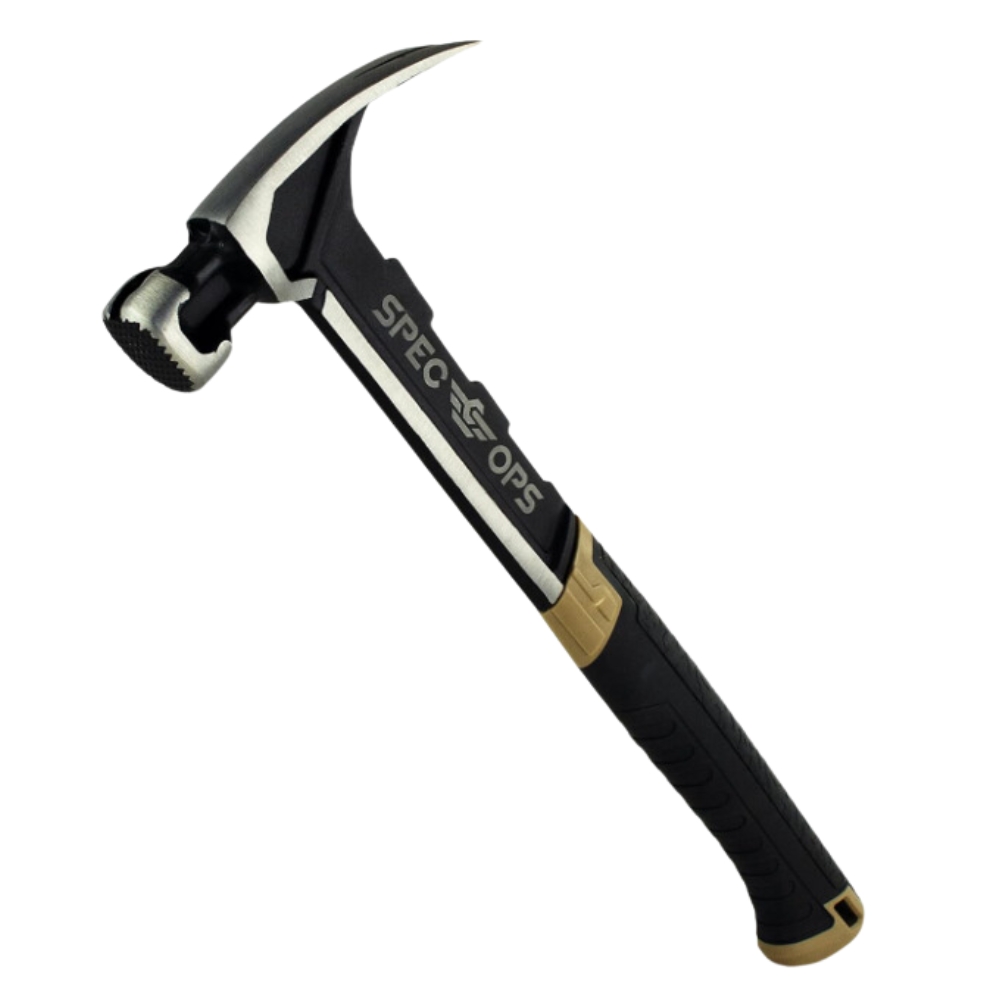
- Controlled Swing: Enhanced swing precision.
- Max Power: Balanced for efficient strikes.
- Comfort Grip: Reduces shock and sting.
- Quick Nail Driving: Magnetic starter feature.
- VIEW MORE
- Purchase on Amazon
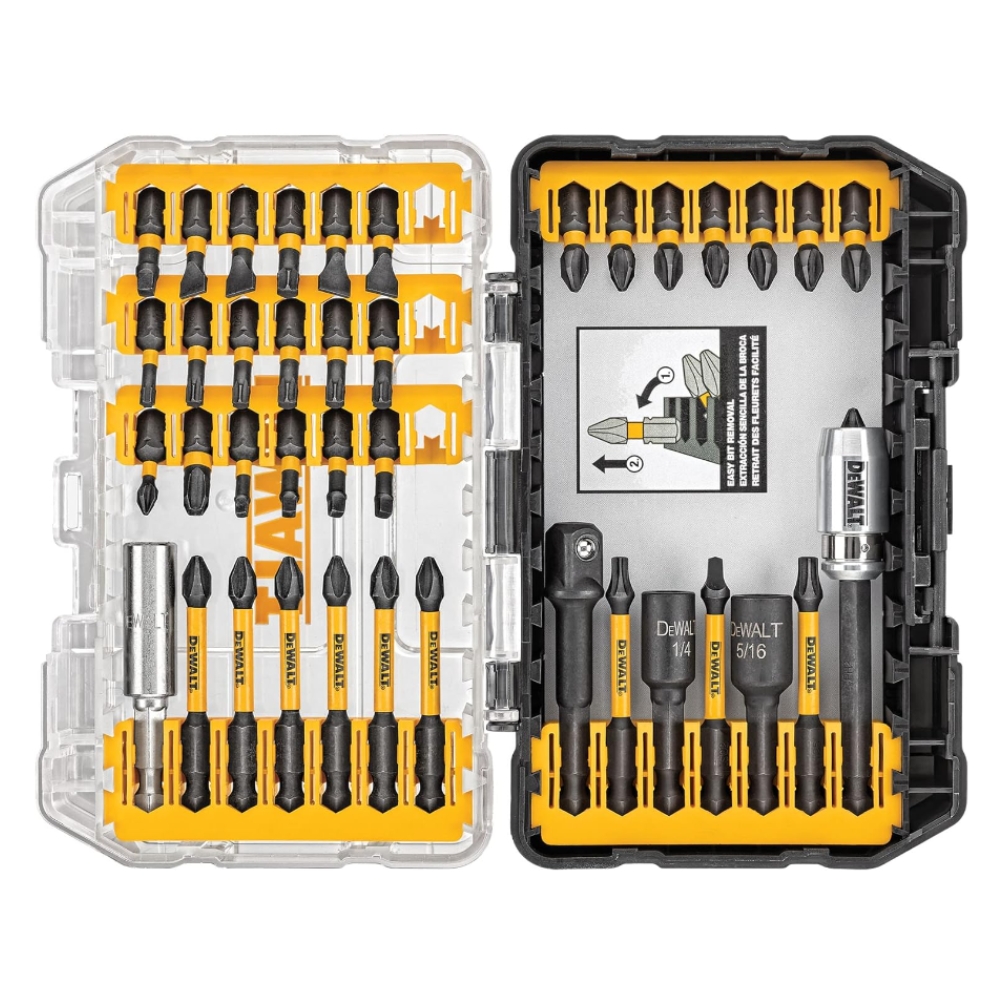
- Efficient Storage: Space-optimized design.
- User-Friendly: Easy removal and placement.
- Clear Visibility: Easily see contents.
- Secure Closure: Reliable clip latch.
- Precision Tips: Enhanced accuracy.
- Optimal Torque: FlexTorq Zone feature.
- Stable Use: Magnetic Screw Lock.
- VIEW MORE
- Purchase on Amazon
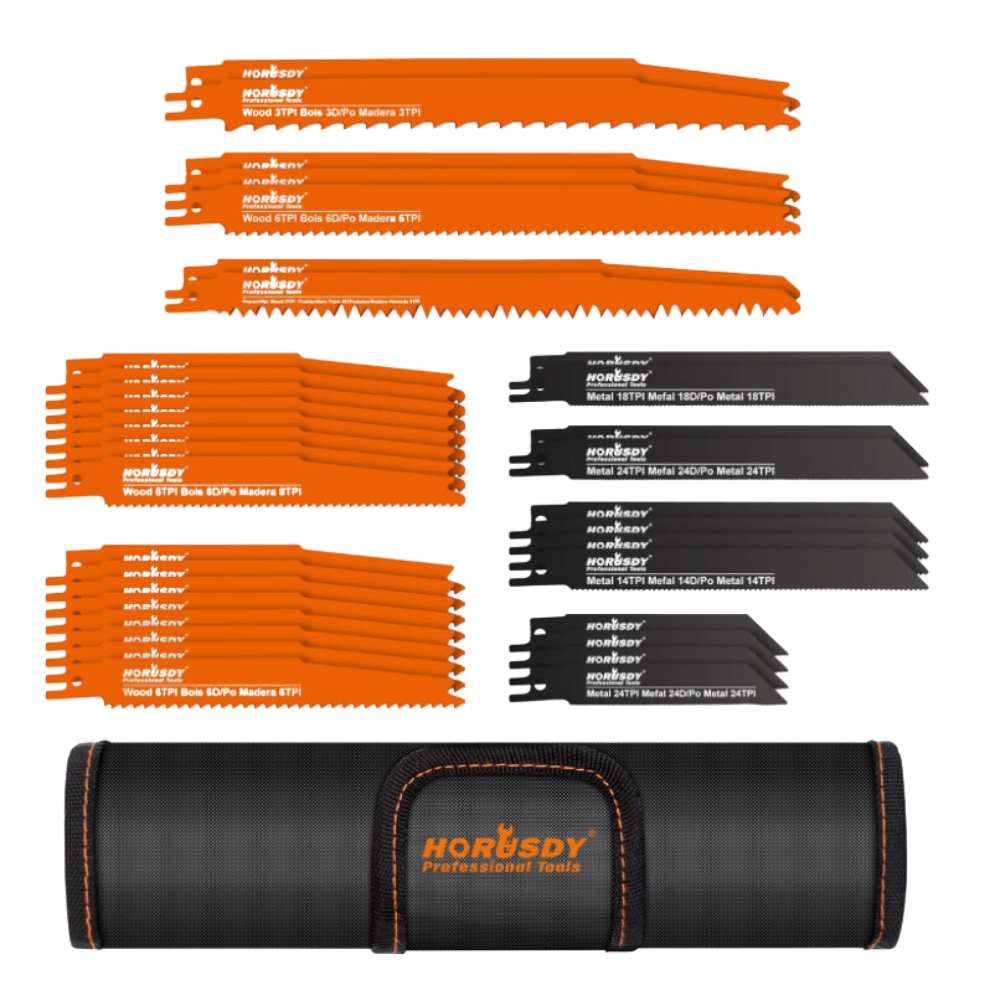
- Durable Construction: High-quality steel for longevity.
- Universal Fit: Compatible with all saw brands.
- Woodcutting Efficiency: High-speed carbon steel blades.
- Metal Cutting Durability: Bi-material construction.
- Easy Portability: Includes a convenient carrying pouch.
- VIEW MORE
- Purchase on Amazon
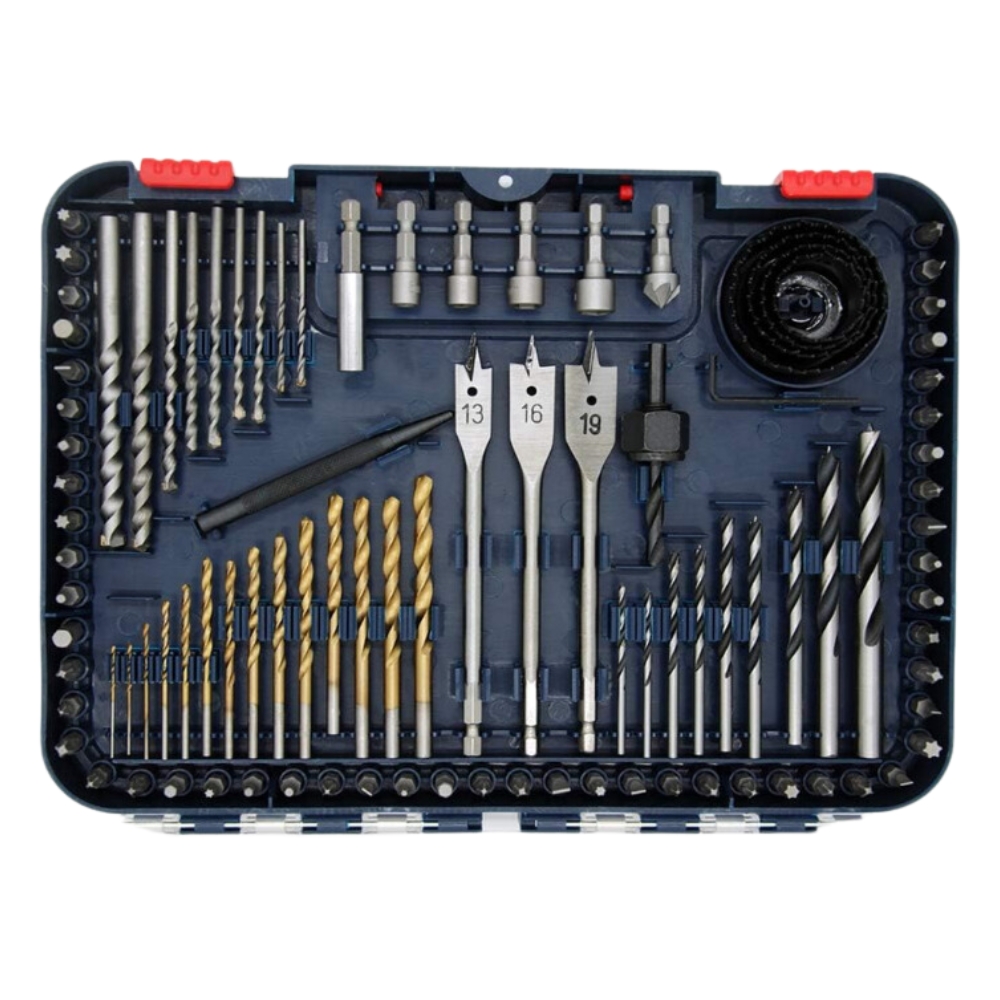
- Versatile Use: Suitable for multiple materials.
- Easy Identification: Color-coded bits.
- Wide Selection: Includes most common sizes.
- Specialized Accessories: For diverse applications.
- Organized Storage: Durable case with placeholders.
- VIEW MORE
- Purchase on Amazon
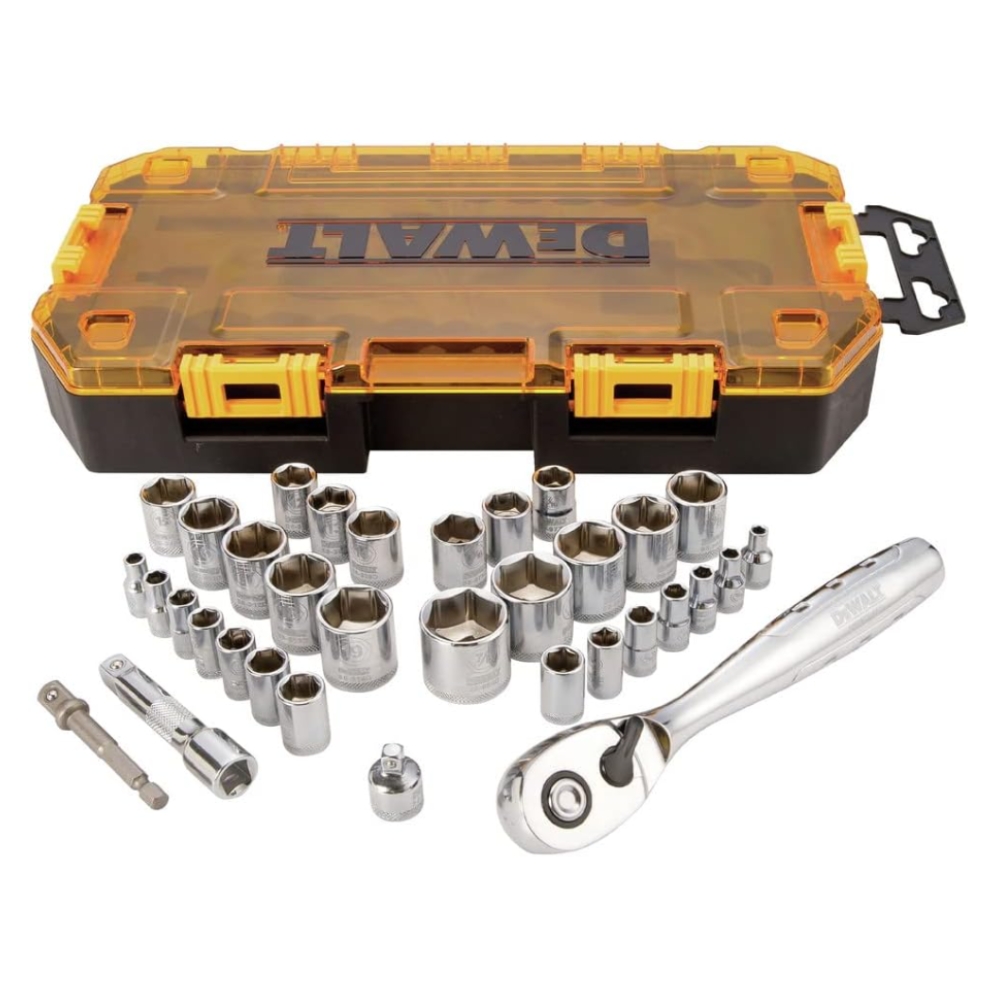
- Portable Case: Lockable and stackable.
- Exceeds ANSI Standards: For professional use.
- Precise Ratchet Mechanics: 5-degree arc swing.
- Clearly Marked Sockets: For easy identification.
- Knurled Rings: Enhanced grip and control.
- VIEW MORE
- Purchase on Amazon
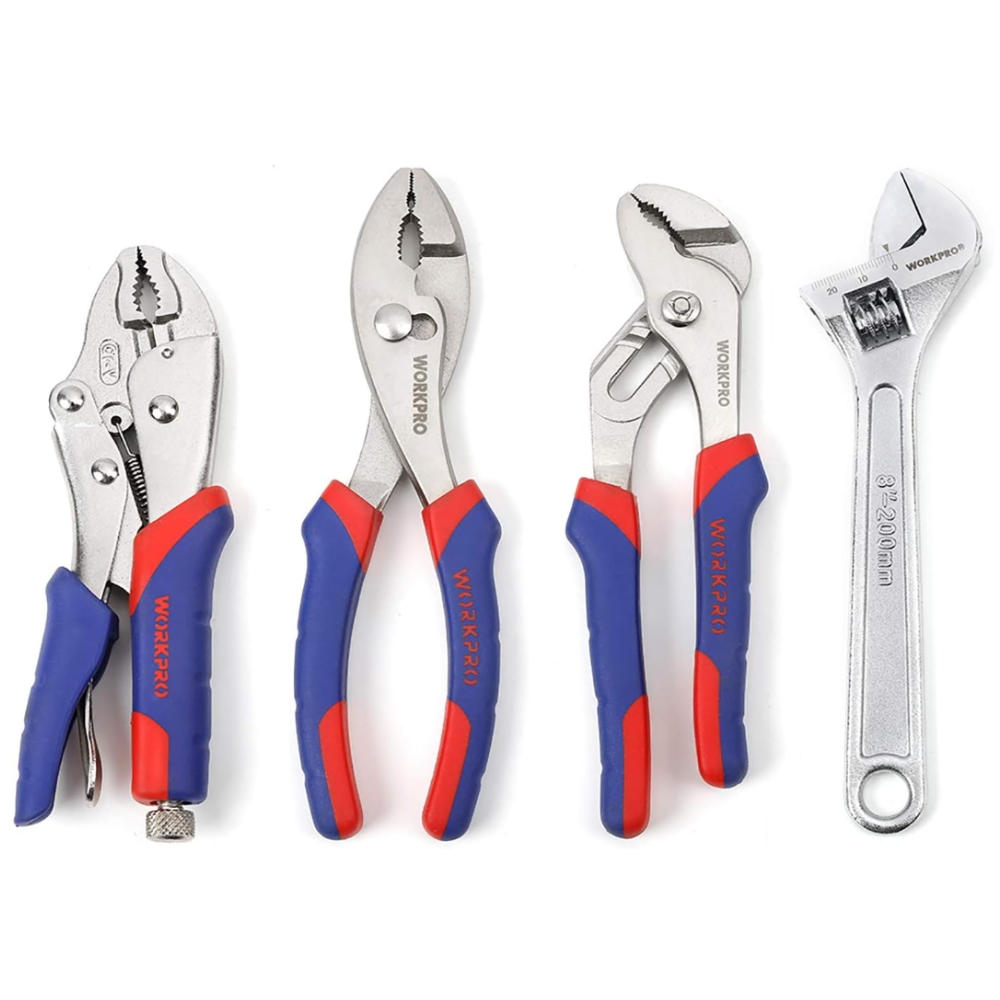
- Long-lasting Build: Heat-treated steel.
- Versatile Toolkit: Wide range of pliers and wrench.
- Comfortable Grip: Bi-material handles.
- Safety Assured: Exceeds ANSI standards.
- Home Repair Ready: Ideal for household tasks.
- VIEW MORE
- Purchase on Amazon
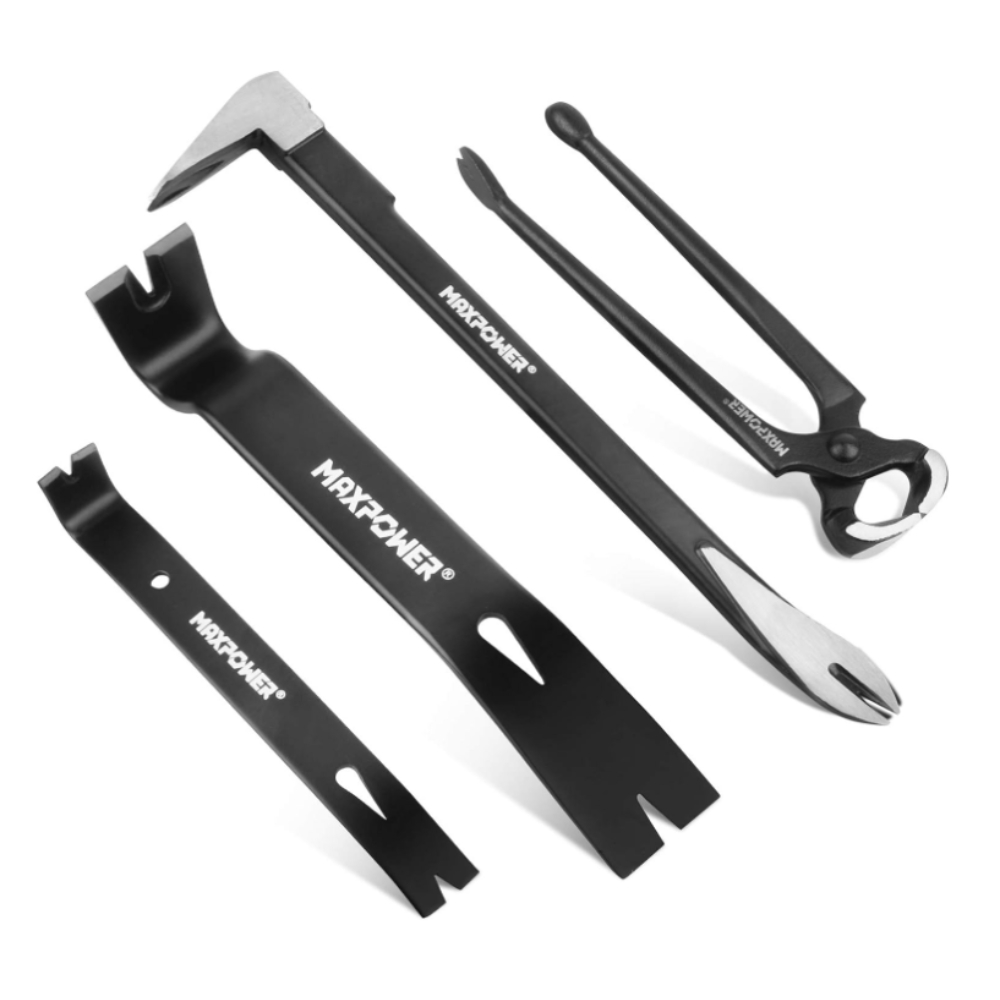
- Robust Build: Drop Forged Alloy Steel.
- Versatile Tools: Suitable for construction.
- Precision Pulling: Double claw design.
- Comfortable Use: Ergonomic and polished.
- Long-Lasting Finish: Corrosion-resistant coating.
- VIEW MORE
- Purchase on Amazon
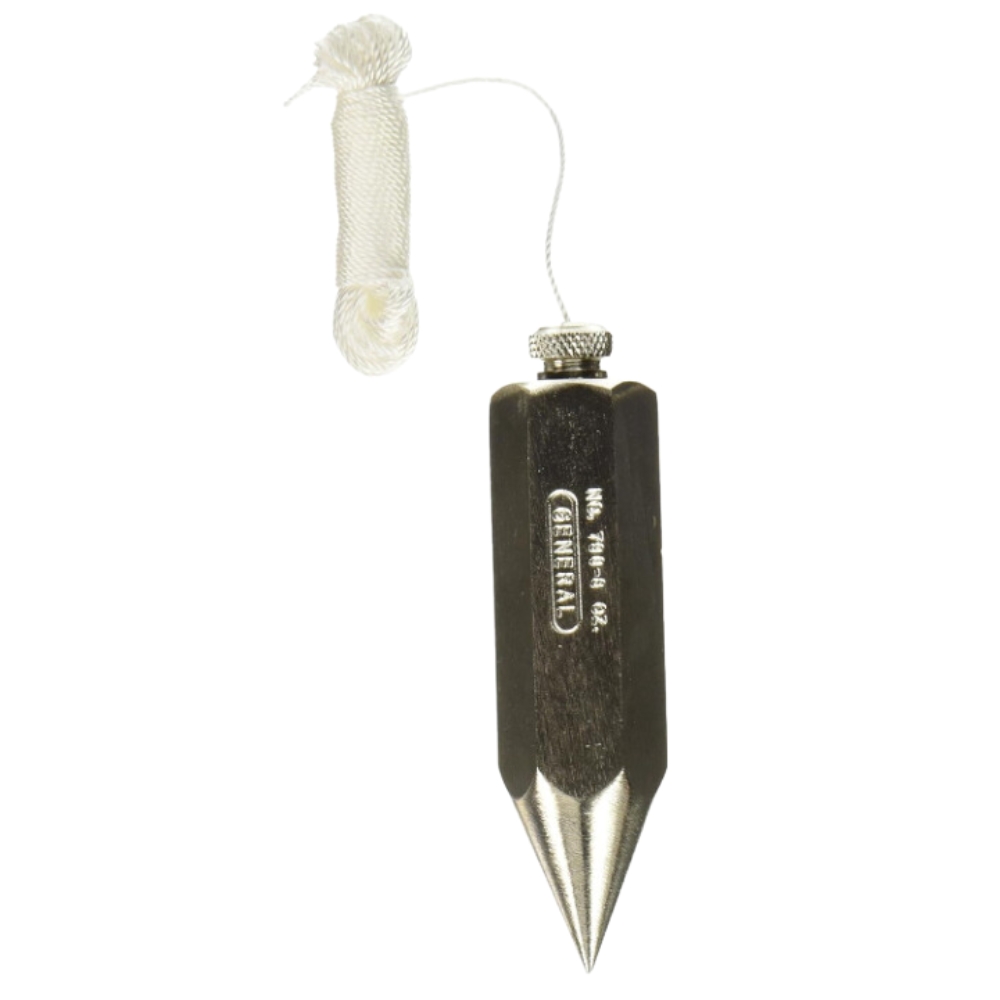
- Reliable Precision: Ideal for accurate vertical alignment.
- Robust Build: Cold-drawn steel with nickel plating.
- Convenient Design: Removable cap for easy cord replacement.
- Balanced Dimensions: 8 oz weight, compact for ease of use.
- Ready to Use: Includes a 10-foot braided cord.
- VIEW MORE
- Purchase on Amazon
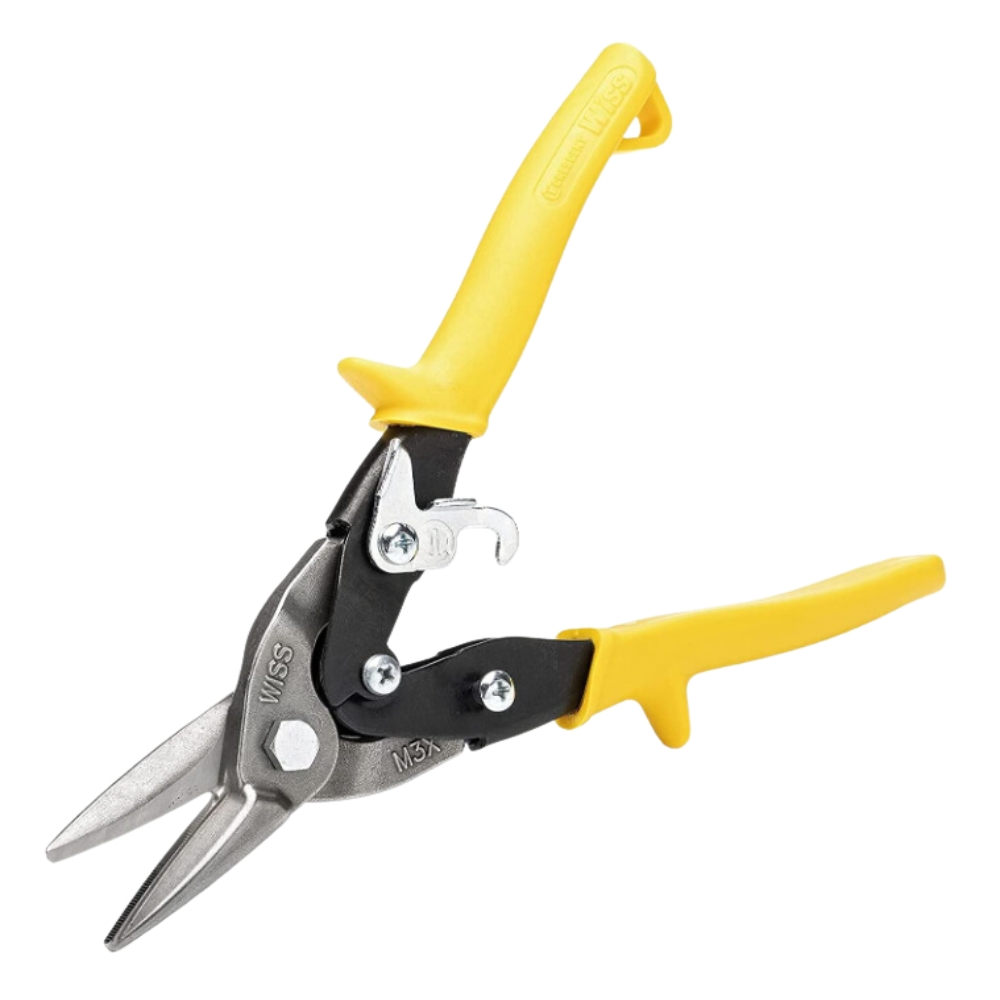
- Multi-Purpose Cuts: Straight and curved cutting.
- Comfortable Use: Ergonomic, single-handed operation.
- Quality Blades: Serrated molybdenum construction.
- Durable Build: Long-lasting design.
- Ease of Use: Spring action, easy storage.
- VIEW MORE
- Purchase on Amazon
Hardware / Materials
- 8 Penny Nails
- Construction Screws
- All hardware listed above (that came with the parts for the pipe install)
- Garbage Bag
- Waterproof Asphalt Filler & Sealant
- Polish
Wood Stove Installation Cost Breakdown
DIY projects are not only rewarding but they allow you to save a LOT of money. If you have the tools, patience, and a little know-how this project is 100% worth it to do it yourself.
In terms of "cost of time" this project is VERY affordable. If you have everything ready to go, this project could take you as little as 6 hours to complete. Take a look at the costs for everything (excluding the tools).
Total Cost: $2,682
- Wood Stove ($699)
- DuraPlus Stainless Steel Chimney Pipe ($803)
- Double-Wall Telescoping Black Stove Pipe ($267)
- Square Ceiling Support Box ($126)
- DuraPlus Storm Collar ($18)
- Chimney Adapter with Trim ($38)
- Roof Flashing ($80)
- Chimney Cap ($113)
- Extended Roof Bracket ($155)
- Adapter Section ($60)
- Attic Insulation Shield ($110)
- Black Stove Board Flooring ($85)
- Roof Waterproof Asphalt Filler & Sealant (3) ($22)
- Black Polish ($7)
- Nails & Screws (had on hand)
- Blower Fan ($99) - not "needed"
Questions this answers
Tap a question for the short answer.
How do I install a wood stove myself?
Pick a stove sized for your square footage, gather the 6 inch stove pipe and chimney parts, then work in order: ceiling support box, attic insulation shield, plumb line, interior pipe, rooftop pipe, and roof bracket. My install took less than 10 hours and cost $2,682 total.
What parts do I need to run stove pipe through the ceiling and roof?
Inside: a square ceiling support box, chimney adapter with trim, double-wall telescoping stove pipe, an adapter section to the stove, and an attic insulation shield. Outside: roof flashing, a storm collar, stainless steel chimney pipe, a chimney cap, and an extended roof bracket if the chimney extends more than 5 feet above the roof.
How much does it cost to install a wood stove?
My DIY install came to $2,682 total using 6 inch DuraVent pipe. The Master Forge 2500-sq ft stove was $699 in September 2022, and 5% back on a Lowe's card brought it to $664 before tax.
How close can double-wall stove pipe be to a wall?
The DVL double-wall telescoping pipe I used is listed for 6 inches of clearance to a combustible wall and 8 inches to a ceiling, much closer than single-wall pipe. The stove has its own listed clearances in its manual, and the larger number wins. Double-wall pipe is mandatory in a mobile home.
Do I need an attic insulation shield for a wood stove chimney?
Yes, whenever the chimney passes through an attic. The shield keeps insulation and debris from building up near the chimney, and it fits over the firestop radiation shield or the support box. It sits in the attic, out of sight.
How do I install a ceiling support box for a wood stove?
Measure from the wall so the spot meets code and the clearance ratings of your stove and pipe, then line the box up beside the truss beam. Never cut into the beam. Cut the opening next to it and frame it with 2x4s or 2x6s to the size given in the DuraPlus instructions, which keeps the required 2 inches of air space between the chimney pipe and any wood.
Keep going
Related to this
Membership · $49.95 per year
There is a lot more behind the lock
Every recipe and resource from the Prepper's Chemical Survival Guide, all six field guides to read here and download, the full audit and logbook, all twelve reference charts, and no ads.
My Manual · included
Build your own field manual
The most useful thing a membership gives you. Save any page on this site, recipes, charts, and whole field guides included. Arrange them in the order you want, name it, and print one manual with a cover and contents, or keep it as a PDF that opens with no signal.
- It works when this site does not
- Only your pages
- Anyone in the house can use it
- One current copy, not a pile of printouts
- The house binder
- A copy for the bug-out bag or truck
- A copy for family
- An offline PDF


Stay Ready
New entries, updates, and useful instruction.
Stay one step ahead on your preparedness journey.