Quick facts
- LumberTreated lumber
- FastenersTimberLOK screws (or similar) instead of galvanized lag screws
- WireWelded wire with fencing nails; chicken wire at the bottom for rabbits
- BraceDiagonal, lower end on the hinge side
- Under the gatePavers between the two posts
- Bracket hardwareNot necessary
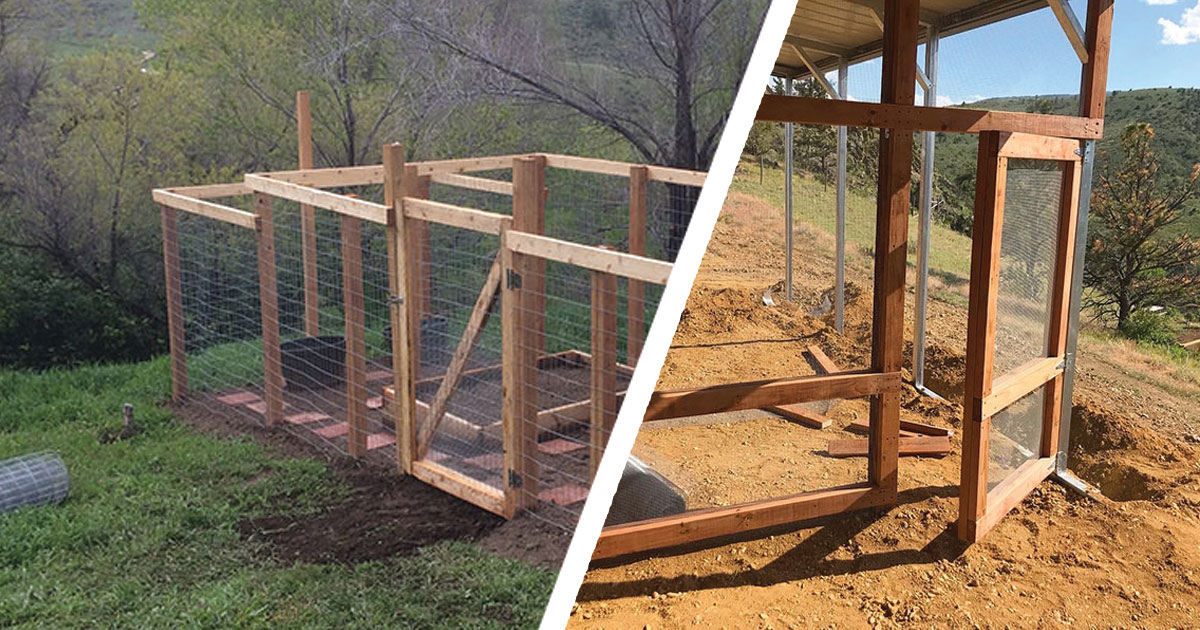
On this page you'll find pictures and details on how to build a garden fence gate that'll last. In fact, there are two different layouts to give you a choice. + I include a few things I would have done differently (at the end of the post).
The original garden gate was built at my last property. Since then I’ve moved to my homestead/ranch (not far from this garden). At the new place I’ve just recently built a chicken run under my lean-to on the prefab barn I had built. At the end of this post I’ve got a few pictures of the chicken run doors I built (could easily be used for a garden gate too). Hope this post is helpful for ya!
And if you wanted to see the: DIY Garden Fence
The gate for entry into the garden is part of the garden layout, deer are a big problem (in northern Colorado) for gardens. Gardening at higher elevations is also loaded with other difficulties too.
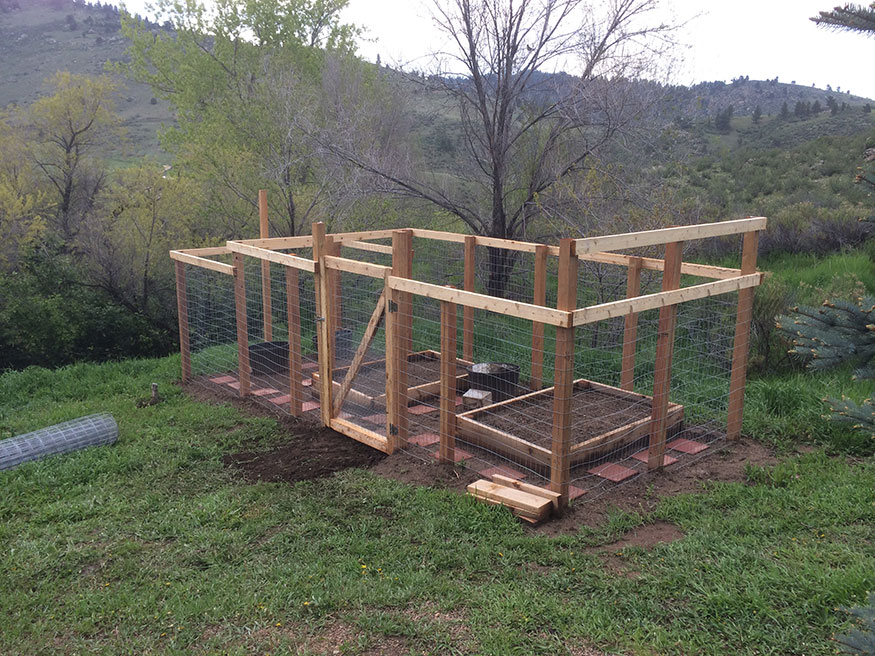
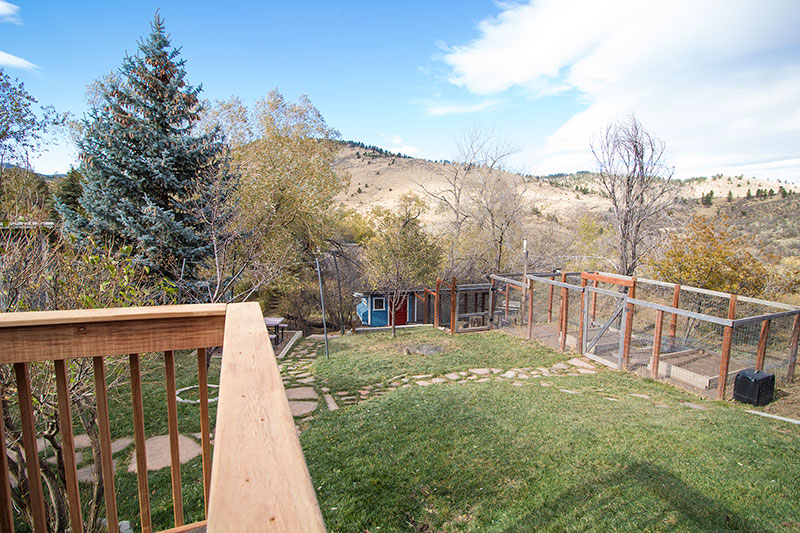
The picture below was taken about 4 years after the picture above (originally built in 2015). You can see that treated lumber keeps its coloring much better and probably will last longer.
Tip: Use treated lumber when building your garden gate.
Initial Prep - Building a Wooden Gate
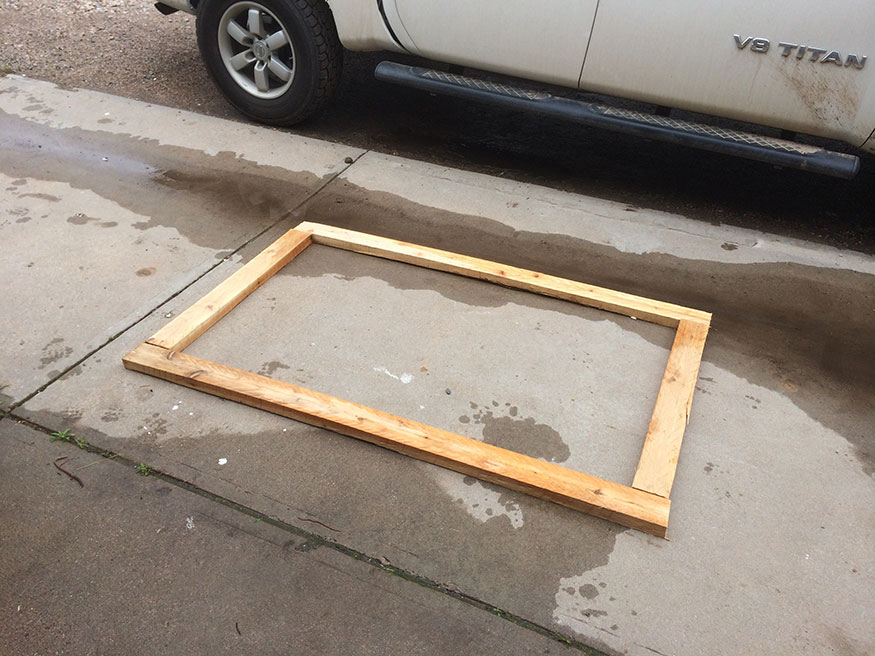
You have to start somewhere and lucky for me I had a little flat ground perfect for putting it all together. Take a look at a few pictures to help you get an idea of what I did to build this Garden Fence Gate.
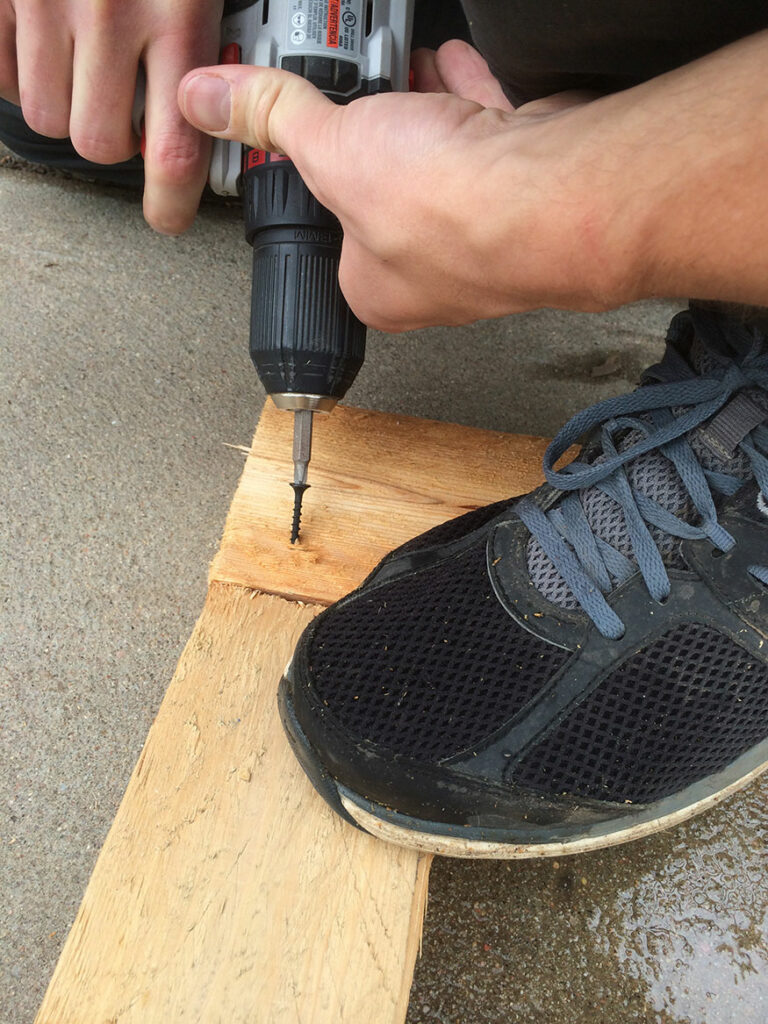
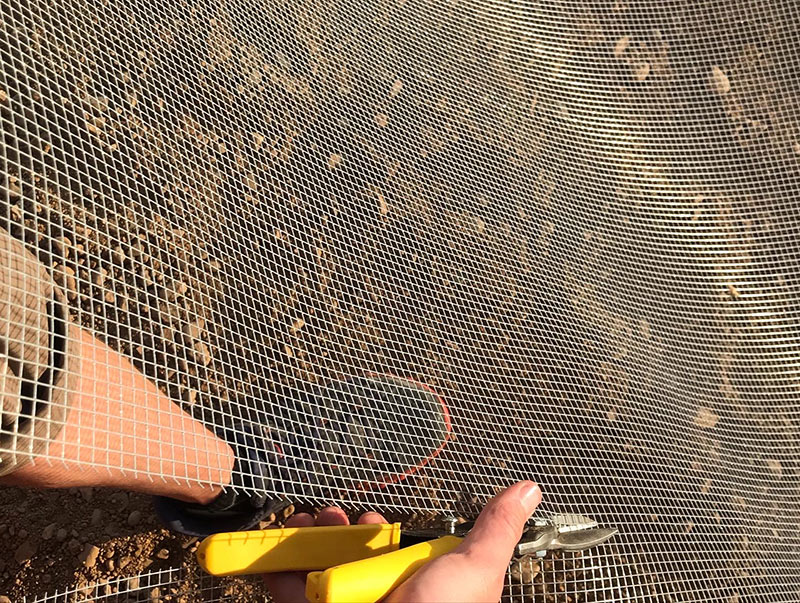
Fencing Nails & Welded Wire.
Welded wire is less expensive than chainlink and it'll hold up better if you ever need to cut it. The fencing nails add a level of stability to the project.
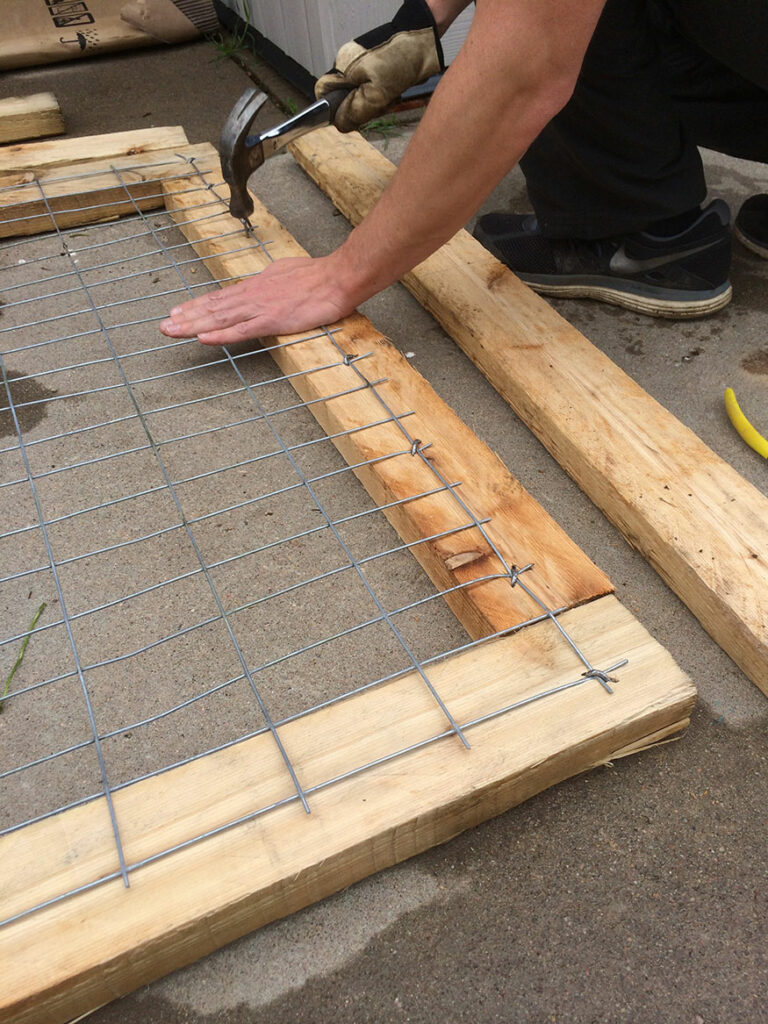
After completing the cutting to size of the welded wire, securing the wire to your wood with fencing nails, you can now add the second side of lumber to secure the gate layout.
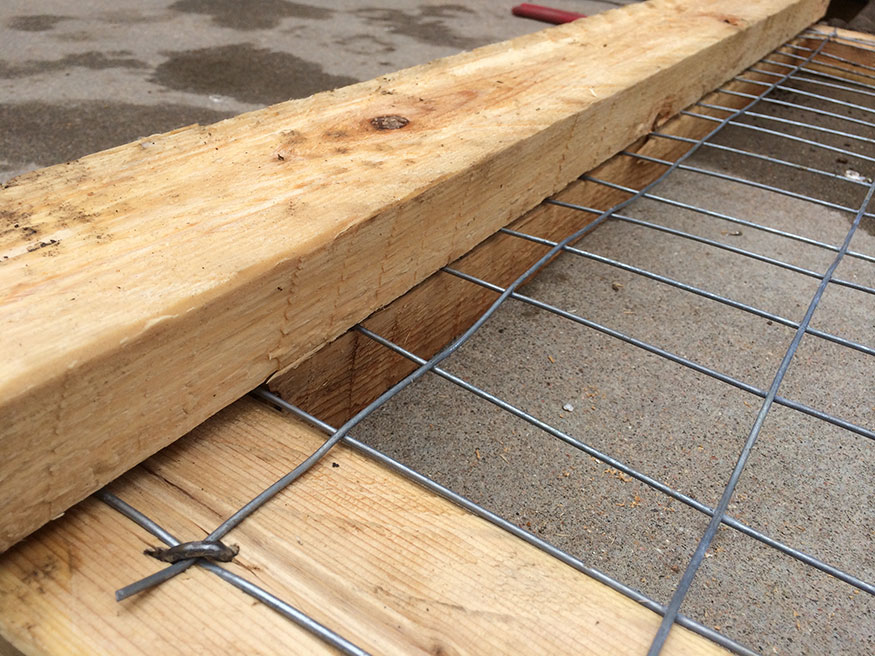
Having a flat surface was coming in handy during this process.
Next: You'll want to draw these pieces closer together and secure the layout of the gate/door with screws.
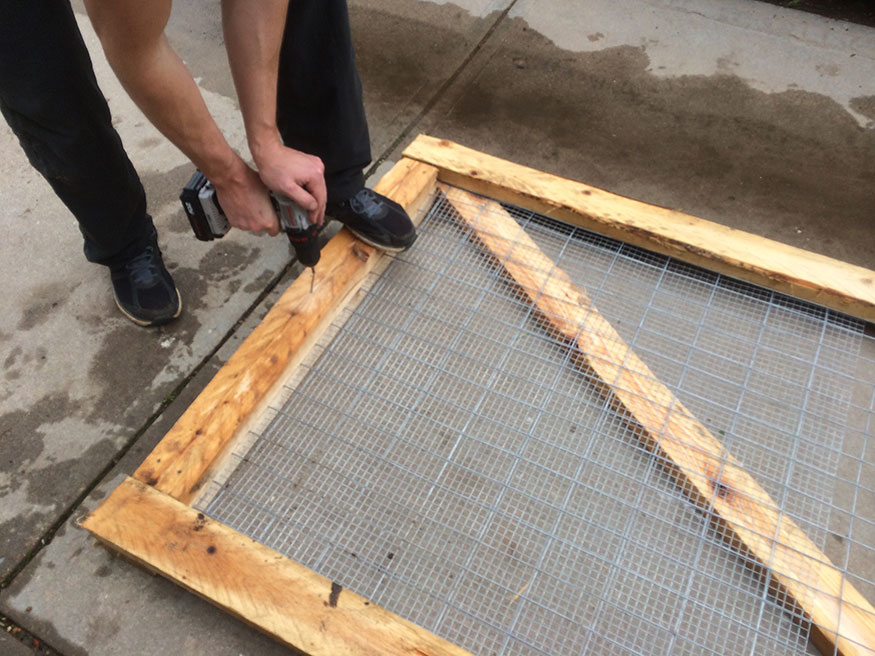
Lag Screw or TimberLOK?
Over the years I've become a big believer in the TimberLOK brand (or anything comparable). I don't use galvanized lag screws any longer. The TimberLOKS are much more reliable and easy to use. Whether you're building a garden fence gate, timber trail steps, or a loafing shed, the TimberLOKs (or similar product) are the way to go.
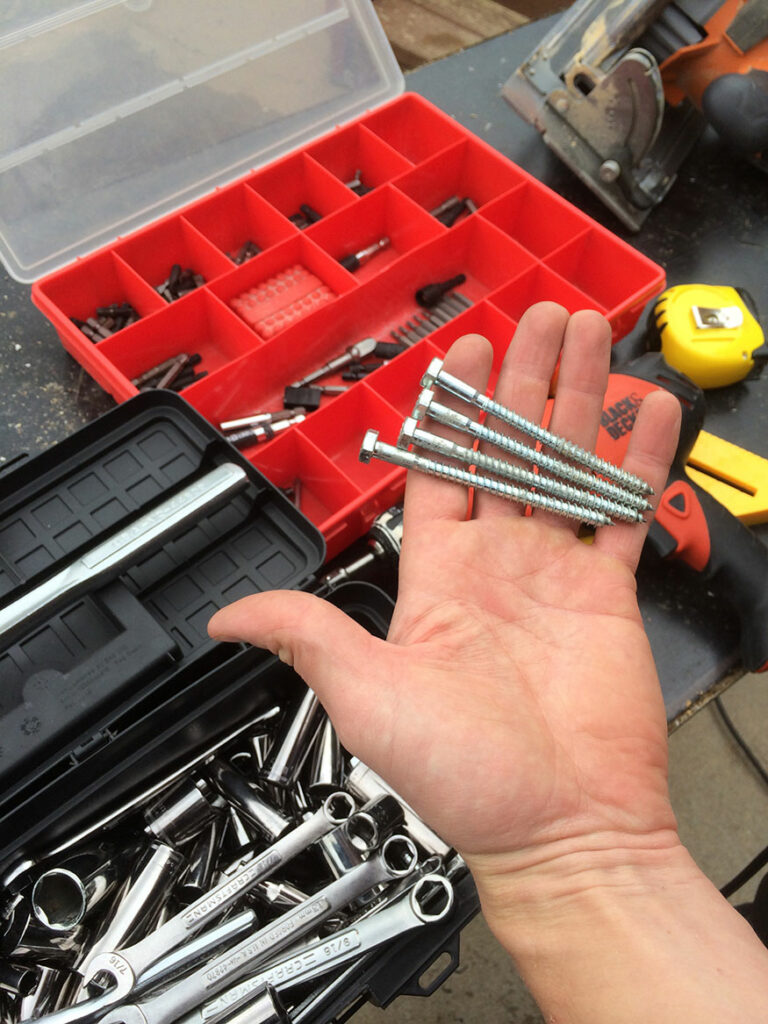
For outdoor projects, TimberLOK screws (or similar) are all I use.
Diagonal Brace (and my mistake)
Bracing the Gate with a diagonal cross brace piece of wood.
And here's where I made a mistake, and you can learn from my mistake.
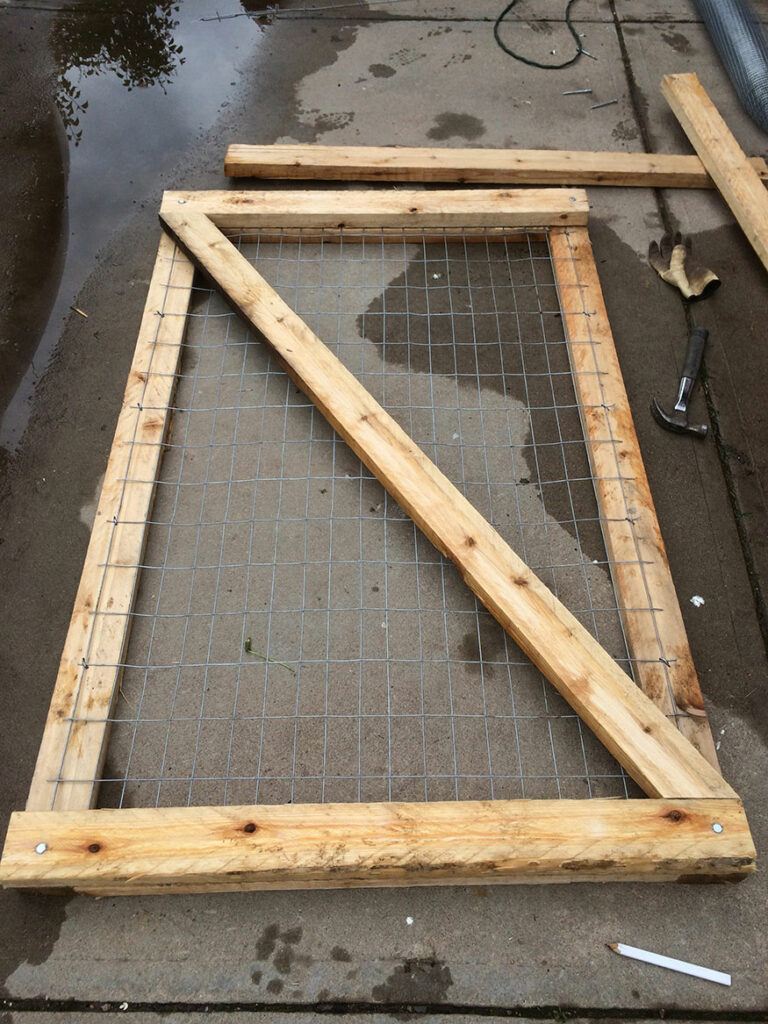
While it's a good idea on a larger gate door like this to have a cross brace that's diagonal, you need to consider the right placement of this in relation to the hinges (I'll explain).
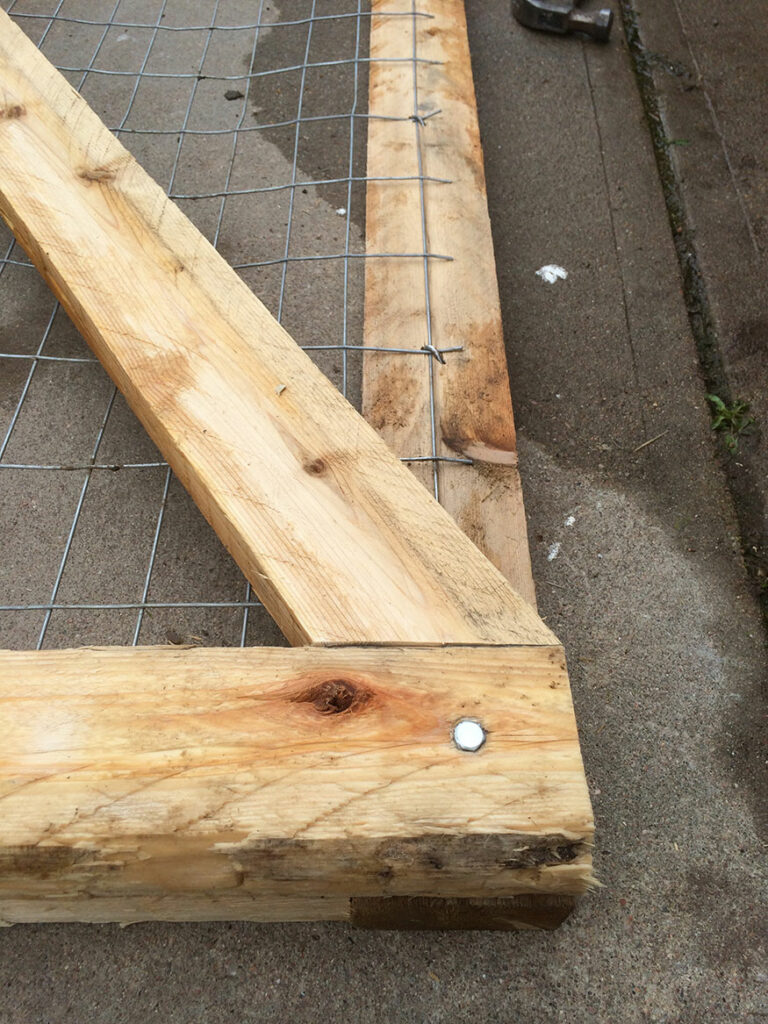
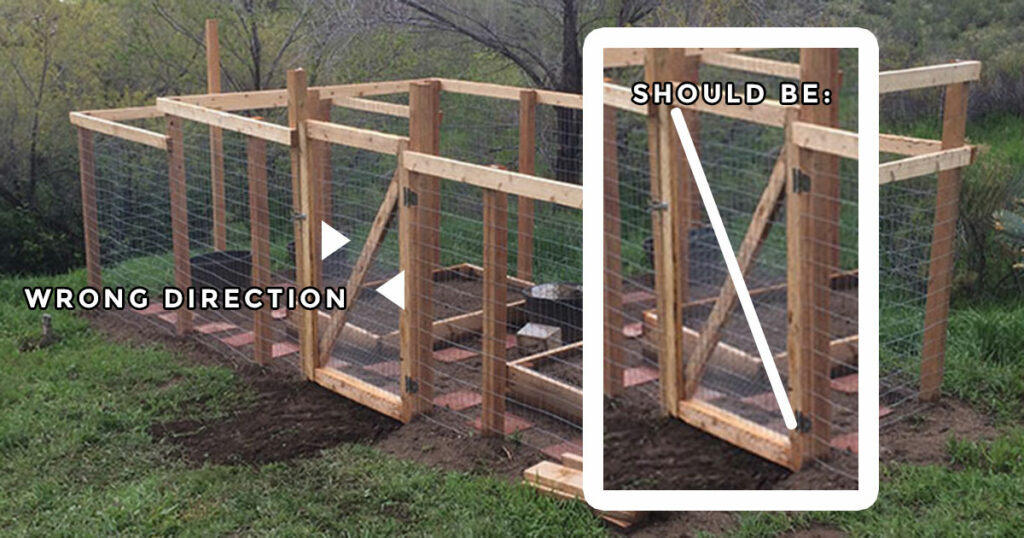
I did it wrong and didn't even know. You should have your diagonal cross brace the opposite of what you see in my pics.
A wood brace works in compression. It should run from the bottom corner on the hinge side up to the top corner on the latch side, so the sagging latch side pushes down the brace into the bottom hinge.
If you're trying to keep bunnies out (or whatever Vermin you have to deal with), add chicken wire at the bottom of the gate.
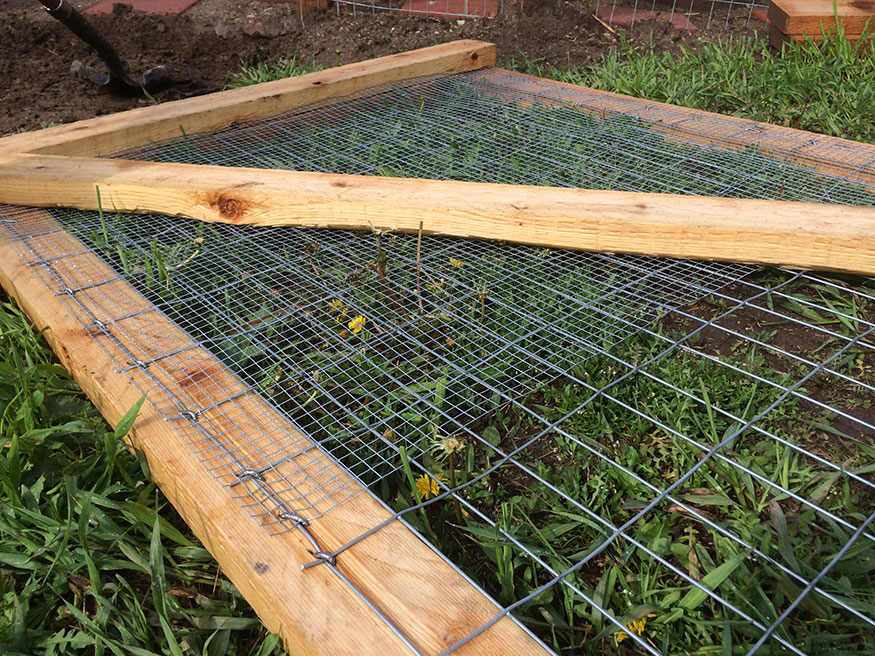
To really keep out the unwanted wildlife from your garden, dig the welded wire in to the earth and use chicken wire around the entire perimeter.
Where the entry gate is, use pavers under the gate between the two posts where you enter the garden.
Nice fit:
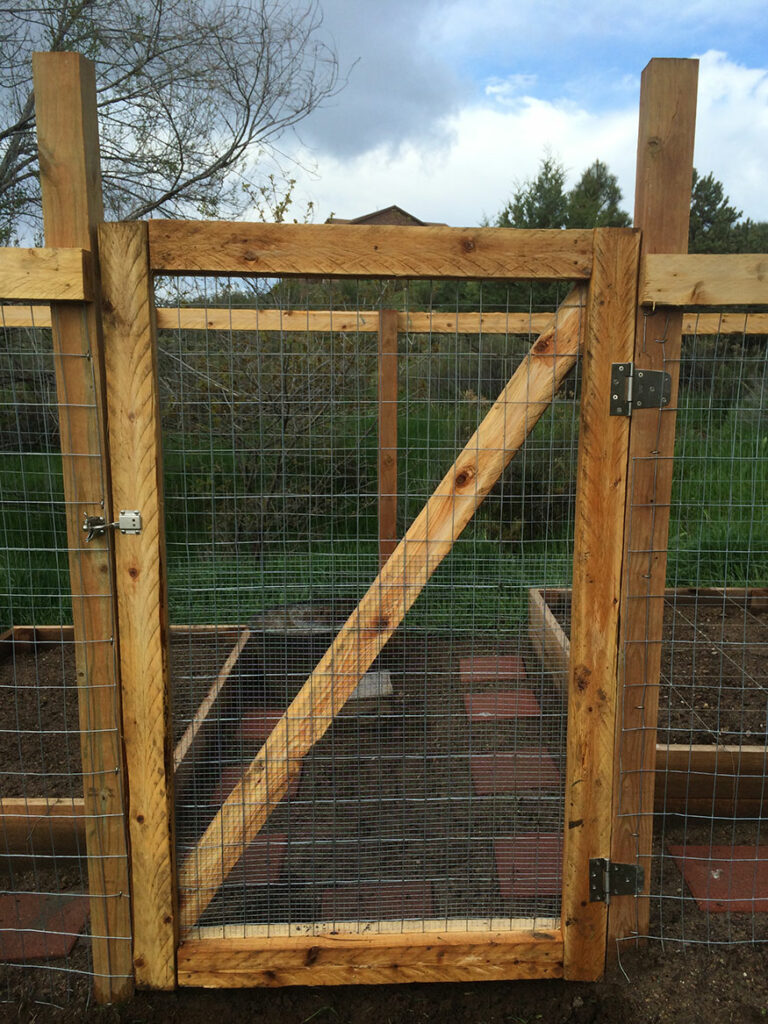
It’s held up nicely over the last several years.
Okay… now on to the new chicken run door that could easily work for a garden gate too:
Treated 2X4 Lumber Garden Gate / Chicken Run Door with Hardware
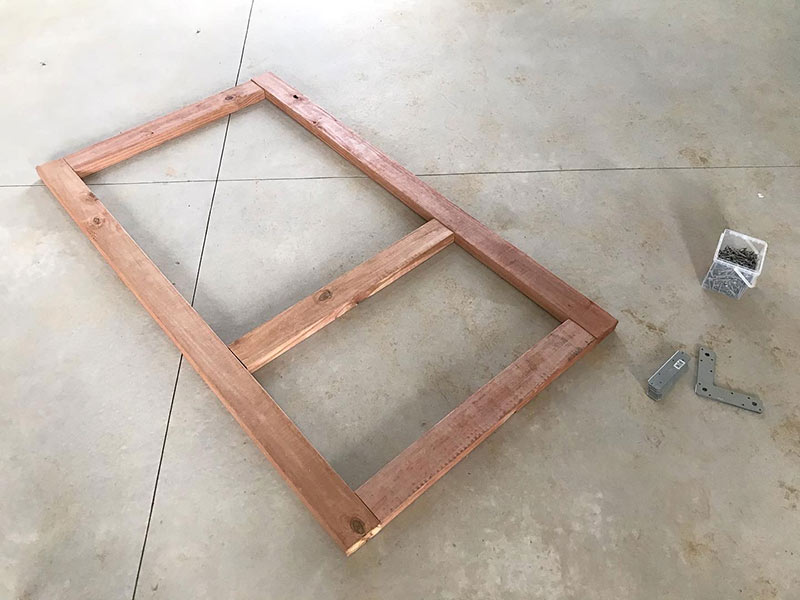
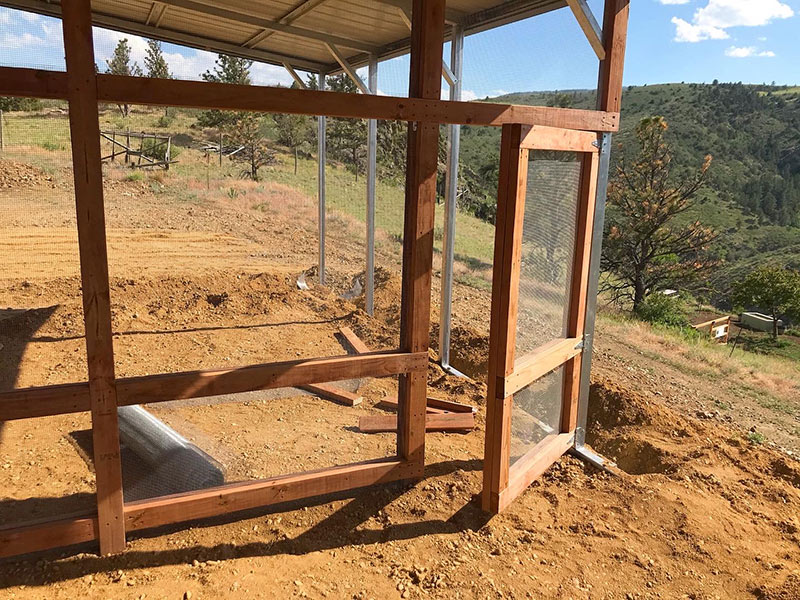
Thanks to a nice barn and cement floors, this project became much easier. I've got a blog post on every cost related to building a metal barn, check it out.
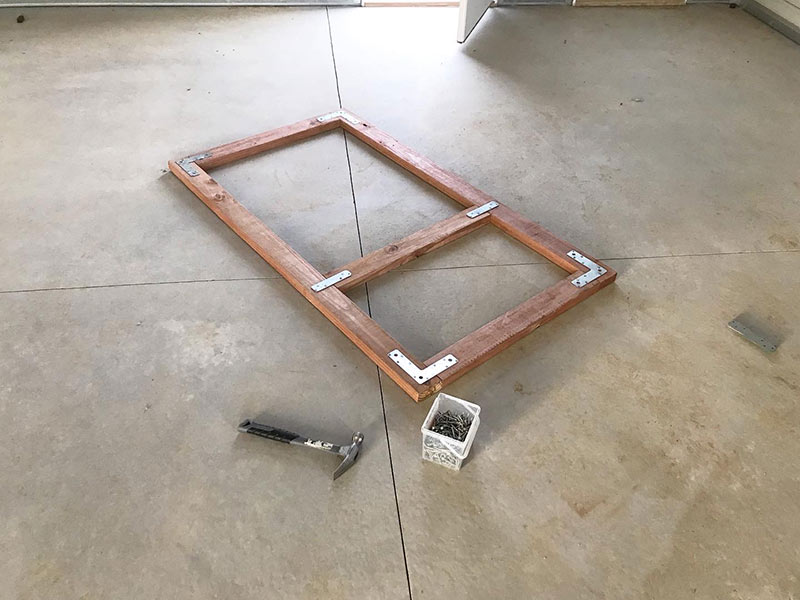
With this particular project I opted to only use chicken wire. This door is made for the chicken run connected to my barn.
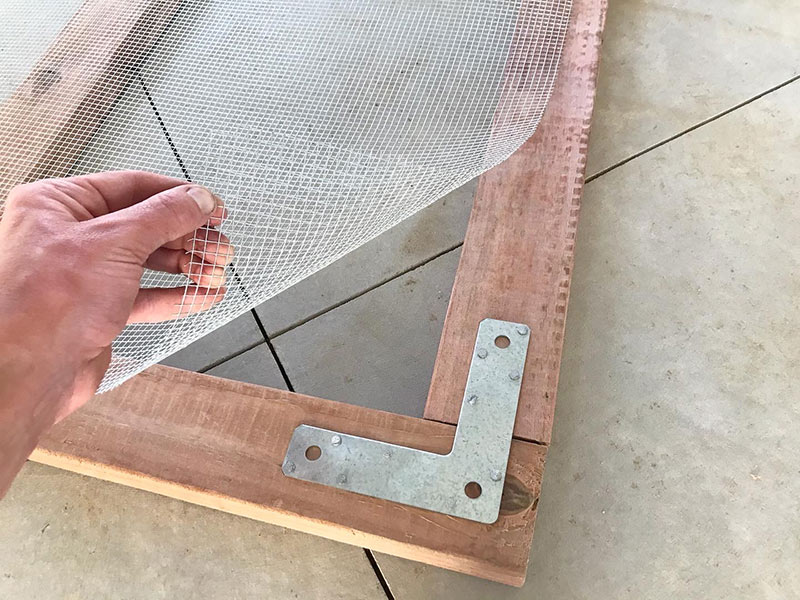
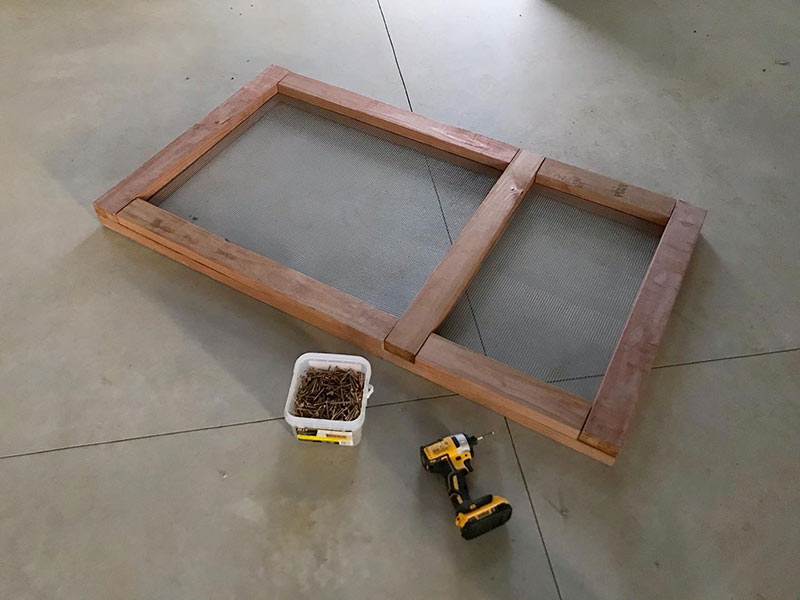
Such a nice clean look and it's VERY sturdy.
A couple pictures back there's one with the hardware. It's not necessary to use the hardware.
I built a second door on the other side of the run (not pictured) and I didn't use any of the bracket hardware on it. It's just as sturdy.
What I learned with experience
- Use TimberLOK screws when working with lumber outside.
- Use treated lumber.
- With larger gates using wood, ensure your diagonal cross brace is properly established with the lower part of the brace on the hinge side of the gate.
- Excess hardware isn't necessary.
Questions this answers
Tap a question for the short answer.
How do I build a garden fence gate?
Build the frame from treated lumber on flat ground, cut welded wire to size and fasten it with fencing nails, then add the second side of lumber and draw it all together with TimberLOK screws. Add a diagonal cross brace with its lower end on the hinge side.
Which way should the diagonal brace go on a wooden gate?
Put the lower end of the diagonal cross brace on the hinge side of the gate, so the load at the top corner runs diagonally down to the bottom at the hinges. I built mine the opposite way by mistake, so do the reverse of what my photos show.
Should I use lag screws or timberlok screws for a gate?
I use TimberLOK screws, or a comparable product, and no longer use galvanized lag screws. They are much more reliable and easier to work with, and they are all I use for outdoor lumber projects like gates, timber trail steps, and loafing sheds.
How do I keep rabbits from getting under a garden gate?
Add chicken wire along the bottom of the gate and lay pavers under it between the two posts. For the rest of the garden, dig the welded wire into the earth and run chicken wire around the entire perimeter.
Can I use welded wire for a garden gate?
Yes. Welded wire costs less than chainlink and holds up better if you ever need to cut it. Cut it to size, secure it to the wood with fencing nails for stability, then sandwich it with the second side of lumber.
Keep going
Related to this
Membership · $49.95 per year
There is a lot more behind the lock
Every recipe and resource from the Prepper's Chemical Survival Guide, all six field guides to read here and download, the full audit and logbook, all twelve reference charts, and no ads.
My Manual · included
Build your own field manual
The most useful thing a membership gives you. Save any page on this site, recipes, charts, and whole field guides included. Arrange them in the order you want, name it, and print one manual with a cover and contents, or keep it as a PDF that opens with no signal.
- It works when this site does not
- Only your pages
- Anyone in the house can use it
- One current copy, not a pile of printouts
- The house binder
- A copy for the bug-out bag or truck
- A copy for family
- An offline PDF





Stay Ready
New entries, updates, and useful instruction.
Stay one step ahead on your preparedness journey.