Quick facts
- PostsTreated 4x4 lumber set in concrete
- FencingWelded wire, chicken wire on the bottom couple feet
- FastenersFence staples, TimberLOK screws for beds
- Bed postsAbout 1 foot in to the ground
- Lesson learnedMixing concrete in a wheelbarrow is a wasted step
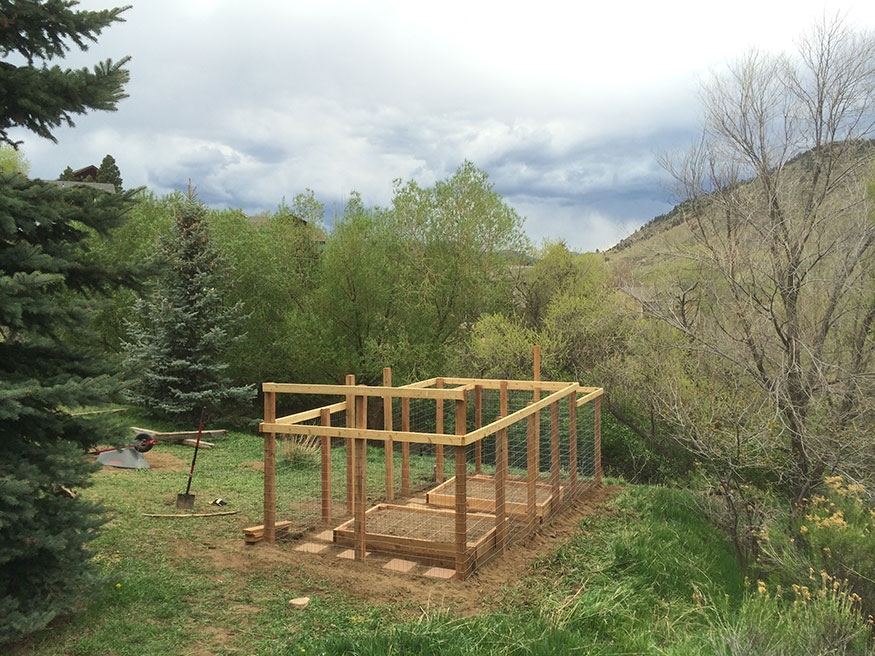
Here are a few ideas and pictures to help you complete your DIY Garden Fence. Creating the proper garden fence will help you keep out unwanted guests like deer and bunnies.
This project was from 2015 (at my previous house).
At my last house (here in Northern Colorado) the Mule Deer were very friendly and would love nothing more than to snack from your garden. Not only that... depending on the year the bunnies are very abundant and they too love a good salad.
This means: one of the first priorities I had after moving in was to build a fence around the garden. Here's a little look at what I did.
Step by Step Instructions for Building a Garden Fence
Pick the Garden Location
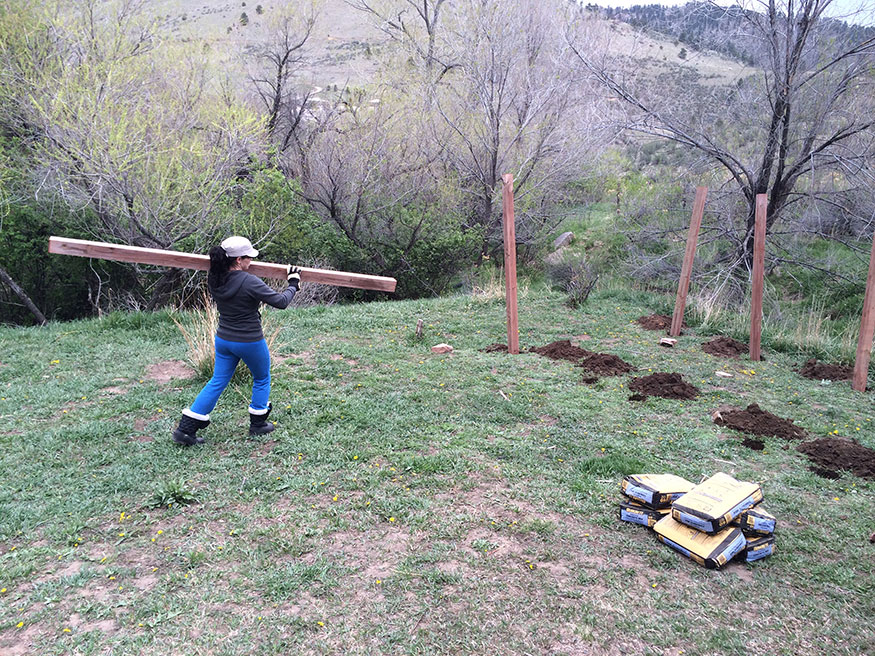
Pick your garden location and measure where you want to install your posts. Mark the ground with spray paint or whatever method will allow you to be exact.
Dig the Holes
I dug the holes with a post hole digger (I happened to have dirt in this particular area, that's not the case where I live now, it's all rock).
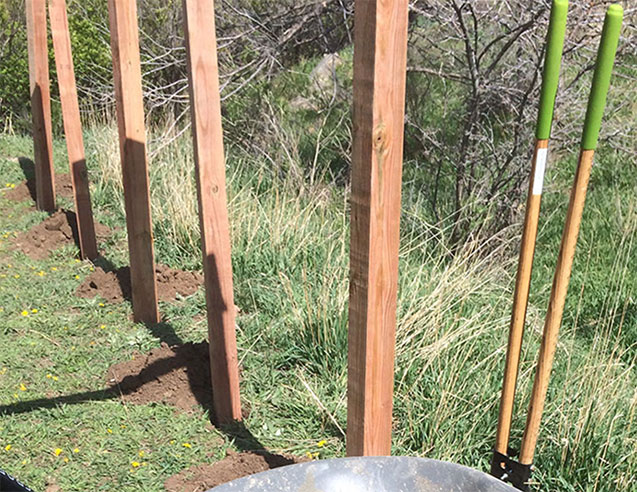
Once I had the post holes dug and ready for the posts, it's time to add the concrete. If your ground allows for post holes, get a post hold digger.
Set Treated Lumber in the Post Hole (prior to filling with concrete)
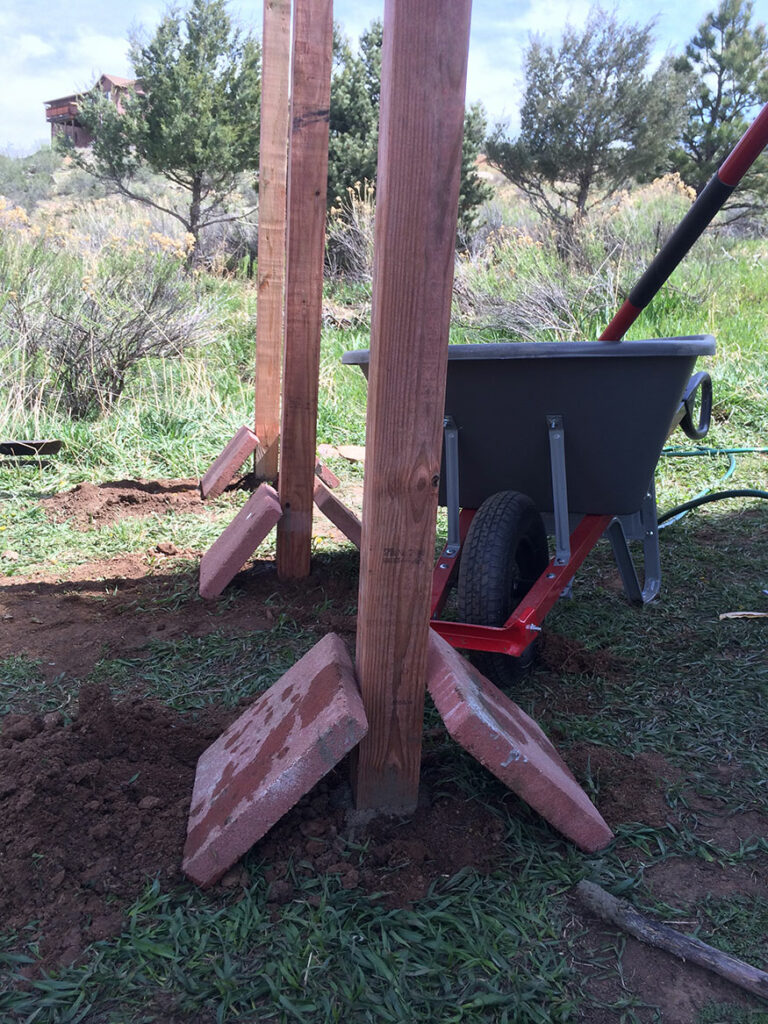
I had pavers ready for the path in the garden and they came in handy for leveling the treated 4X4 lumber prior to attaching all of the posts together via 2x4.
Concrete Filled Fence Post Holes
Here's the deal with concrete, I've had just as much success dropping dry concrete in to the hole and spraying it with water, poking it around, and then repeating.
It's a lot easier than trying to mix it in a bucket or a wheelbarrow and it works just as well (at least here).
Use a digging bar to mix the concrete and water in the ground and tamp it in with force.
Level the Fence Posts w/ 2x4s
Get your level and ensure the posts are level on the north facing and west facing sides of each post. My janky way in this particular project was to ensure everything stays level with pavers. Not ideal. Use 2X4s if you want to do it right.
However, it worked just fine and remained level after the concrete hardened.
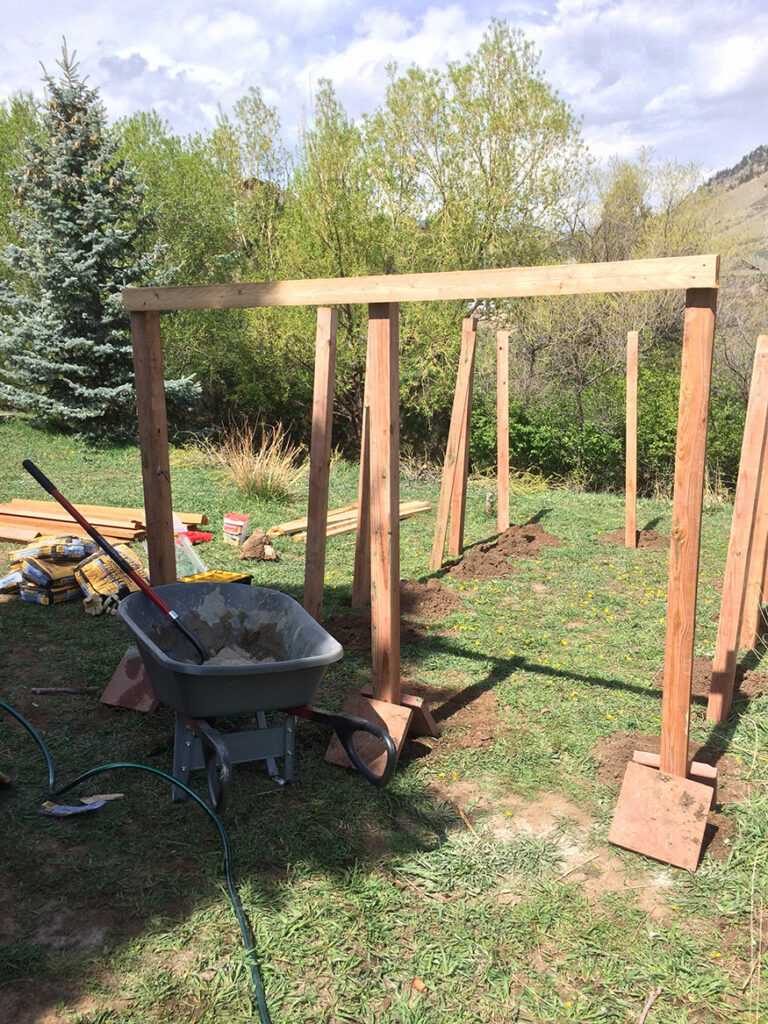
>>> Lesson Learned
As you can see here, I was using a wheelbarrow to mix the concrete. Experience has taught me it's a wasted step (at least here). I've not done that again since and I've installed many fence posts.
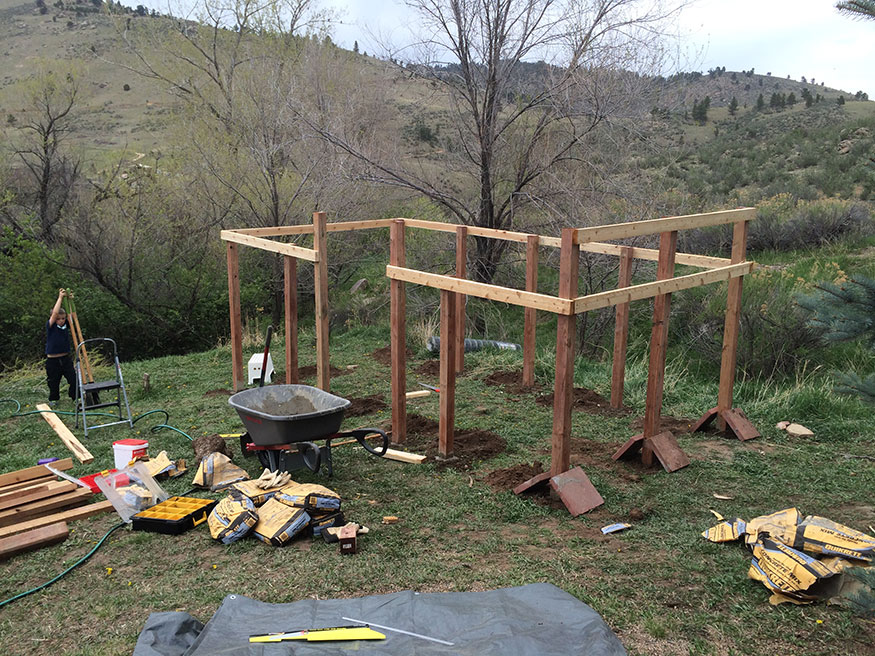
Clear the Ground
After your posts have set, it's time to create garden beds and prep the garden area (prior to attaching the welded wire).
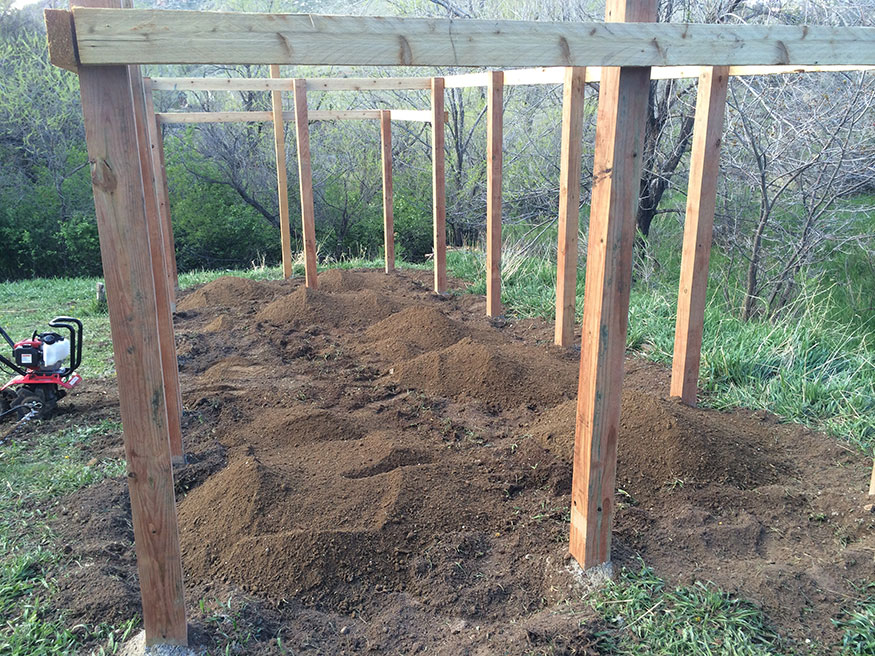
Now it's time to prep the raised garden beds.
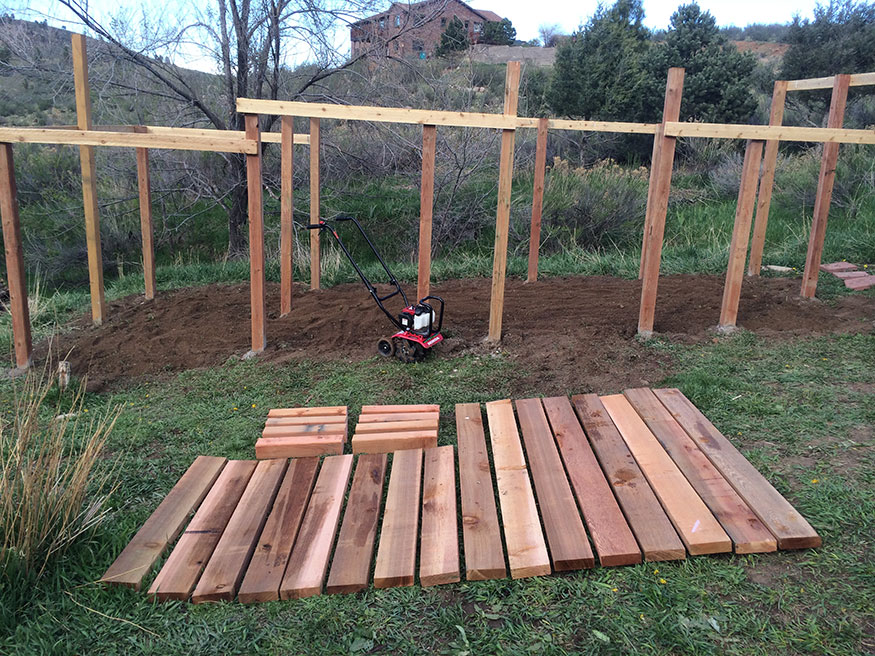
How to Build Garden Beds
For this project I used cedar (it was expensive) and I wouldn't use cedar again. I'd just go for treated lumber all around. Either way, use whatever wood you have access to and can afford.
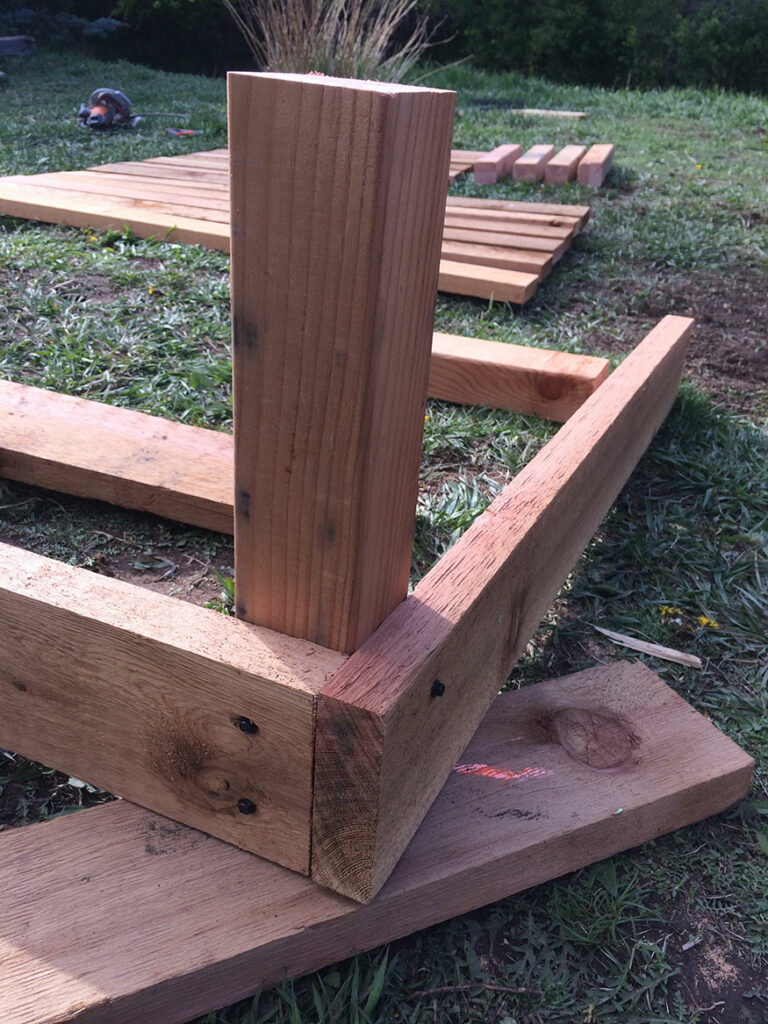
I used 4x4 treated lumber and then whatever wood for the sides you have available (in this case, cedar). I also used TimberLOK screws (or similar brand). These are landscape screws are the best.
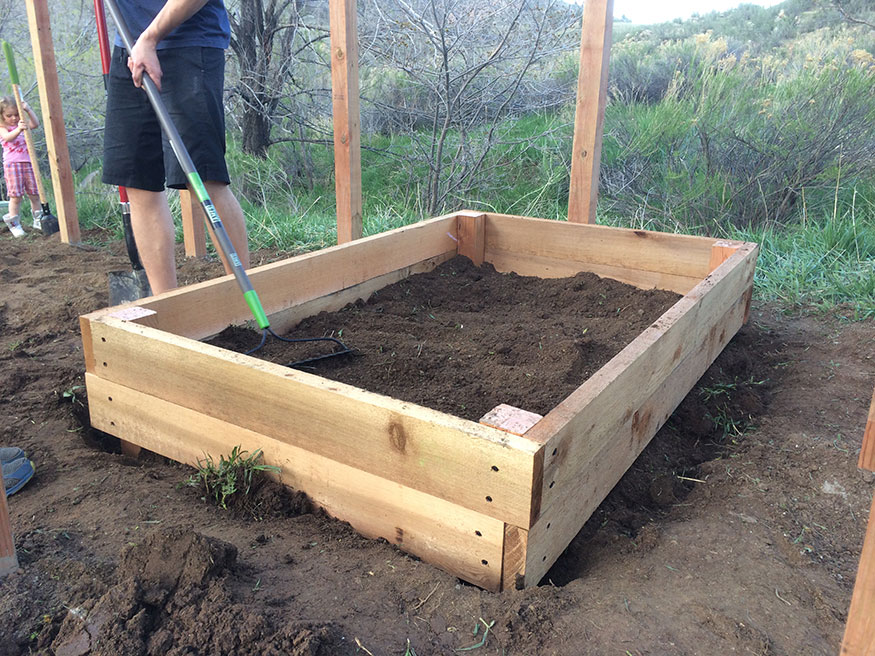
I staggered the sides and each 4x4 post is about 1 foot in to the ground for long term stability. My sidewalls are a little lower than where the surrounding earth will be too.
Both of those steps help to create a very secure garden bed that'll last awhile.
And if you decide you want to scrap it in 10 years, those TimberLOK screws should still be good to use on your next project.
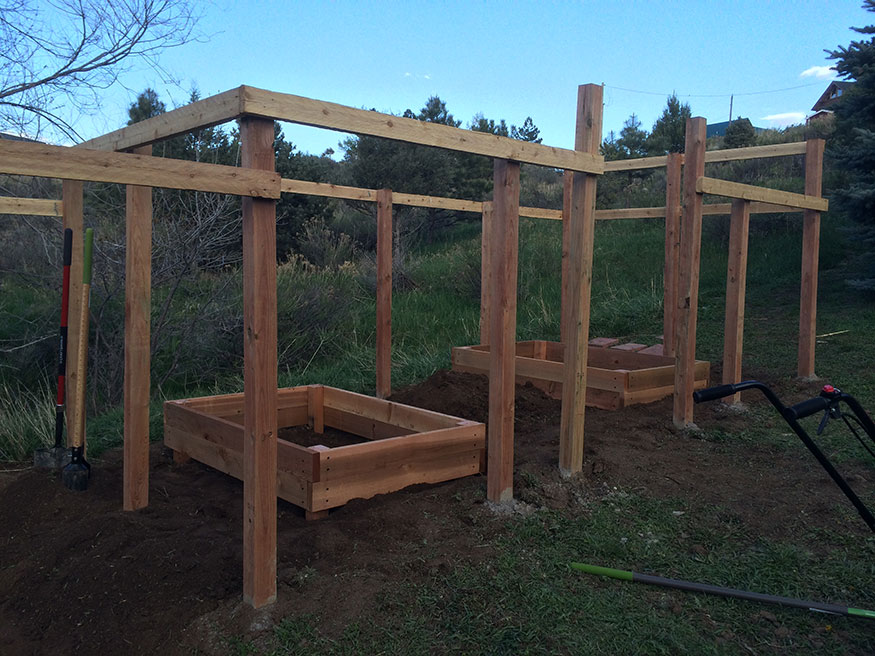
Attach Welded Wire to Parameter of the Garden Fence
If you're keeping out rabbits and other diggers as well as deer, dig a trench along the fence line first so the bottom of the wire can be buried.
You'll also want to attach chicken wire to the bottom couple feet of your fence (not pictured).
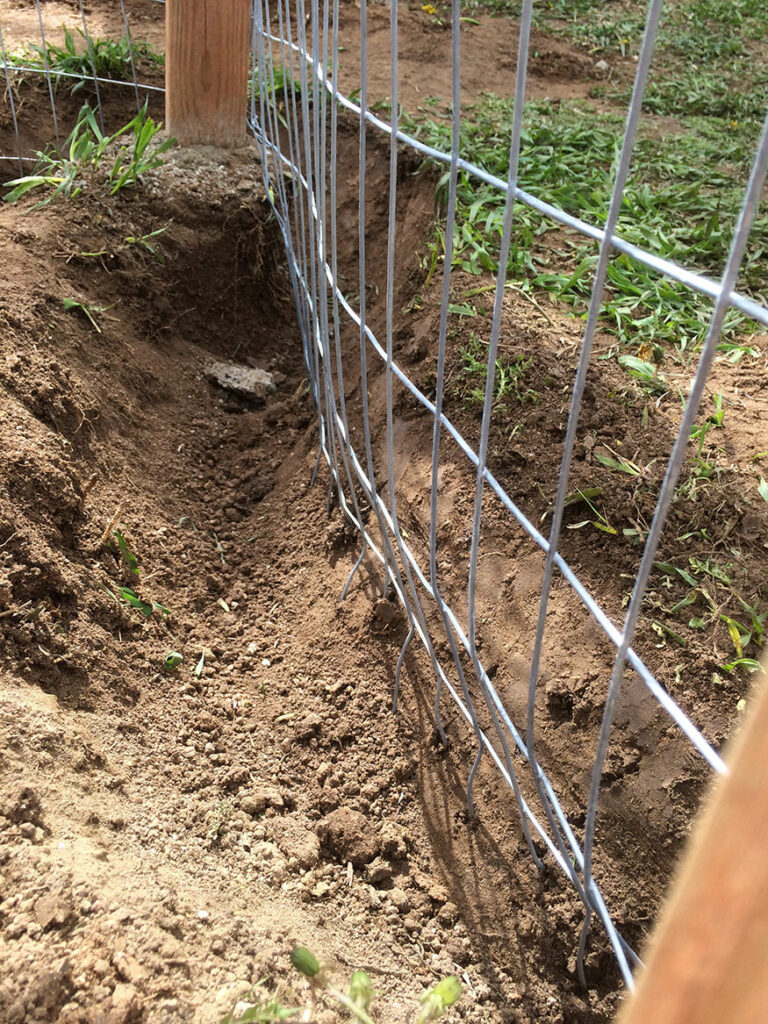
Rolling out the welded wire is difficult, a great exercise in patience. Stretch and tighten. There are a lot of ways to do this, I should probably write a post on how I've done it with my cattle fence.
One method for a small project like this is to use or create a type of lever that allows you to pull both top and bottom to ensure the tightest fit you can get.
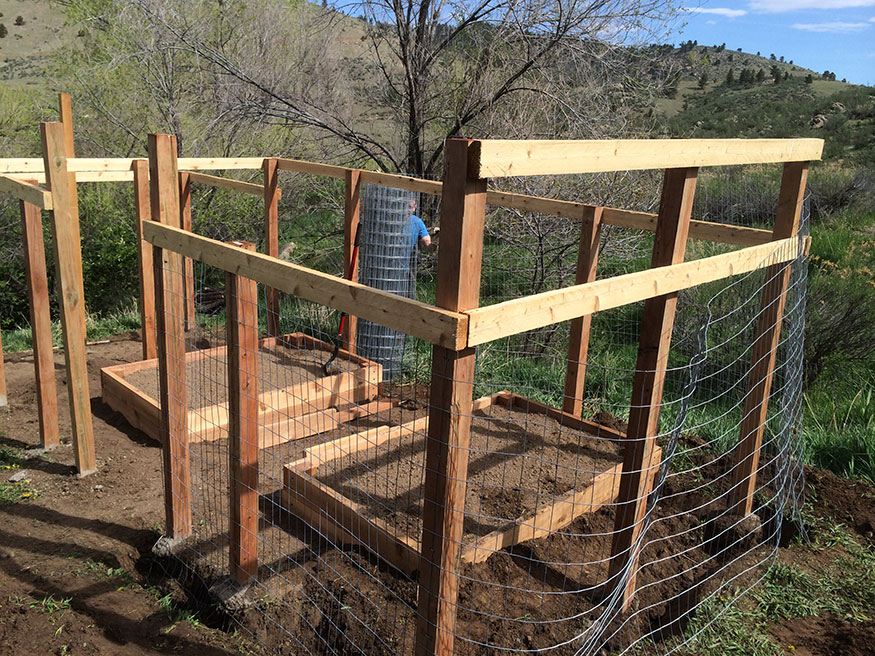
When attaching the welded wire to your 4x4 treated lumber posts, use fence staples and a great hammer.
I used pavers to wrap around the garden beds (nice when it's muddy).
Check out this post on details on how to build a garden gate for your new garden.
Read next: DIY garden fence gate (wood and welded wire)
Questions this answers
Tap a question for the short answer.
How do I build a garden fence to keep deer out?
Mark your post locations, dig holes with a post hole digger, set treated 4x4 posts, and fill with concrete. Level the posts and tie them together with 2x4s. After the posts set, build your beds, then stretch welded wire tight around the perimeter and fasten it with fence staples.
How do I keep rabbits out of my garden?
Fence the garden, and dig a trench along the fence line first so the bottom of the wire can be buried. Then attach chicken wire to the bottom couple feet of the fence. The welded wire handles deer, and the buried lower layer deals with rabbits and other diggers.
Can I put dry concrete in a fence post hole and add water?
Yes. I drop dry concrete in the hole, spray it with water, poke it around, and repeat, using a digging bar to mix it in the ground and tamp it hard. It has worked as well as mixing in a wheelbarrow, which I now consider a wasted step, at least where I live.
How do I attach welded wire to wood fence posts?
Roll the wire out, stretch and tighten it, then fasten it to the treated 4x4 posts with fence staples and a good hammer. On a small project, a lever that pulls the top and bottom at once helps get the tightest fit.
What wood should I use for raised garden beds?
I used 4x4 treated posts with cedar sides, but cedar was expensive and I would not use it again. I would go with treated lumber all around, or whatever wood you can get and afford. Set each 4x4 about 1 foot into the ground and fasten with TimberLOK screws.
Keep going
Related to this
Membership · $49.95 per year
There is a lot more behind the lock
Every recipe and resource from the Prepper's Chemical Survival Guide, all nine field guides to read here and download, the full audit and logbook, all twelve reference charts, and no ads.
My Manual · included
Build your own field manual
The most useful thing a membership gives you. Save any page on this site, recipes, charts, and whole field guides included. Arrange them in the order you want, name it, and print one manual with a cover and contents, or keep it as a PDF that opens with no signal.
- It works when this site does not
- Only your pages
- Anyone in the house can use it
- One current copy, not a pile of printouts
- The house binder
- A copy for the bug-out bag or truck
- A copy for family
- An offline PDF









Stay Ready
New entries, updates, and useful instruction.
Stay one step ahead on your preparedness journey.