Quick facts
- Steps13
- Drain
- Hot water tank
- low-point drains
- black
- gray tanks
- Water heaterSet to bypass mode so antifreeze does not enter the tank
- Antifreeze
- Pump through all faucets
- toilet
- shower until visible
- DrainsPour antifreeze into all drains to protect the P-traps
- Risk if skippedFrozen pipes that can burst
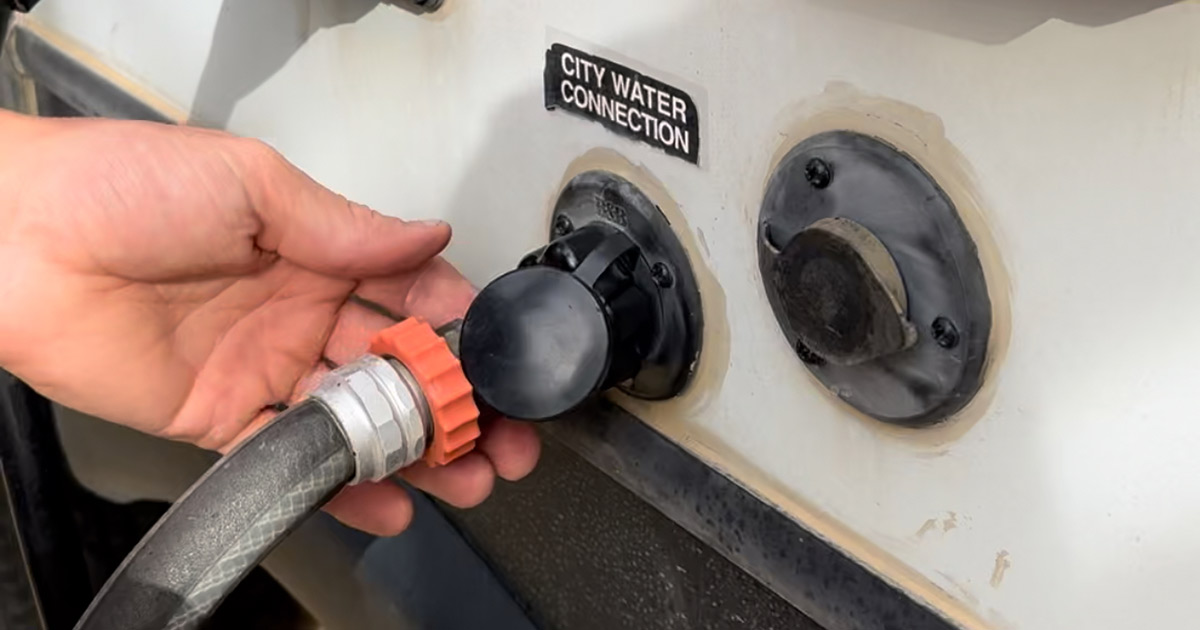
Winter is coming, and if you're an RV owner, it's essential to ensure that your water system is prepared for the cold months ahead. Failing to winterize can lead to frozen pipes, which can burst and cause extensive damage. To help you out, I've compiled a comprehensive guide on how to winterize your RV's water system.
- Disconnect from the city water supply.
- Drain the hot water tank.
- Ensure both gray and black water tank valves are closed.
- Open all low-point drain valves.
- Thoroughly clean the black water tank.
- Empty the black water tank.
- Set the hot water tank to bypass mode.
- Bypass the fresh water and connect a hose to an antifreeze container.
- Close all low-point drain valves (both hot and cold).
- Activate the water pump and run all faucets, the toilet, and shower until antifreeze is visible.
- Pour antifreeze into all drains to protect the P-traps.
- Empty the gray water tank.
- Ensure both gray and black water valves are securely closed.
Now, here is each step in more detail:
1. Disconnect from the City Water Supply
If you're connected to a city water source, ensure you shut it off and disconnect. This prevents any unwanted water flow during the winterization process. You can also flush the fresh water tank if you think you need to.
2. Drain the Hot Water Tank
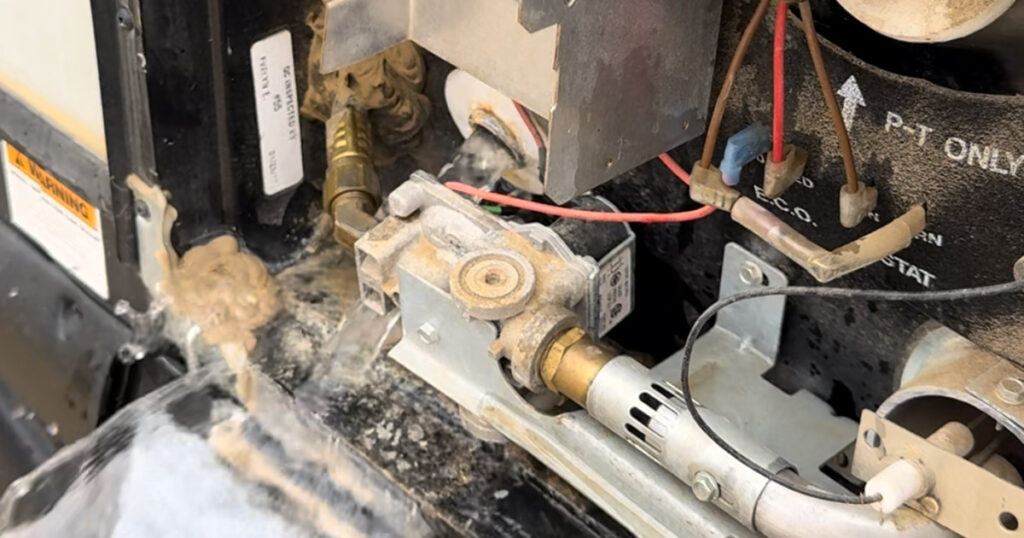
First turn the water heater off on both gas and electric and let it cool. Then open the pressure relief valve and pull the drain plug. Water left inside can freeze and crack the tank, and an electric element that is switched on in an empty tank burns out.
3. Close Gray and Black Water Tank Valves
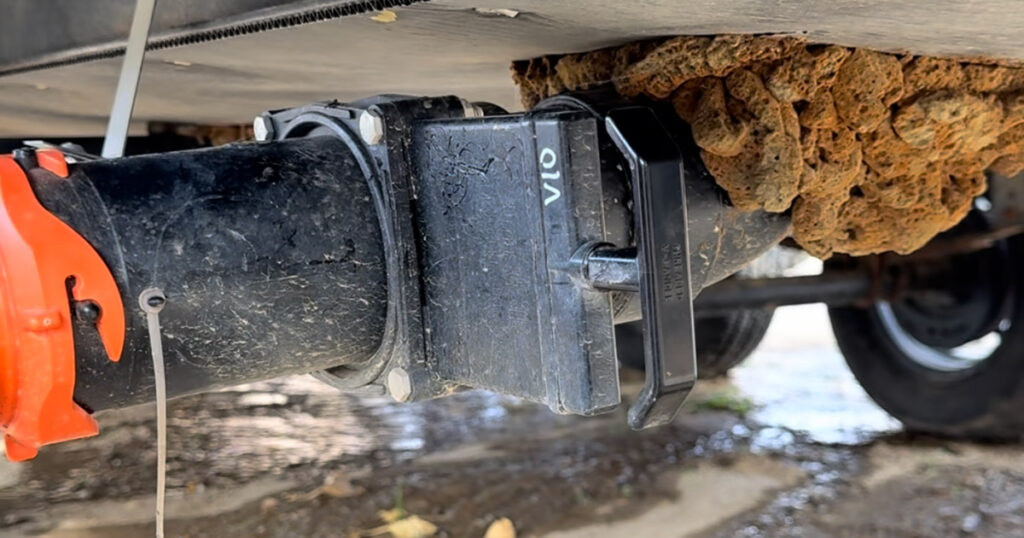
Make sure that if either the gray or black water tank valves are open, you shut them. This step ensures no unwanted spillage.
4. Open All Low-Point Drain Valves
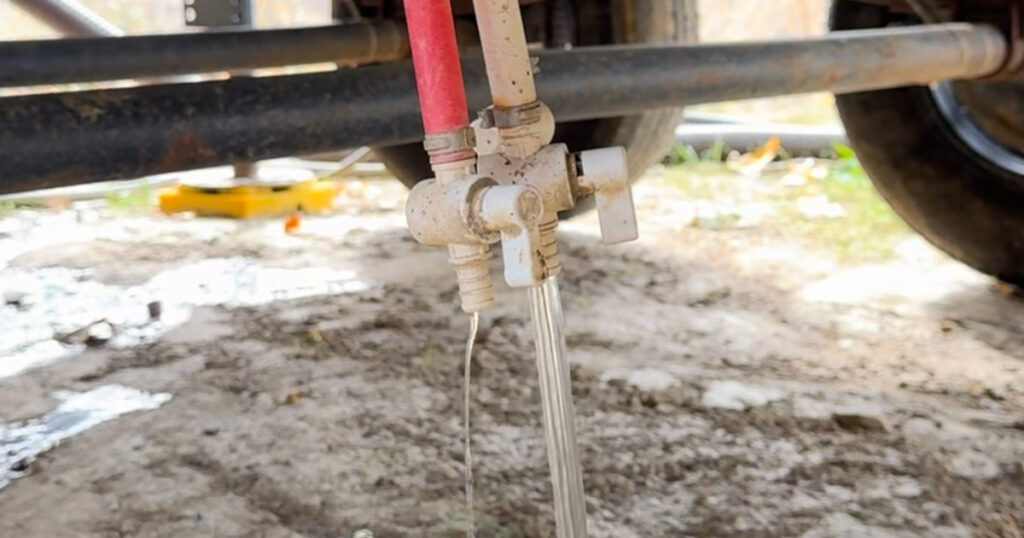
Open the drain valves for the fresh water tank, cold water lines, and fresh water lines to ensure all water is drained.
5. Clean the Black Water Tank
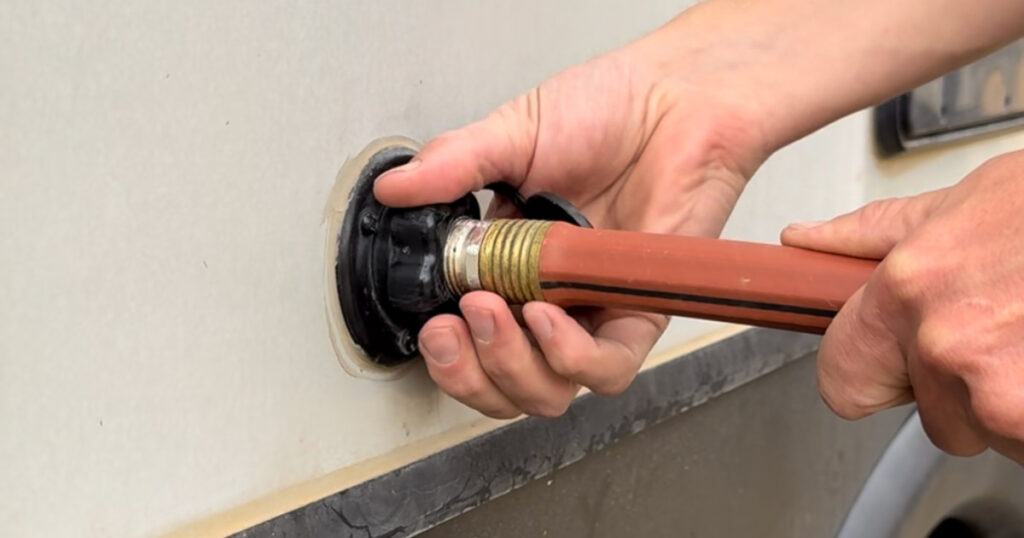
Using a hose, clean out the black water tank to ensure no waste remains.
6. Empty the Black Water Tank
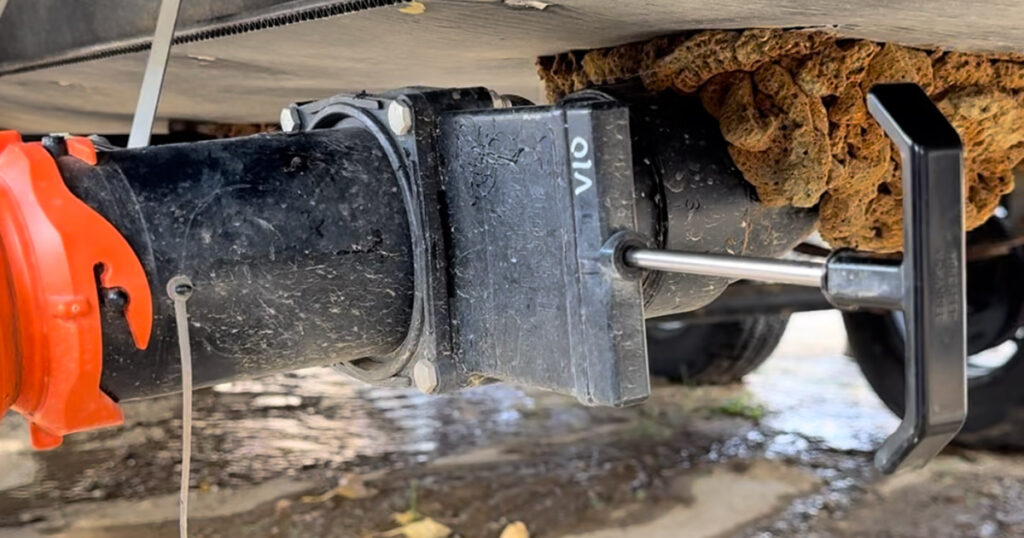
Once cleaned, open the black water valve to drain any remaining water or waste. You can leave the clean out hose running after you open the tank valve.
7. Set the Hot Water Tank to Bypass Mode
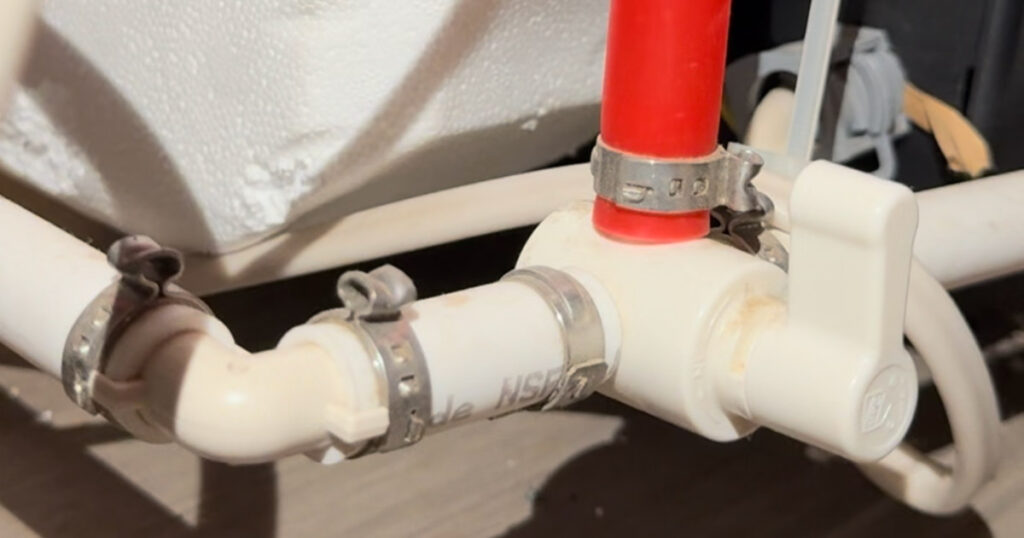
Access the hot water tank valve and set it to bypass mode. This step ensures that antifreeze doesn't enter the hot water tank.
8. Bypass Fresh Water and Connect to Antifreeze
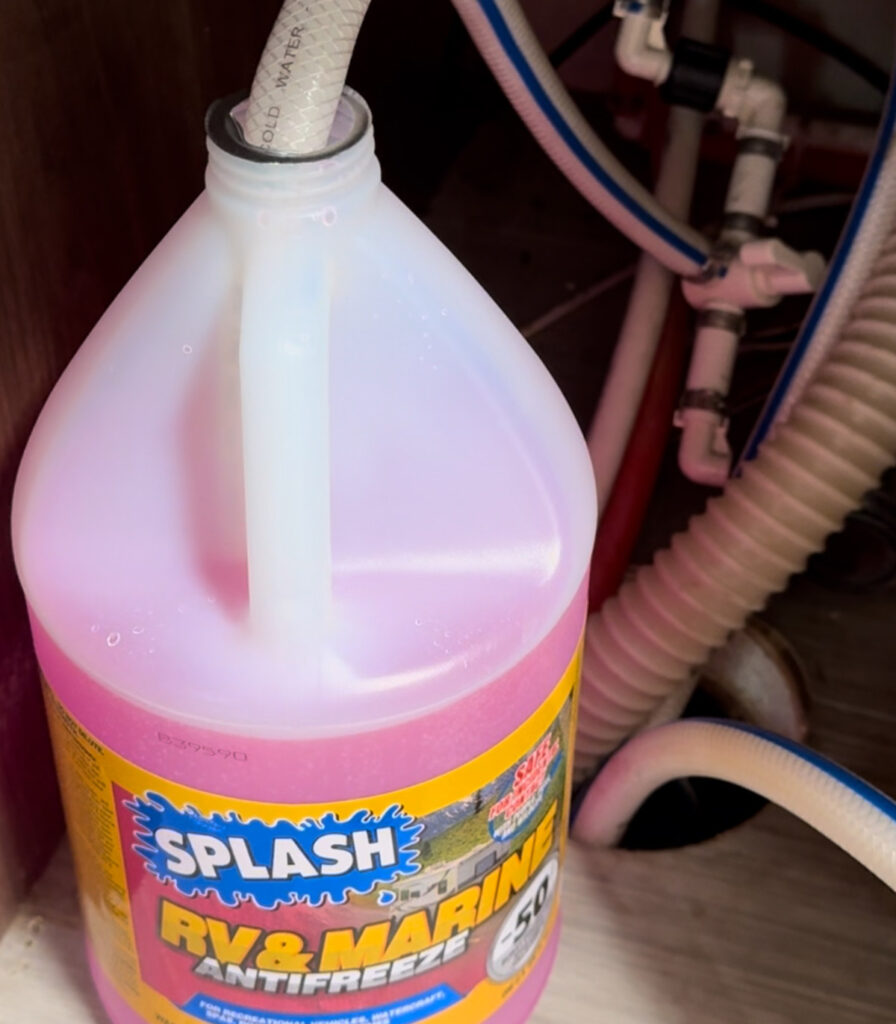
Connect a hose to a jug of non-toxic RV antifreeze (propylene glycol, usually pink) and bypass the fresh water system. Never use automotive antifreeze in these lines. It is poisonous and this is the plumbing you drink from. This step prepares the system for antifreeze introduction.
9. Close All Low-Point Drain Valves
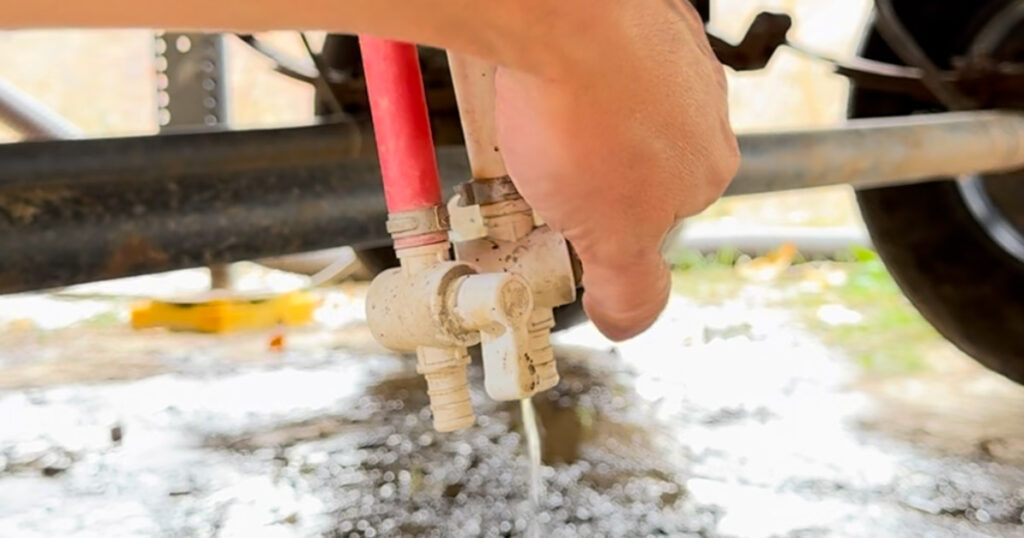
Ensure both the hot and cold drain valves are closed before introducing antifreeze.
10. Run All Faucets Until Antifreeze Appears
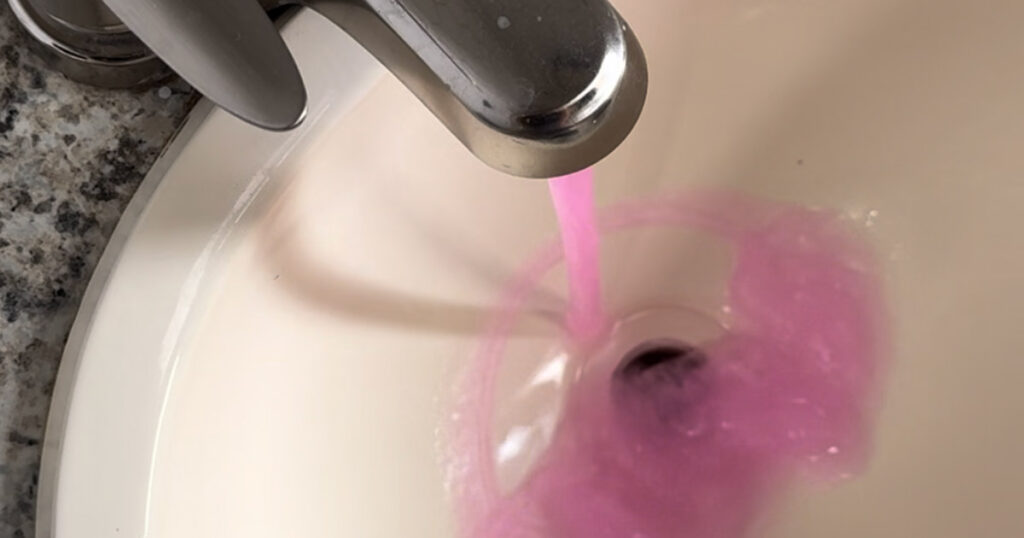
Turn on the water pump and open all faucets, the toilet, and shower. Keep them running until you see antifreeze, ensuring the system is fully protected.
11. Protect the Drains with Antifreeze
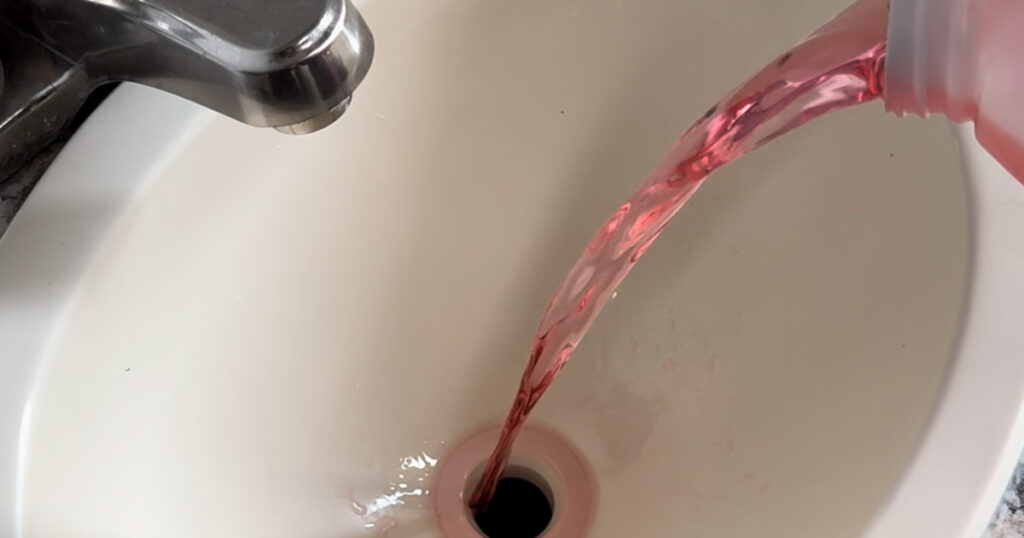
Pour antifreeze into all drains, ensuring the P-traps are protected from freezing.
12. Empty the Gray Water Tank
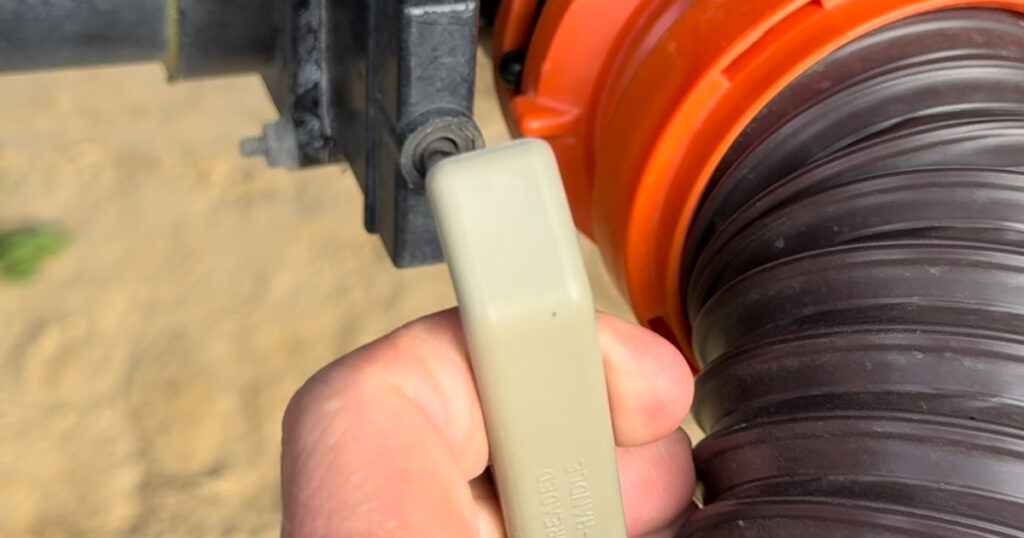
After introducing antifreeze, drain the gray water tank to remove any remaining water.
13. Close All Valves
Finally, ensure both the gray and black water valves are securely closed, completing the winterization process.
Questions this answers
Tap a question for the short answer.
How do I winterize my rv water system?
Disconnect city water, drain the hot water tank and low-point drains, clean and empty the black tank, set the water heater to bypass, then pump antifreeze through every faucet, the toilet, and the shower until it shows. Pour antifreeze into the drains, empty the gray tank, and close both tank valves. It is 13 steps in all.
Do I need to bypass the water heater when winterizing an rv?
Yes. After draining the hot water tank, set its valve to bypass mode so antifreeze does not enter the tank when you pump it through the lines.
How do I put antifreeze in rv water lines?
Bypass the fresh water system and connect a hose to a jug of non-toxic RV antifreeze (propylene glycol, usually pink), never automotive antifreeze. Close the hot and cold low-point drain valves, turn on the water pump, and run all faucets, the toilet, and the shower until you see antifreeze coming out.
How do I protect rv p-traps from freezing?
Pour antifreeze into all of the drains once the water lines have been filled with antifreeze. That protects the P-traps from freezing, and it comes right before you empty the gray water tank.
What order do I drain rv tanks for winter?
Drain the hot water tank first, then open the low-point drains for the fresh water tank and lines. Clean and empty the black water tank next. The gray water tank is emptied last, after the antifreeze has gone in, and then both valves are closed.
Keep going
Related to this
Membership · $49.95 per year
There is a lot more behind the lock
Every recipe and resource from the Prepper's Chemical Survival Guide, all six field guides to read here and download, the full audit and logbook, all twelve reference charts, and no ads.
My Manual · included
Build your own field manual
The most useful thing a membership gives you. Save any page on this site, recipes, charts, and whole field guides included. Arrange them in the order you want, name it, and print one manual with a cover and contents, or keep it as a PDF that opens with no signal.
- It works when this site does not
- Only your pages
- Anyone in the house can use it
- One current copy, not a pile of printouts
- The house binder
- A copy for the bug-out bag or truck
- A copy for family
- An offline PDF


Stay Ready
New entries, updates, and useful instruction.
Stay one step ahead on your preparedness journey.