Quick facts
- BottomSleeping bag, sleeping clothes, camp shoes: bulky, soft, not needed until camp
- CoreWater, food, stove, fuel, cook pot, batteries: heaviest items against your back, between the shoulder blades
- Around the coreTent body, clothing layers packed to lock the heavy items in place so nothing shifts
- TopRain shell, insulating jacket, lunch: light, bulky, likely to be needed
- OutsideHeadlamp, water filter, first aid, snacks, map and compass, sunscreen, knife, toilet kit: lid and hip belt pockets
- WeightAround 20 percent of body weight for a fit adult on a trail; less for long days, kids and anyone hurt
Two people with the same gear can carry it as thirty pounds that rides like twenty, or thirty pounds that rides like fifty. The difference is where the weight sits. A pack loaded heavy against the spine and tight carries on the hips and moves with you; the same pack with the water in the lid and the stove on the outside face pulls you backward on every step up and swings on every sidehill. This is how I load a pack, in the order the things go in, and how to fit it so the hips do the work.
The four zones, bottom up
Balance and the small rules
- Side to side: a bottle in each side pocket, not one; the fuel canister opposite the food bag. A pack that is heavier on one side walks you in a curve and wears one shoulder.
- Rough ground and scrambling: drop the heavy core a few inches for a lower center of gravity. Easy trail: shoulder-blade height.
- Liquids and fuel in bags, upright, away from the sleeping bag and food. A leaking fuel canister in the bottom is a ruined trip.
- Sharp and hard things (stove, pot, tent stakes) wrapped in soft ones so the back panel stays smooth against you.
- A pack liner or a trash compactor bag inside the pack keeps everything dry; a rain cover alone does not.
- Weight: about 20 percent of body weight carries well on a trail for a fit adult, 25 is a hard day. A go-bag you might carry hurt, tired or with children rides better at 10 to 15 percent. Kids, 10 percent at most.
Fitting it so the hips carry it
- Hip belt. Settle the padding so it wraps the top of the hip bones with the belt centered over the crest, buckle, and cinch it firmly. This is the step everyone skips, and it is where 70 to 80 percent of the weight is supposed to go.
- Shoulder straps. Snug until they wrap the shoulder with no gap, without lifting the belt off the hips.
- Load lifters. The small straps from the top of the shoulder straps up to the pack. Pull until the top of the pack tips in toward your head at roughly 45 degrees; this is what stops the backward pull.
- Sternum strap. Snug, not tight, so the shoulder straps stay put.
Walk fifty yards. If the belt has slid to your waist, the shoulders ache within an hour, or the pack leans away from you, the torso length is wrong: adjustable on most packs, a different pack on some. Readjust on every big climb and descent; the belt loosens as you sweat.
The go-bag version
A bug-out bag follows every rule above with two changes. It rides lighter, because the day you carry it you may be hurt, tired, in the dark or holding a child's hand. And the outside zone gets bigger: the headlamp, the radio, the water filter, the first aid kit and the documents are on the outside or in the lid, because the situations that bag is for do not give you time to unpack. The overnight loadout is a packed example, item by item, and the knots guide covers lashing the things that have to ride outside.
Questions this answers
Tap a question for the short answer.
How do I pack a backpack properly?
In four zones from the bottom up. Bottom: the sleeping bag and anything else soft and bulky you will not need until camp. Core: the heaviest things, water, food, stove, fuel, pot, batteries, packed against the back panel between your shoulder blades. Around and above the core: the tent body and clothing layers, stuffed to fill gaps so the heavy items cannot shift. Top and lid: the rain shell, an insulating layer, lunch, anything light you may want in the next hour. Pockets and hip belt: the things you reach for all day. Then cinch every compression strap so the load is one solid block.
Where should heavy items go in a backpack?
Against the back panel, centered left to right, at the height of your shoulder blades: water, food, the stove and fuel, the pot, a big battery. That puts the weight over your hips, where the belt carries it, and keeps the pack's center of gravity close to your own so it does not lever you backward on climbs or swing on traverses. On rough ground and scrambles some people drop the heavy core a few inches for a lower center of gravity; on trail, shoulder-blade height is right.
How do I distribute weight in a hiking pack?
Heavy close to the spine and centered, bulk below and above it, light on top, and balanced side to side: a full water bottle in each side pocket, not one. Fill every gap with soft things so nothing moves; a load that shifts is a load that throws you. Use the compression straps to pull the whole pack tight against your back. Then put it on, adjust the hip belt and load lifters, and walk fifty yards; if it pulls back or sways, the heavy things are too far from your spine or too high.
What should go in the outer pockets of my pack?
Everything you will want without stopping and unpacking: water bottles or the hose, snacks and lunch, sunscreen and lip balm, the map and compass or the phone with maps, a headlamp, the water filter, the first aid kit, the rain shell when weather is close, the knife, toilet paper and a trowel, bug spray, and a hat and gloves. Hip belt pockets for snacks, phone and sunscreen; the lid for the first aid kit, headlamp and map; side pockets for water and the shell; the front stretch pocket for wet or bulky things.
Why does my backpack pull me backward?
Because the weight is too far from your spine: heavy items packed against the outer face of the pack, or high in the lid, or the whole load riding loose. Every inch the weight sits away from your back multiplies its pull. Repack with the heavy things against the back panel between the shoulder blades, fill the gaps so nothing shifts, tighten the compression straps, and snug the load lifter straps at the top of the shoulder straps until the top of the pack sits close to your head instead of leaning away.
How do I fit a backpack so my hips carry the weight?
Loosen every strap, put the pack on, and settle the hip belt so its padding wraps the top of your hip bones with the center of the belt over the crest, then buckle and cinch it tight; that is the step everyone skips. Then tighten the shoulder straps until they wrap the shoulder without lifting the belt off the hips. Then the load lifters, the small straps from the top of the shoulder straps to the pack, pulled until the pack tips in to about 45 degrees. Then the sternum strap, snug but not tight. About 70 to 80 percent of the weight should be on your hips. If the belt sits on your waist or your shoulders ache in an hour, the torso length is wrong for you, which is an adjustment on most packs and a different pack on some.
How heavy should a backpack be?
For a fit adult on a trail, around 20 percent of body weight carries well and 25 percent is a hard day: 30 to 40 pounds for most people. A go-bag you may have to carry far when you are tired, hurt or with children should be lighter, 10 to 15 percent, because the day you carry it is the day you are not at your best. Kids carry 10 percent at most. Water is the heaviest thing in any pack at 2.2 pounds a liter, which is why a filter and a map of water sources cut more weight than any gear upgrade.
Keep going
Related to this
Membership · $49.95 per year
There is a lot more behind the lock
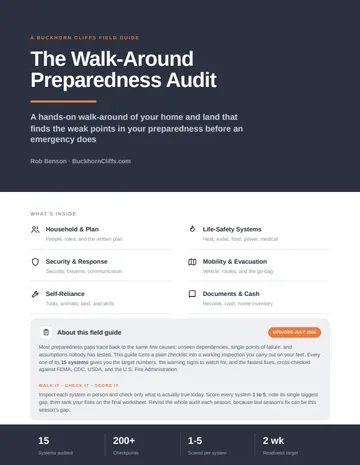
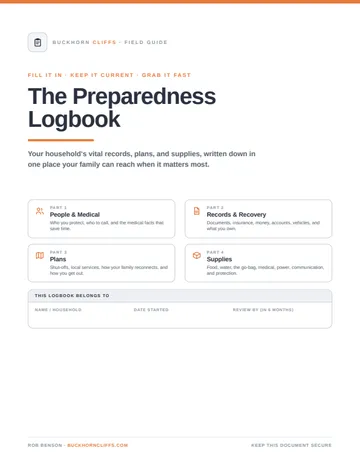
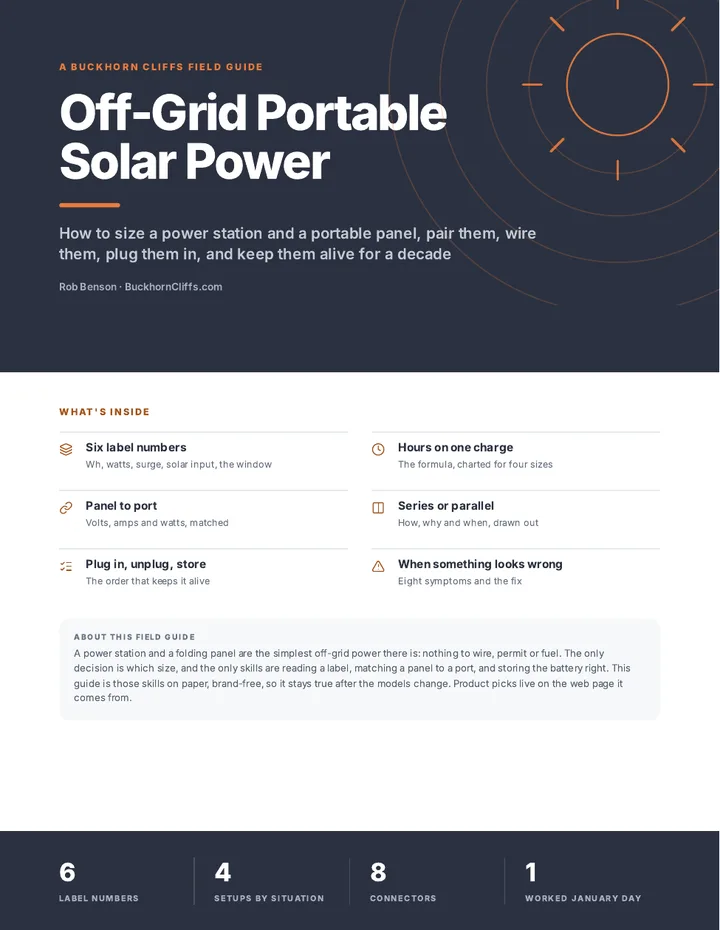
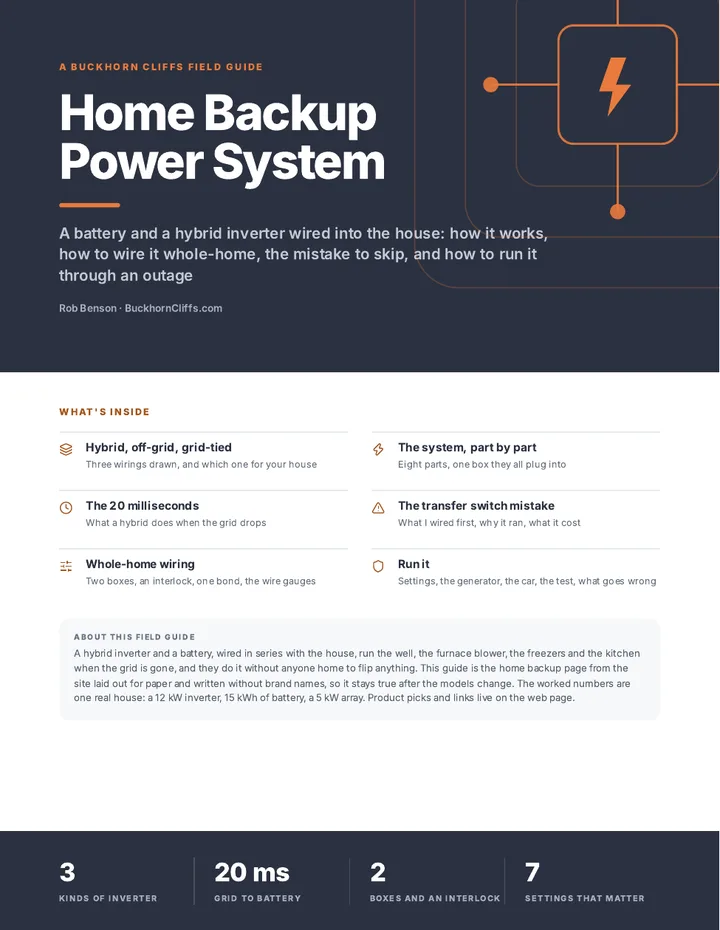
Every recipe and resource from the Prepper's Chemical Survival Guide, all nine field guides to read here and download, the full audit and logbook, all twelve reference charts, and no ads.
My Manual · included
Build your own field manual
The most useful thing a membership gives you. Save any page on this site, recipes, charts, and whole field guides included. Arrange them in the order you want, name it, and print one manual with a cover and contents, or keep it as a PDF that opens with no signal.
- It works when this site does not
- Only your pages
- Anyone in the house can use it
- One current copy, not a pile of printouts
- The house binder
- A copy for the bug-out bag or truck
- A copy for family
- An offline PDF

Stay Ready
New entries, updates, and useful instruction.
Stay one step ahead on your preparedness journey.